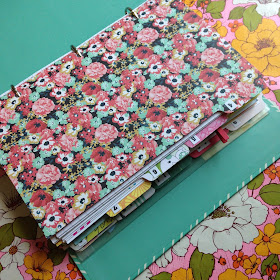
I don't know what it is, but as an artist I find it hard sometimes to purchased many premade items. I always think either "I could make that!" or "that would be perfect if it were more like this..." Anyway, this conundrum sometimes leads to brilliant discovery and other times not so much. In the case of planners I decided to DIY before I BUY and am so happy that I did. I have easily created some base pages that I love and are customized for my particular needs. I can change the designs when the mood strikes and use so many different products to dress up my pages. I love working in a binder because it is just so easy! My binder has envelopes, tabbed dividers, pockets, and holds a ton! It is also easy to purchase three hole paper in this size.
I used markers and colored pencils for my lettering. Love my Uniball and Prismacolors! These rockin' lead pencils came from Dollar Tree.I've purchased these two binders on clearance for $3 at Target. I picked out random double sided scrapbook paper and cut it to make my dividers. I used Authentique alpha stickers to label my tabs.
My first few weeks were were along this line, simple markers and stickers with lettering.
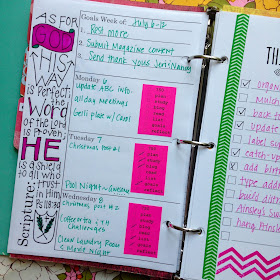
I tried different templates for the pages. LOVED this one on the screen and even printed out, but found it a little harder to fit everything I wanted in the 2" squares.
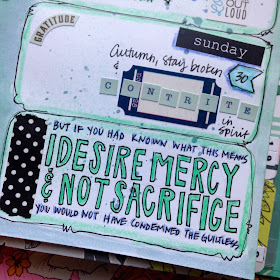
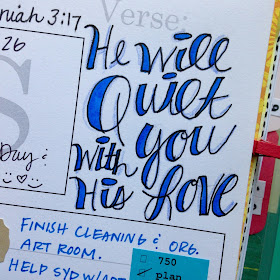
I use the extra space in the design for reflection and memorization of scripture. As I add the dates to each page, I go ahead and letter a passage of scripture for the week to keep me focused and help me really absorb the Word throughout the week.
I printed out little lists to check off things I wanted to accomplish in a day. That worked for a while, but I soon realized I had been overly ambitious so I scratched the printed lists! But maybe it would work for you...
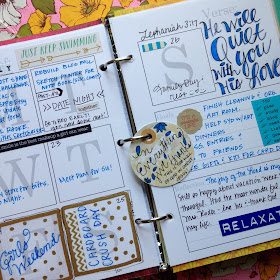
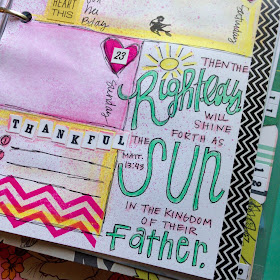
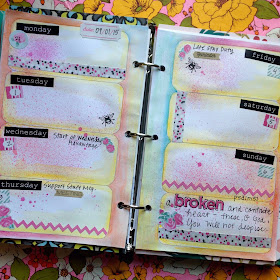
I decided I would really love these pages if I mixed mediaed them up! So I went to town with some watercolor crayons and sprays. I colored around the edges of the sections and waterbrushed in. The chevron stamp is by Marcie's.
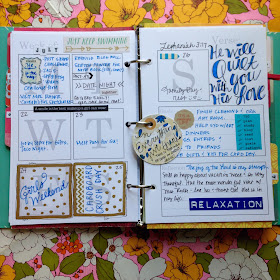
This is for the week after next. I am on vacation next week, so NO PLANS except to plan on having fun!
And the next week's planner pages.
And the beginning of September. I've used lots of stickers, but the days of the week were printed on the template and triangles to color in for the date. Here I covered them with stickers. I never know what to do with all the stickers that come with scrapbook paper. I don't use them much in card making. So it was really fun going through my stash and putting them to life in my planner.
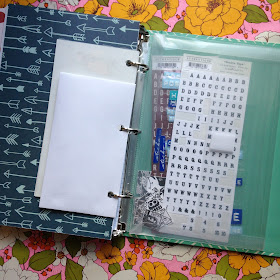
If you love using mixed media on your pages, print them on cardstock! Easy peasy! Hobby Lobby has heavy duty white cardstock now and you can rack up when they run the 50% off paper sale! I also picked up some lined paper, graph paper, and this cool clear envelope for $ at Staples! It's perfect for storing stickers!
I'm offering a free download of these pages HERE as a PDF, just cause I love you and am happy you visited SewPaperPaint! Just print, cut in half and punch holes to add to your half page size binder. I print mine one sided and use the back of the page for doodling lists or lettering. I will add more designs in the future and give you some updates on these pages' progress. If you'd like to follow my Planner Pinterest page, click HERE for loads of inspiration.





I LOVE, LOVE, LOVE your planner pages! I haven't got up the nerve yet to use sprays on my pages but I do use my extra stickers ( from my days of selling Creative Memories and early days of scrapbooking) as I can. Also I love how the lettering of the scriptures looks and thanks for the printables!
ReplyDeleteFabulous planner and thanks for the freebies xxx
ReplyDeleteThis planner and the pages are wonderful!! Love the designs of the different pages, the words and quotes and all the great details. Thank you so much for sharing with us at the Simon Says Stamp Monday Challenge Blog!!
ReplyDelete