Hi everyone! This year I've made a goal of getting more into mixed media art and less into cardmaking. MM has always been my passion, but not necessarily my priority, so I'm working to change that. The process will include lots of exploration and I'll share with you what I can. I've signed up for the Cathy Nichols Joy of Painting course for 2024. One of the bonus courses was on creating large free paintings on giant papers. I've been doing free paintings for years, but the idea of painting onto large papers was super exciting to me so I had a play with a friend and we ended up creating a pile of free paintings or painty papers...
I just love seeing them all rolled up. I shared a video on Instagram with more details @sewpaperpaint. Below is the paper I used to create this new journal. The paper we used was thick and white and similar to kraft paper/gift wrap/package wrap?
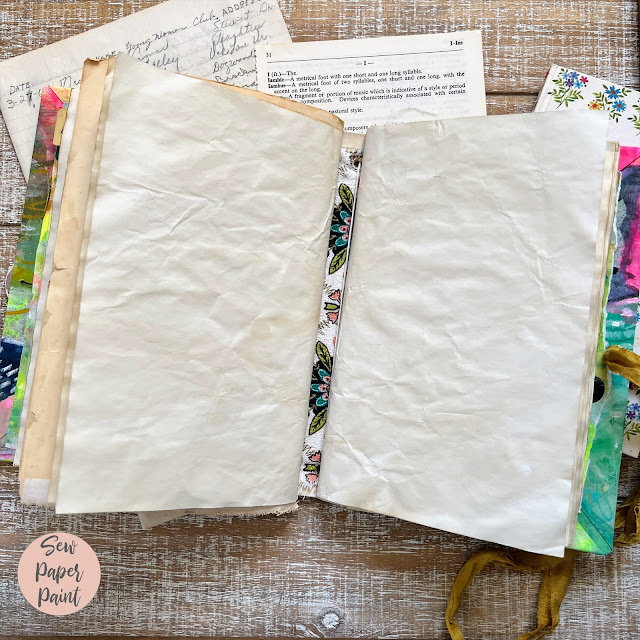
I used the back of a watercolor paper pad to cut my two chipboard covers to 8.75x5.75", which is just larger than a sheet of paper folded in half. I wrapped the two pieces of chipboard with the art paper, AFTER taking good photos/scans to use for other things (see below). I mitered the corners and covered the inside (end papers) with neon gel prints.
I had a small scrap of the painty paper left and made some scallops to decorate the end papers.
I created a closure by making a paper button, inspired by Francisca Nunes and tied a piece of sari ribbon to the back cover to wrap around the button.
To create the spine, I cut a piece of cardstock 8.5x4.5" and scored from 1" to 3.5" every 1/8". This creates a nice flexible "round" spine for the book. I then glued the unscored 1" sides to the inside front and back covers I had made. On the outside I adhered some beautiful vintage fabric over the cardstock, adhering only to the covers, not the actual cardstock. I then repeated with the inside using the same fabric.
I used my Crop-a-dile to adhere three gromets to the top and bottom in increments. These simply tie around the tea stained copy paper inserts I made and stapled together using a long reach stapler. I mixed in some folded book pages and clear page protectors to use as pockets to create really unique inserts.
It was so much fun making this journal and I hope to fill it with everything I learn from the year long Joy of Painting course!
I mentioned making copies of my painty papers... Well here is how I used some of those! First, I'm creating color charts of my experiments so I can easily reference the colors when I need inspiration for a new project... I simply die cut a square from a large sheet of thin chipboard and used the negative space as a view finder to look for happy moments within the paper to cut out and highlight as shown. I added in the PaperArtsy Fresco Chalk Acrylic paint colors to coordinate by finger painting! FUN!
I used some of my prints to create some envelopes for my journal. The flowers come from a practice painting I made and color copied. It was fun to dig out my old envelope making templates from the 90's!
I also covered some tiny composition notebooks from the Dollar Tree, which you can buy in bulk HERE. I gave the notebooks with a matching neon pencil to my artsy friends for Valentine's Day. I hope you've enjoyed seeing these projects, as I've had such fun creating them! xx, Autumn


