Pages

Jan 27, 2016

Stamped and Distressed Valentine Card

card 1

Hello lovelies!  Today I am sharing a fun Valentine project with you, in hopes of getting your juices flowing for my favorite card making holiday!

card 2

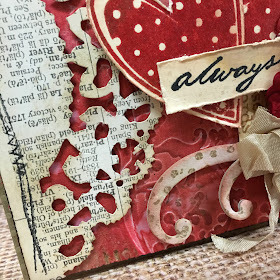
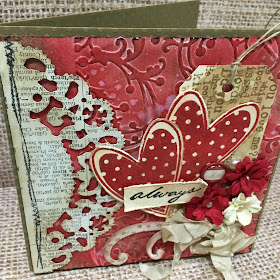
I finally got some of the Tim Holtz dies that I have drooled over for the past couple of years.  I'm always behind on getting the cool stuff because I'm too meditative when it comes to shopping.  I want to buy investment pieces, products that I will love ten years from now.  Ridiculous, I know, but I'm the most frugal person you will ever meet.  :)  This doily die has been on my wish list for some time and I am loving using it!!!  Here I used it to cover the side of a half embossed panel.  I tried embossing cardboard  and loved it!  Will definitely be doing this again.  I removed the top plate from my Big Shot to make squeeze this through.

card 3

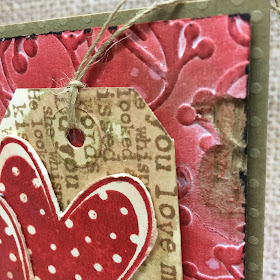
I wanted to be able to peel away the layers of cardboard, and reveal the corrugated inside.  This piece of cardboard was white, which made it perfect for sponging Distress Inks over the embossed panel.

card 4

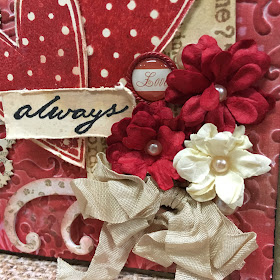
I made the flowers by gluing layers of small Prima flowers together.  The sentiment is Penny Black.

card 5

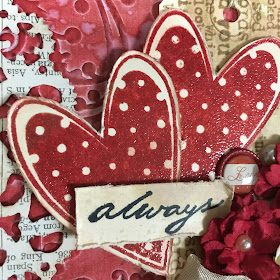
These awesome hearts were scored off of a local CTMH dealer second hand.  I clear embossed over the Fired Brick DI, then cut them out, distressed the edges, and sponged them lightly.  I did some faux stitching with a BoBunny stamp set.  Love it!

card 6

I'm sharing the love with the following challenges:
You are invited to the Inlinkz link party!
Click here to enter

Jan 24, 2016

Mixed Media Watercolor Collage and Altered Book Cover

book

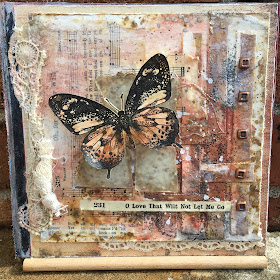
First of all let me say that this is my favorite project I've completed in a very long time.  My creatacation really unleashed the "play" in me and I just went wild with abandon, so I guess it was a playcation!  My new goodies really helped spark my creativity.  You know that feeling when you have several new things and you can't decide which to use first and you just start spinning!  (Tell me I'm not the only one...)  I have been so very inspired by the use of ink sprays.  Right now, there was no way I could start collecting an entirely new "collection" of products.  But I really wanted to see what I could come up with using the things I had on hand.

book 2

I started this piece, which will be the cover of my altered Scrabble board book, by weaving papers in the corner like so.  These were inky scraps that I just cut into strips with scissors and tore the edges.  I mod podged them down and then tried my Loew Cornell watercolors to create the "faux spray ink" puddles I'm loving so much.  I picked up this set for $2 at Tuesday Morning.  They are grittier than regular old Prang watercolors.  I'm pretty sure they are similar to the Artist Loft brand from Michaels.  Anyway, much to my surprise, the watercolor took to the mod podge perfectly.  It worked great over gesso too!  This opens up a WHOLE NEW WORLD TO ME people!  <3  Woo hoo!  I'm stoked!

book 3

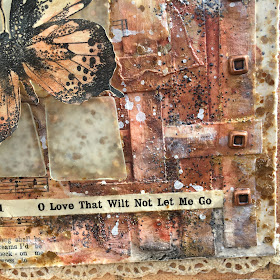
I layered in pages of a hymnal and used one of the titles to set the tone for this page.

book 4

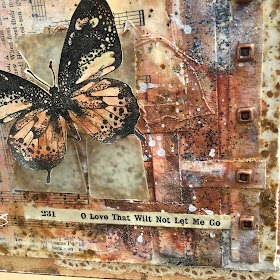
I really wanted to use this beach glass and thought these sorta square pieces would harmonize with my geometric design in the paper weaving.

book 5

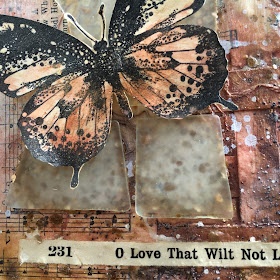
For years and years I've had some Golden gel medium that had mica flakes in it.  I decided this was the perfect time to use it.  It took two days to dry, but I love seeing all that gorgeous mica beneath the frosted glass.

book 6

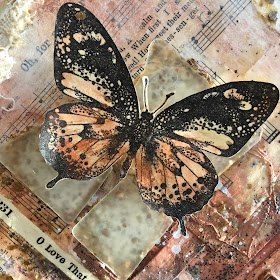
This IndigoBlu butterfly was begging to be the focal point, coming out of the tangled paper...

book 7

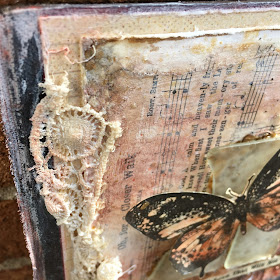
I lovingly used scraps of crocheted lace to offset my cocoon.

book 8

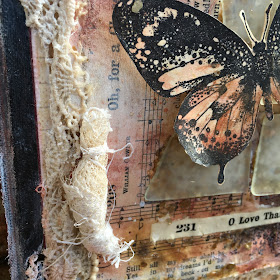
The unValentine part of this creation...  The cocoon.  God's love comes to us where we are, no matter how dark or how confined, no matter how entangled.  His love alone shows us how to be who we are created to be.  "For we are His workmanship, created in Christ Jesus for good works, which God prepared beforehand that we should walk in them."  Ephesians 2:10.  Please know that you are never, ever alone.  God is with you, God is for you.

book 9

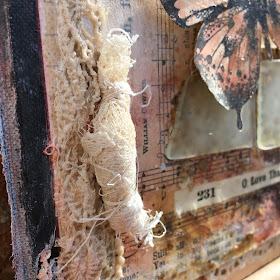
I made the cocoon by wrapping a strip of tattered lace round and round and using the threads to tighten the top and bottom.  It's subtle on the page, but means so much to me.

book 10

I hope this inspires you to play today.  Oh, yes, the black areas are Cloisonne embossing powder, which is like Frantage or UTEE. I couldn't resist pulling out one of the wooden Scrabble tile holders and using it to hold up my page for the photo.  Ha!  I have tons of these and need to try altering one (or ten).  

book 11

I'm sharing with:

You are invited to the Inlinkz link party!

Click here to enter

Jan 22, 2016

Tim Holtz January 2016 Tag


I finally quit procrastinating over Tim's January tag.  I absolutely could not figure out what stamp to use.  So I started digging and came across this gem of a stamp from ages ago that I've used countless times by Stampington & Co.


The embossing folder is Tim's and was the first one I ever purchased.  Awe...  I liked that it had the crown and time piece.  I was out of adhesive foil so I slopped some Mod Podge onto a piece of card and carefully dropped regular old aluminum foil over it.  There were some small bubbles and creases, but when I ran it through the machine they worked out.  I will definitely be doing this again!


I aged the foil with black gesso.  The numbers are some cool magnets that my friend Bonnie found and shared with me.


I'm sharing with Tim's January 2016 tag post HERE.

Jan 21, 2016

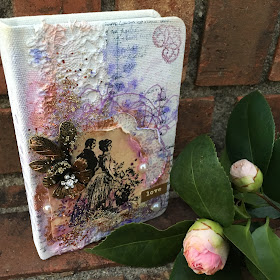
Vintage Mixed Media Altered Mini Journal

book 1

Hello sweet friends!  This month there were so many challenge in blog land that inspired me and made me want to create more than ever!  What a fabulous way to spend a cool winter day.  But since I was super sick last week I felt like I would never accomplish all of my goals, so I sat and watched creative YouTube videos for hours on end and thought up wild ideas of projects I would do...

book 2

I was very inspired by the videos on mixed media by Lindy's Stamp Gang, Prima and 13arts.  What seemed like the most unproductive week of my life, actually was a very great learning experience and I feel more confident than ever playing with some new techniques.  I decided to give this canvas journal I picked up at Old Navy a few years ago a makeover.

book 3

I have been so fond of Prima products for many years, but have always found it difficult to find them.  Good news, Linda from the Funkie Junkie Boutique has just stocked her shelves with preorders of tons and tons of Prima's best new goods!  Way to go Linda!!!  Do check it out and fill up your cart!

book 4

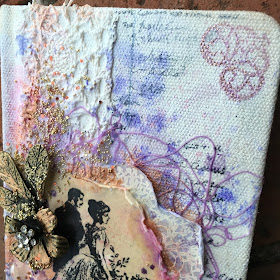
I had just ordered some fabulous new Prima goods, including this coolest doily stamp, this lovely antique lady and gentlemen stamp, and several Finnabair background stamps (these dots and script are some of them).

book 5

So I just played, and played and played.  This was so much fun and although it scared me to death, in the end I really liked my journal makeover.

book 6

I love the mica powders, the beads, and the overall inky washes.  So fun!
book 7

My eldest daughter says this is definitely not her favorite thing I've done and it's strange to pile all these goods together this way, but for now I'm loving it and wanting to explore it more.  What do you think?
book 8

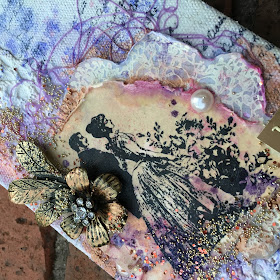
This Victorian stamp just wows me and I love it as the focal point.  I think it is the prettiest Valentine image.  And I'm always happy to use antique lace in any project, so to me it's a win win.

book 9

I'm sharing with:

PPP JAN 2016
You are invited to the Inlinkz link party!
Click here to enter

Jan 20, 2016

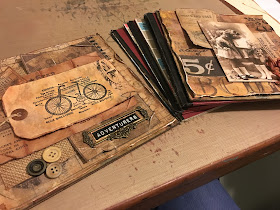
Altered Board Game Mini Album Tutorial

book 1

I'm back to share a neat tutorial for you today on converting old board games to altered book projects.  I was running out of things to alter this weekend.  I wanted to switch things up from making cards and tags.  I rummaged through my drawer of "alterables" and found two and a half Scrabble board games.  I decided they would make the perfect substrate for my collection of projects for A Vintage Journey challenges, since they are basically heavy chipboard.  Maybe by the end of the year I will have an entire collection that will form a pretty neat altered book.

book 2

Simple board games come with a board that is scored in the center and connected on top with the printed game and on bottom with cloth book binding tape.  To turn them into book pages simply break the "spine" by folding the halves backward.  You may have to do this twice, but the halves simply break in two.  Next divide the length of each panel in two to determine where to cut.  Then cut with your regular paper cutter using an old blade.  Always save an old blade - I write on mine OLD with a Sharpie.  Cut once at the desired length using the ruler on your cutter, then flip and cut again on the other side to complete the cut.  Easy peasy cutting - no fancy cutter required.

book 3

For my pages I left the ragged cloth tape as is because I was fond of the tattered look.  I am going to line all of these up as the "spine" of my book.  As I work each page, I will lightly sand the cut edges so they won't feel sharp or rough.

book 4

For these pages I layered my collages over the printed game board side and inked the Scrabble pattern with Walnut Stain so it would blend in with my designs.  Of course, you could paint or gesso the pages if you like.  But, Scrabble is actually my favorite board game and I wanted the board itself and the "Scrabble burgundy" to show.  The only reason I could bare to upcycle these game boards is  that I have a deluxe spinning board with groves to hold the tiles in place.  I know, I'm so cool!  ;0

book 5

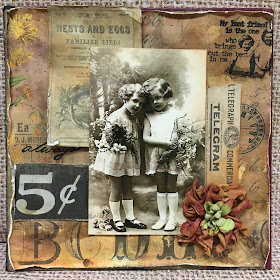
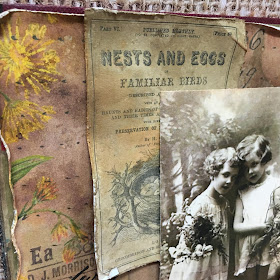
For my girlfriends collage I cut and layered parts of the Wallflower stash by Tim Holtz.  I tattered the edges and dipped each piece in puddles of ink to further grunge them up.

book 6

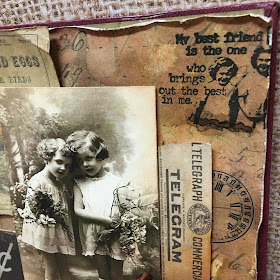
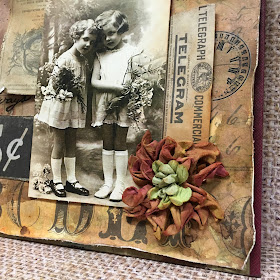
I used one of my DIY paper flowers (tutorial HERE) as an embellishment.   The clock face is a Tim Holtz Rub-on.  This page reminds me that my best friend and I were two pretty little girls, but loved our grand adventures.  Bikes played such an important part in our childhood.  I know that's not the case nowadays, but I am thankful that it was for us.  Oh the fun we had.  How time flies...

book 7

For my vintage travel page I followed pretty much the same process.  This stamp is an unmounted stamp and I don't have the maker, but I have always loved it.

book 8

My friend Bonnie loaned me this cool Tim Holtz torn paper edge die, love it!

book 9

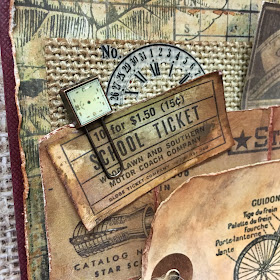
I was pretty happy with using a rub-on over the burlap panel.  It only looks whitish when you zoom in.  I really wanted to incorporate the feeling of passing time.


So there you have it, my combination of two very amazing challenge themes and a pretty cool mini album concept.  I will probably bind it with rings, but am going to get more pages completed before making that decision.

book 11

I'm playing with:
SSS Monday: Best Friends
A Vintage Journey: Vintage Travel and Luggage
The Mixed Media Monthly Challenge: Time Flies (I used clocks and a general feel of nostalgia towards my childhood)
Creative Artiste Challenge: Chipboard (my book is made from chipboard)
MMMC

You are invited to the Inlinkz link party!
Click here to enter

Jan 19, 2016

Ombre Stenciling with Distress Inks

card 1

A super quick post to share some ombre stenciling and a simple teacher card for my son's teacher.  I needed something cute and quirky.  I made a mask by tracing the zig zag across the stencil, then used it to cover sections while I while I watercolored each color with Distress Ink.  I cut a circle from this panel and made it into a shaker, with punched hearts from inky paper.  The little monster reminds me of my cutie pie (it's Paper Makeup).  The sentiment is a score Michael's $1 bin stamp.  Shaker cards are not my talent, but it was fun to try.  Mine never shake well...

card 2

the challengeFusion Sketch

Jan 18, 2016

Stamping with Pearl Ex Mixed Media Card

card 1

 Hi everyone!  Today I am sharing some background stamping inspiration with you.  I've been trying out some variations with making Distress Ink backgrounds this weekend.  I decided to use Glimmer Mist to water down my ink and really love the way it turn out!  For this card I first stamped my brand new IndigoBlu stamp in Versamark, then dusted it with Pearl Ex powder - what a cool technique!

background

I've had these powders for years and years and decided to break them out for the All That Sparkles IndigoBlu challenge - they are definitely sparkly!  Ignore the glitter tape, I ended up making this entire card then ripping it apart and starting over...  Am I the only one?!  Anyway, I then dipped the stamped and Pearl Exed panel into my DI and Glimmer Mist puddle.  It did remove some of the Pearl Ex, but it ended up on the card in various puddles, which I loved!

card 3

I ended up dropping pools of Concord Grape DI, White Mister Huey ink, and watered down Pearl Ex on the card randomly.

card 4

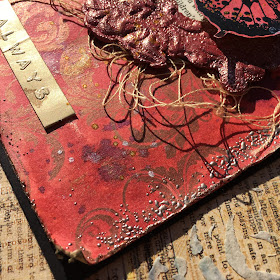
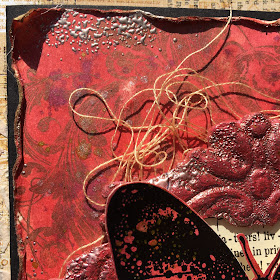
The edges were distressed and curled and then rubbed lightly with Versamark and embossed with ages old Cloisonne embossing powder, which is similar to UTEE or Frantage.  I also added some to the ornate paper frame.

card 5

I inked the butterfly pretty much the same way and layered it over the frame, a scrap of hymnal page, and a bundle of floss. This was a really fun project and I'm so glad I stuck with it!  I picked up several new IndigoBlu stamps and can't wait to play with each of them!  They are so artistic and cool!

card 6

I'm entering the following challenges:

You are invited to the Inlinkz link party!

Click here to enter