Apr 11, 2016

Stamped Angel Distress Tag


My local art group does a monthly swap and I created this tag for one of the girls, who requested an angel theme.  The only stamps I have with angels are for Christmas, but I tried to make it work.  This one is by Stampington & Co.  I layered it over my new Tim Holtz Ornate Frame 2 die painted.  The background was one of my favorite distress ink backgrounds.  I stamped over the wet ink with more blue ink and it created the prettiest faded image of the ornate design, also by Tim.  I lightly embossed the edges of the tag with gold EP and flecked some watery Perfect Pearls over the tag.


I have had these brass wings for over 10 years, and thought it would be cool to use them behind the handmade flower.  I really liked the effect.  The flowers were made with the Tattered Florals die using printed scrapbook paper.  I wasn't into the color, so I spritzed it with spray ink, then rubbed it with watery Perfect Pearls to make some highlights.  The center is a blue rhinestone.


The always stamp was stolen borrowed from my mom and I just love the script.  It's Penny Black.  I hope you enjoyed seeing this sweet little project.  It's fun to make things specifically for people, sometimes.  Don' you think?

Apr 7, 2016

Stenciled Spring Tag

tag 1
Hello my sweet bloggy friends.  Today I am sharing my 200th post with you!  To my delight I am joining A Vintage Journey as Guest Designer for their newest challenge, Spring is in the Air.  I am still not ready to dive into bright colors, so I chose a very muted pastel tag for my project.  Spring is filled with new life and love and I thought a floral wedding design would be perfect for the theme.  
tag 2
Even though AVJ has broadened its genres to cover more than just Tim Holtz, I couldn't help myself from using some favorite TH products.  This beautiful lattice pairs so beautifully with flowers.  I made the pink and green flowers with the Tattered Florals die and the dogwood is a McGill punch.
tag 3
I really wanted to use my stash of Distress embossing powders, so I added yellow and green to my stencil paste and love the texture and color!  Tim's new tiny layering stencils are amazing!  The Distress EP creates the prettiest resist, more subtle than using white.
tag 4
I can't get enough of the new rectangular ornate frame.  I love cutting them from white watercolor paper and then inking them with various colors to coordinate with my project.  Here I've used a simple dripped Glimmer Mist in golden brown.  I stamped Tim's butterfly onto inky green paper.
tag 5
For the topper, a simple embellishment of dyed cloth strips, jute, and an Ideology charm.  This background was one of those that you hate covering up, but all in all I was pleased with the variations of texture and color.  I hope you like it and are inspired to join AVJ with this month's Spring challenge.  Thanks to this fabulously creative crew for having me this month.  What a happy Spring indeed!  Thanks so much to every one of you who continually supports my blog.  Your comments and encouragement mean the world to me.
tag 6
I'm also sharing with:

Cover Art for my Mixed Media Junk Journal

book 1

It is my turn to host a challenge for Stamps & Stencils and I picked the theme Trash to Treasure.  I kept pressuring myself to do something new for the challenge, but end the end just had to do what I do!  Do you ever feel that way?  Well, I've felt that way a lot lately and had a good 'ole time working on the cover of my junk journal.  I decided it would make it more special if I did the cover, so here you have it.

book 2

This book has been about imagining the lives of the "found relatives" collection.  I decided to use a big group of people for the cover, each person special and loved by God.

book 3

I feel like my interior pages were missing the dimension that my work usually has.  I tried to pile it up for the cover.  Here I've used Finnabair's art stones, burlap, layers of paper, and one of Mrs. Simpson's crocheted squares.  Thank you Barbara for sharing these with me!  I treasure every string!

book 4

The stencil paste in the background was lost a bit.  I puddled with some old ink daubers, similar to Distress Stain.  Chainlink fence stamp by Finnabair.

book 6

I thought I needed to add another repuprosed item to give you some ideas for entering our challenge.  Here I used the lid from a frozen juice concentrate.  I gessoed it, then added layers of the same inks.

book 7

I just can't help but put string on everything these days!  Oh the symbology!!!

book 8

See how the layers here are raised up?  Now look at my page from inside of the book and see how flat it is?  I love making things 3D!  So the challenge remains in the inside of the book to create as much depth and contrast as possible without all that bulk.  I guess both are equally lovely, but I prefer the heavy stuff!

book 9

This will be a reminder to me to stop focusing on myself and see the world around me.  I guess that's a lifelong battle for most...  So today, let me affirm to you that you are loved deeply by One who died for all.  May He help us to show love to each other.  Thanks for visiting!  <3

book 10

I'd also like to play with:
You are invited to the Inlinkz link party!
Click here to enter

Apr 5, 2016

For the Birds Square Mini Album

Stampers Sampler

My jaw hit the floor when I opened the latest Somerset Place blog post.  I have been giddy all week about my cards being published in the latest Stampers Sampler, but seeing my pages being used for advertisement sent me over the moon.  Head on over and check it out for yourself HERE.  The post has a giveaway too, so it will be worth your efforts.  :)

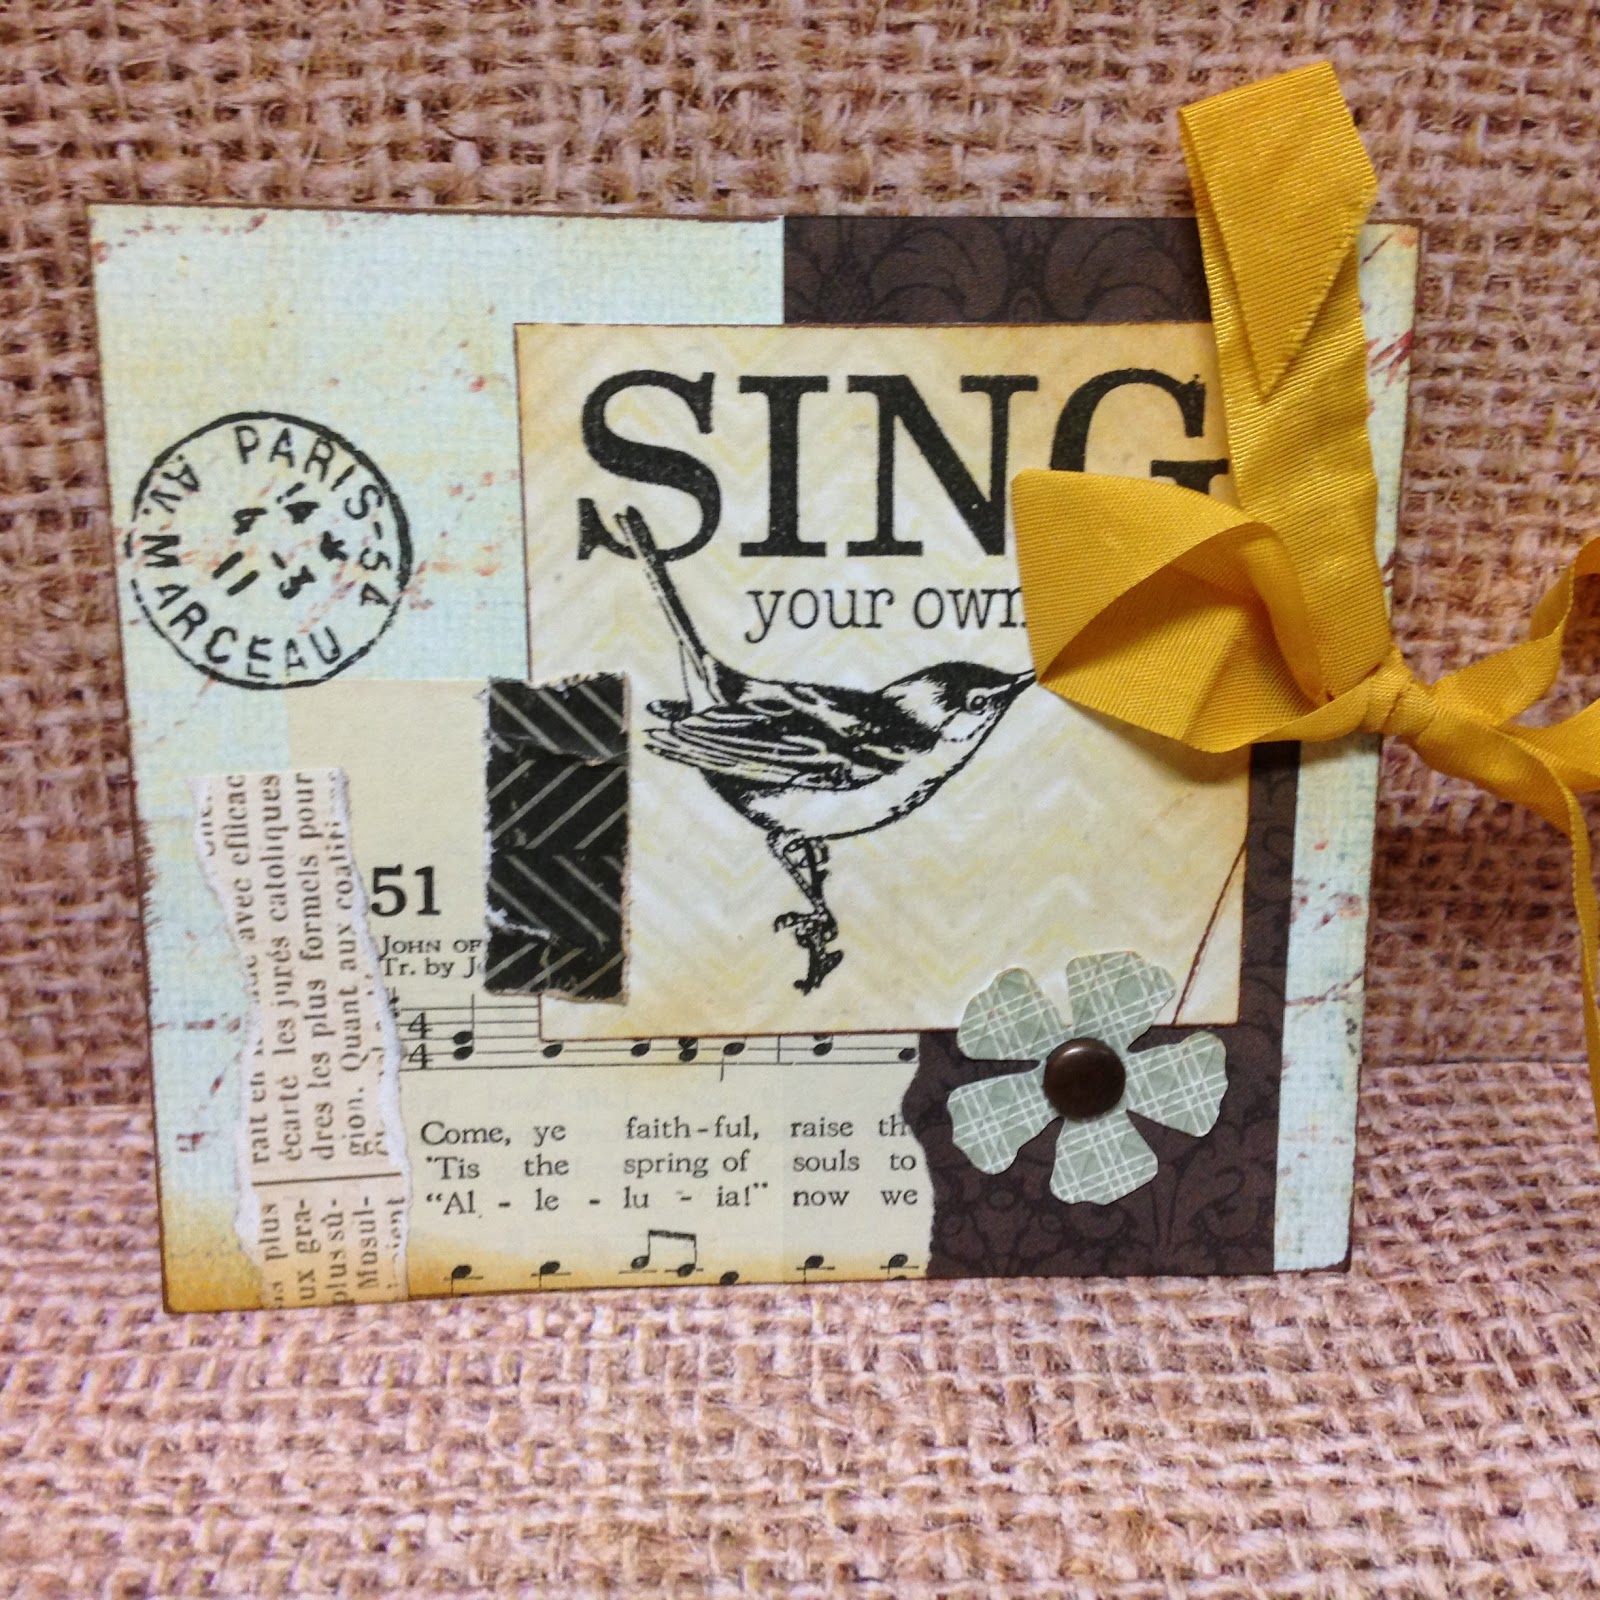
I have been wanting to share this mini album with you all for ages.  The cards that were published came from a play day with my favorite two stamping buds, my mom and our friend Barbara.  We got together and had a great day of creating working on bird themed mini albums.

Album1

Each page is an envelope made from mostly Authentique 2-sided papers.  Sadly, I thought all of the dressed birds were Character Constructions stamps and Stampington printed my error.  The long beak bird is CC, but the other dressed birds are by Invoke Arts and can be found in their Etsy shop HERE.  These are my absolute favorite stamps, but belong to Barbara.

album 2

Each page has a pull out.

album 3

album 4

album 5

This was a $1 stamp I picked up from Joann's.

album 6

album 7

The bird came from BoBunny paper, I believe.  This paper is Kaiser Kraft, my favorite all time collection.

album 8

album 9

album 10

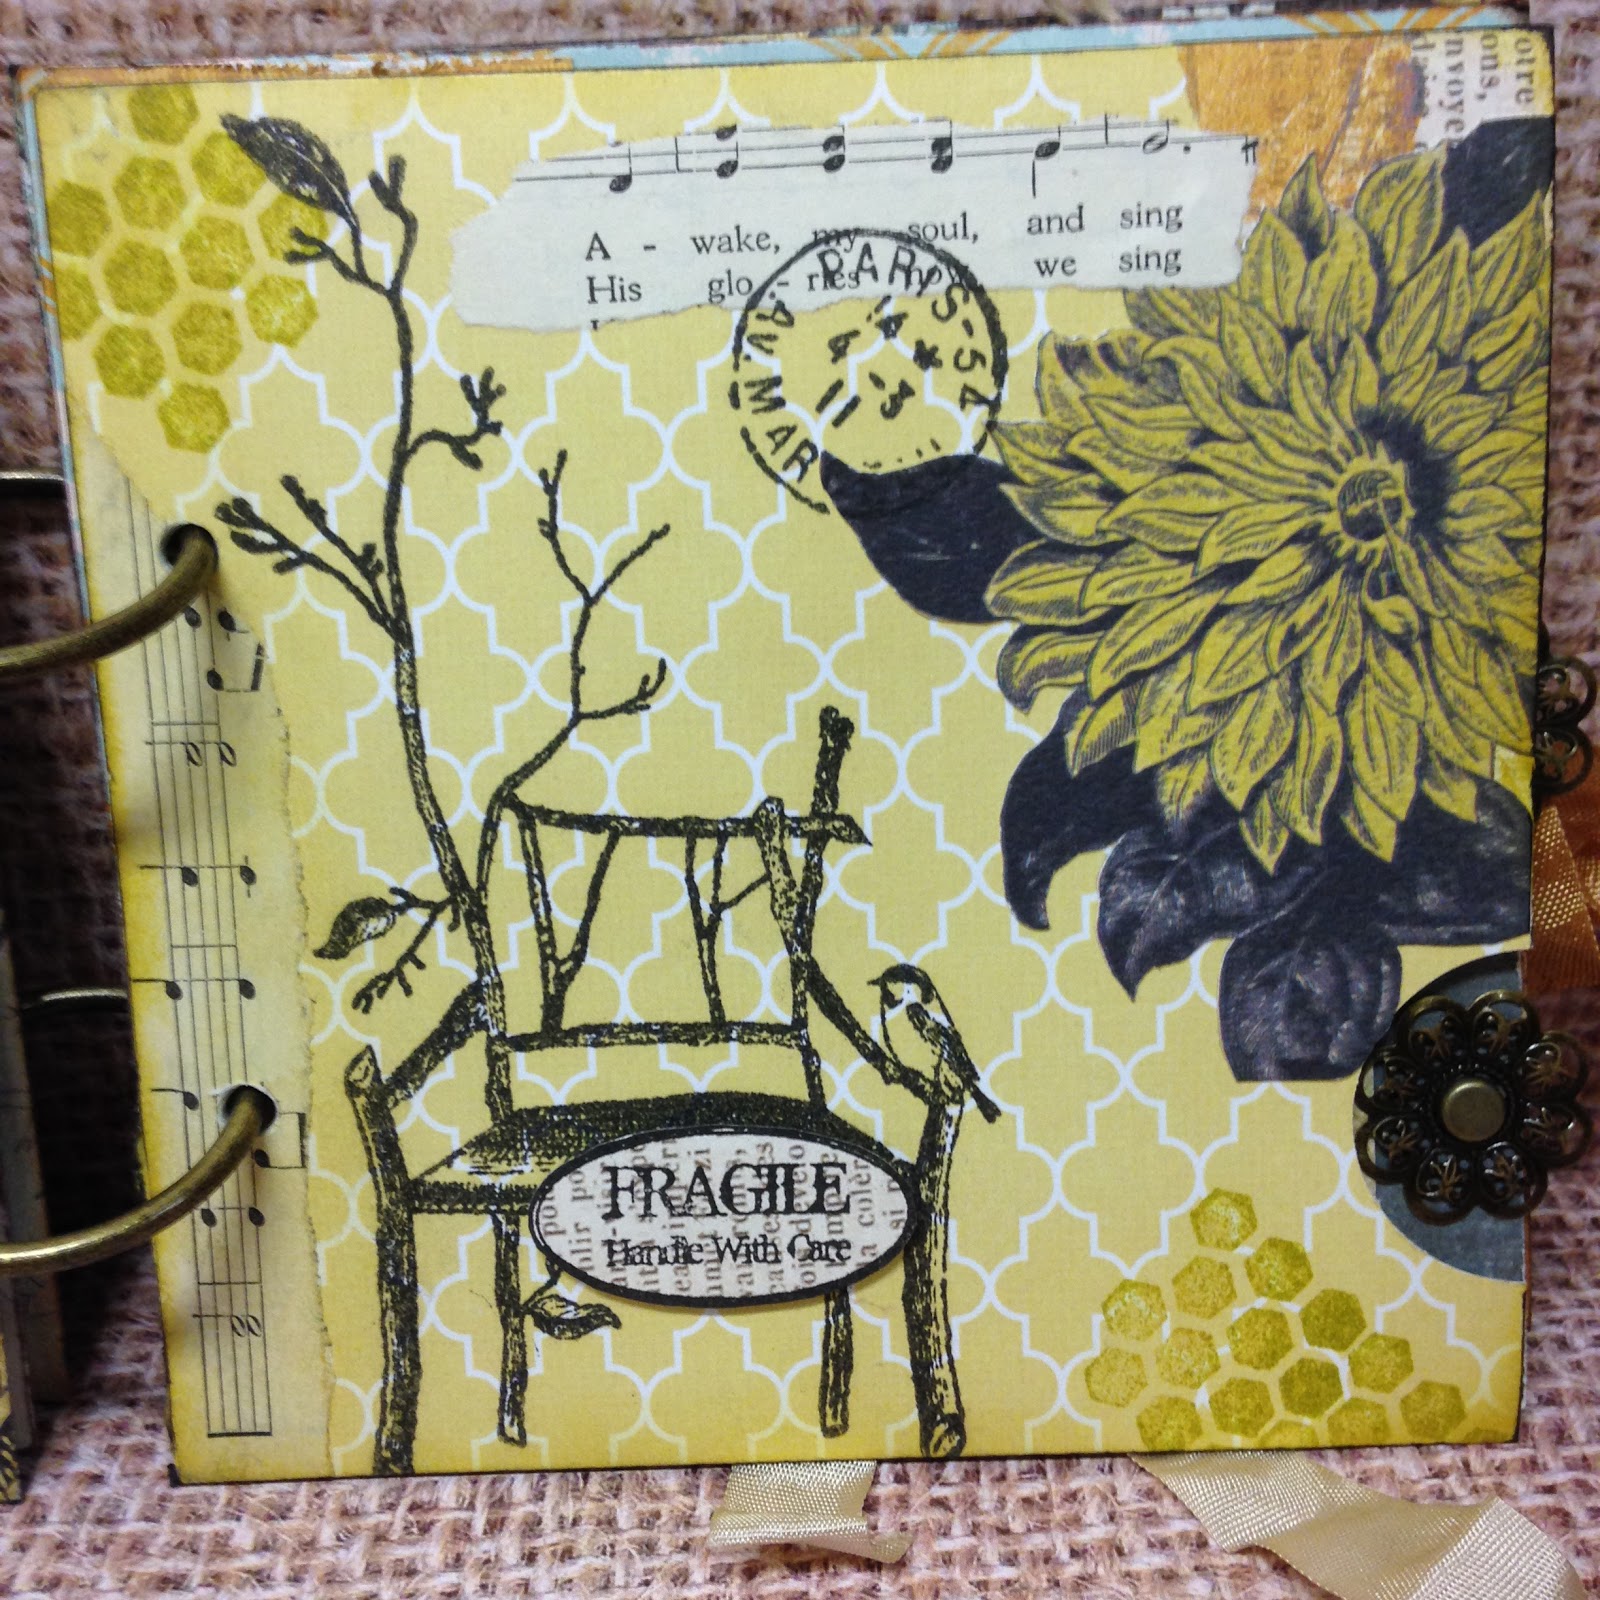
The chair is Character Constructions for sure.

album 11

album 12

album 13

Making these little stamping collages is one of my favorite things to do.  It's such a great way to use up bits and pieces and show your stamps some love!

album 14

album 15

After I made the book, I was still wanting to do more, so I made the batch of cards that were published.  Thanks so much for visiting me today and celebrating with me!  <3

album 16

Next I need to make a cover for my book.  Wish me luck!

album 17

I'm sharing with these fabulous stamping challenges:
Fantasy Stamper
(Invoke Arts stamps are about 8 years old.)

You are invited to the Inlinkz link party!

Click here to enter

Apr 3, 2016

Dimensional Flowers Embellishments from Stamps

card 1

Today I have a bright, happy card to share with you.  I created the card to showcase how beautifully Gracielle's digital stamps blend with traditional stamping in mixed media.  Today I paired this fabulous sentiment from the New Beginnings set with my IndigoBlu stamps.  I only have a few of these and just found out about the stamp company, but I love the challenge of creating multiple projects with the same stamps.  I am trying desperately to win some more by entering their challenges.  And speaking of winning, why not head over to my comment HERE for a chance to win one of Gracie's digital stamp sets?

card 2

I started by stamping the background flourish in white to create a resist effect for my watercolor.  For some reason I was itching to use this new Tim Holtz thinlet die and added it as well, what a busy background!  But I can do nothing less...

card 3

Next I created a 3D handmade flower by stamping the flower three times in Worn Lipstick spritzed lightly with water before stamping.  I cut apart the individual petals as best as possible, then curled them backwards.  Last, I stamped the leaves in the same manner and cut them out.  I hope these two posts have inspired you to make some flowers and keep your mind open to new ideas with mixed media, after all - isn't that the fun of it?  Make sure to show Gracie some love at her blog HERE, and why not enter the IndigoBlu challenge HERE.  Thanks for looking!  <3

card 4

I also want to play with these fabulous challenges:

Popular Posts