May 6, 2017

PaperArtsy DIY Rusty Canvas Box


Have you ever wanted to make a your own rusted metal box from cardboard as a canvas for your art?  Me neither, until now.  And now that I have, I wonder why I haven't been making my own box canvases for years...  Hmmm...


Look at that rusty texture.  And it was soooo easy to produce.  I'm sure I could have layered more, but with very few DecoArts products I was able to achieve this look and was quite happy with it.


What started out as a card or a small collage ended up as this 3D freestanding art project.  I chose my favorite "Found Object" for this round of PaperArtsy challenges, a frozen lemonade mix lid.  I gessoed it black, then added DecoArt sand texture paste with a palette knife.  I then layered fluid acrylics to achieve the color.  I loved it and decided to use it to frame a paper doll I'd make with my Lynne Perrella stamps.  :)


I cut apart a metal flower for her "crown."


I layered her onto a favorite Gelli print.  The print was so amazing, I didn't add much else.  To the sides I attached a patinaed Clipola and a strip of Tim's burlap cord.


Then I wished I had a canvas just the right size to frame my little collage with, and thought why not make my own.


So I started at one corner of a thick sheet of greyboard and traced my ruler on the left and bottom, it was about 1/5" thick.  Then I laid my collage onto the middle and decided how much space I needed for it, then measured ruler marks around that on the top and right.  I cut off the excess then put the panel in my paper cutter and lightly cut into the lines.  Score lines wouldn't do with such thick cardboard, hence the light cutting.  I applied masking tape all over the seams to hold it all together, then used the same rust treatment I had used on my juice lid.  When everything was dry and set, I glued the box to a black backing board.  It is very light weight, but looks very substantial in real life.  I will definitely be making this type of "canvas" again in the future.  I hope you like it!


Are you in the mood for lemonade now?  Here's my favorite recipe, which I always made for my dear Grandmother.

Lemonade Berry Tea
1 Frozen Minute Made Lemonade Juice Concentrate
8 Wild Berry Zinger Celestial Seasonings Tea Bags
To prepare:
Mix lemonade as directed.  Add tea bags and allow to sit overnight.  Remove tea bags and serve.  YUM!

I'm sharing this project with:
(Inspired by the Chunky Lynne Perrella Canvas HERE.)

May 4, 2017

That's Crafty Mixed Media Tree House


What a fun and inspiring challenge we have in store for you this month at A Vintage Journey!  Our theme is "Using Quotes" and our lovely hostess Jenny says, "Take a quote! Any quote! Whether it be on a stamp, a sticker, handwritten or sourced from the internet and make it the focal point of your vintage; shabby; mixed media; art journaling, industrial, timeworn or steampunk project."


As a bonus, our challenge is being sponsored by That's Crafty, who has so graciously offered the lucky winner a £20 voucher.


For my project, I chose the Extra Large House Shrine Substrate.  This substrate is over 8.5" high and is quite impressive on its own.  Honestly, it took me many a days to ponder how I would alter this beauty!  And I really wanted to use my all time favorite quote for this challenge, "I am most alive among the tall trees."  The result is this "tree house."  I hope you like it!  I used Tim Holtz's birch thinlet for the inside of my shrine.  I carefully cut and pieced two cutouts together so it would be long enough to fit inside.  To cover the seams, I scraped on DecoArt texture sand paste.  Then I colored it with watercolors.  I hand stamped the text with an alpha set onto inky paper.


I was curious to see how the substrate would take spray inks, and boy was I ever surprised!  I did not gesso or prime.  I stenciled this Tim Holtz flower stencil with texture paste, then sprayed blue and green Lindy's Stamp Gang sprays right onto it.  It soaked in beautifully and didn't alter the color much.  One of my favorite techniques with sprays is to add a bit of glimmer mist over a stenciled image.  The texture causes the shimmer to puddle around the image.  I love this effect.  After I did that, I dry brushed gesso onto the flowers and then hand painted more inks onto them.  I wanted them to be lighter and compliment the white trees in the niche.


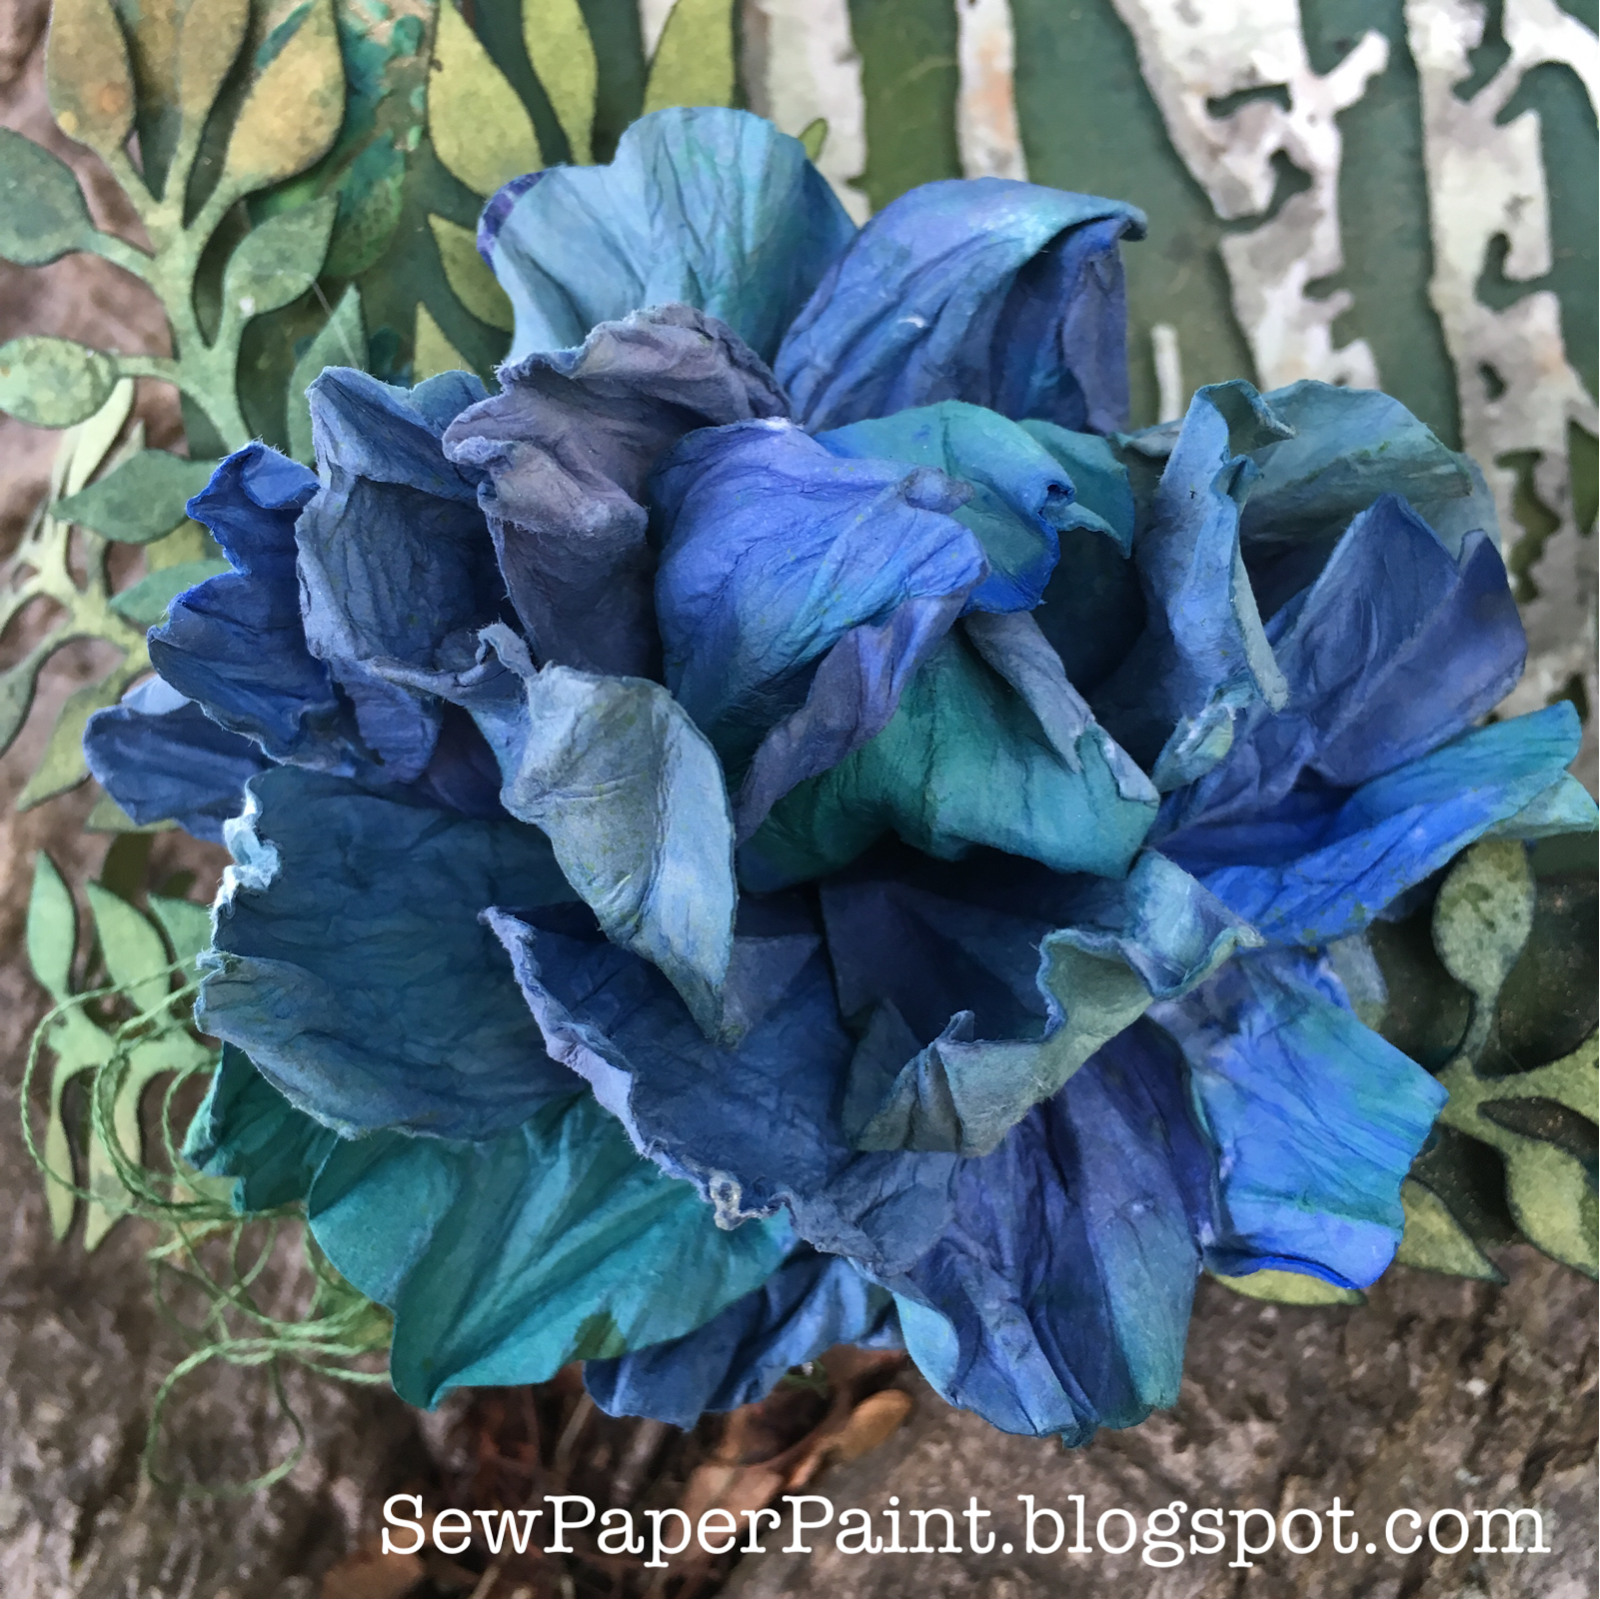
To embellish, I chose to create one giant flower, inking it as described in THIS tutorial.  I used a Brenda Walton Bigz peony flower die with Distress Inks.  It reminds me of an Alice in Wonderland fantasy!


The curls are created in the twisting of the petals.  This flower was made with five layers of the largest of the peony die.  I would wear it as a broach.  Ha!


Right away I knew my forest must have ferns.  These foliage dies are some I got for a steal at a Tuesday Morning sale.  I don't know the brand, sorry.


I just had to use the lovely new IndigoBlu butterfly from the Victorian Garden stamp set.  Isn't it amazing!  I used blue and green embossing powder to get the two-tone look.  And that's it.  All finished, and perched upon a tree in my yard.  I hope you like it!


I'm also sharing with:
You are invited to the Inlinkz link party!
Click here to enter

PaperArtsy Fabric Covered Mini Album


It's time for a new challenge at Stamps & Stencils.  Our challenge theme for May is Fabric and Fibres.  Our lovely hostess Cec says, "Let's add some fabric and/or fibres to our creations this month.  You can use linen, burlap, organza, wool, lace, ribbon, rope to name a few.  The list is almost endless but whatever you add, make sure there is some stamping or stenciling (or both) on your creation as well."  I couldn't help but think of the little PaperArtsy fabric mini album I had started.  The tutorial on its construction can be found HERE.


So of course I decided to double dip and use some Found Objects, as required in this fortnight's challenge at PaperArtsy.  I was inspired by Corrie Herriman's post where she raided her junk metal findings.  I happened to have a jar of loose metal I've picked up.  These round and square bits were given to me from my friend Carol, who is an MRI technician.  I believe they were part of an old MRI machine - how cool!  Thanks Carol!


I decided to wrap them in cloth.  I glued them to fleece then wrapped my chambray from my album cover over the padded pieces, securing with Beacon 3-1.  I used the back side of the fabric for contrast.


I glued them like so and added some of the discs and a found washer.  I gessoed the cover lightly.


Next, I sprayed Lindy's Stamp Gang spray inks onto everything.  It soaked in much more than I would have liked, but you can see hints of navy and green.  The spray removed the gesso on the washers, which was strange, but they looked cool either way.


I added some more spray over my stenciling.  Next, I tucked in flowers and buttons in the gaps.


I had a snippet of an old ruler and attached it along with a dyed strip of an old hymn.


Remember, my book is focused on paths, doorways, etc.  I was so happy to find this text.  <3


I layered my Lynne Perrella image over some basket filler and die cut lacy flowers by Prima.


I tucked a second stamped image on either side for repetition.


A side view so you can see the dimension better.  What fun this was to alter!  I'm so thrilled to have completed this much of my album.  My first posts with collaged pages can be found HERE and HERE if you missed them.  I have about six more spreads to go.  I hope you are inspired to participate in our fabric challenge.  I would love for you to use my tutorial and create your own album.  Leave me a comment if you do!  :)


I'm playing along with:

You are invited to the Inlinkz link party!
Click here to enter

May 3, 2017

Shabby Chic Wedding Card with Doves and Doilies


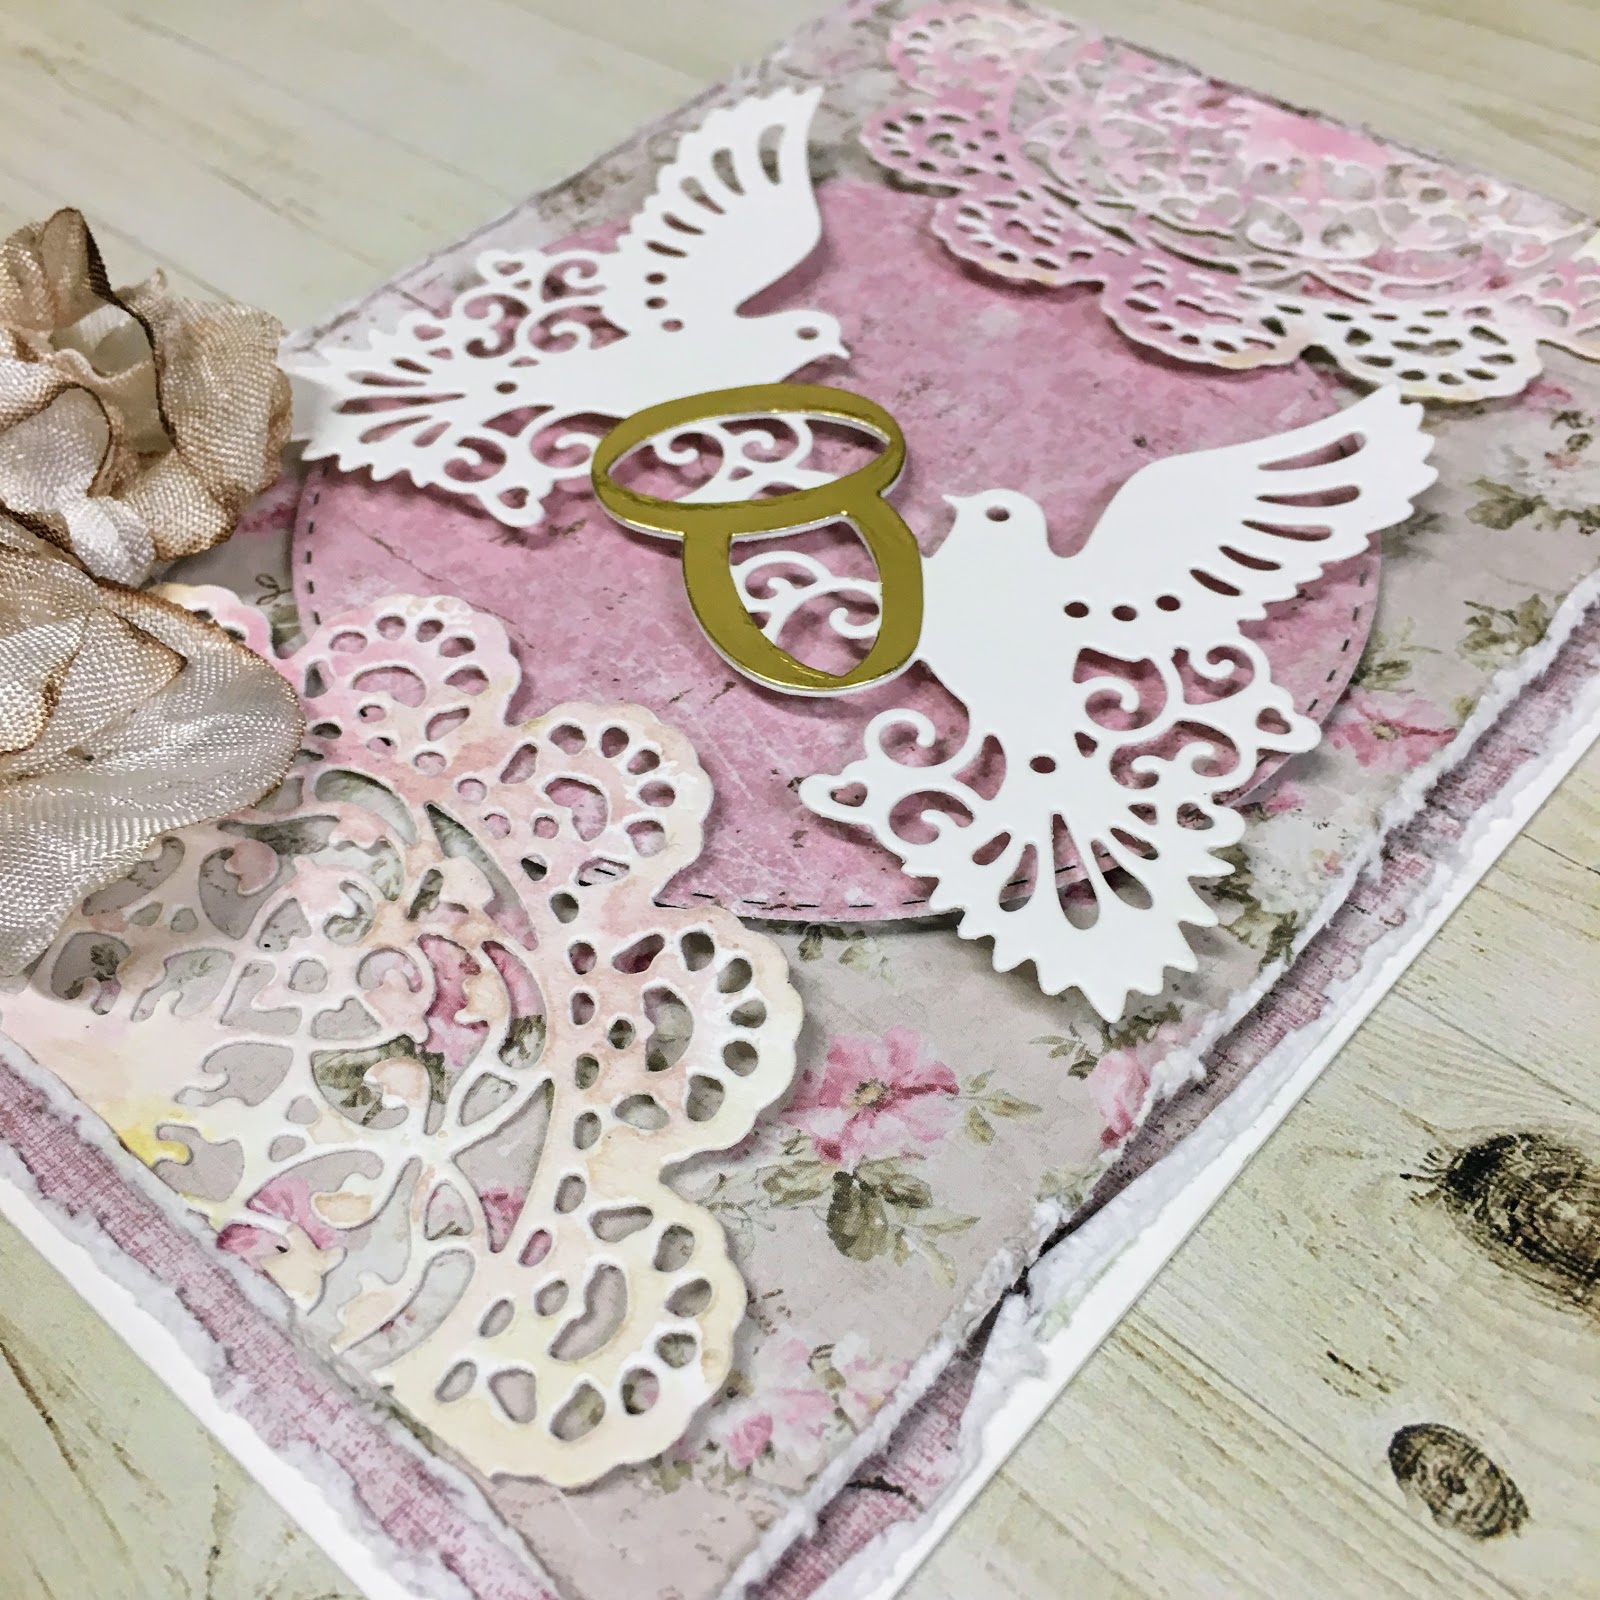
We have a new Anything Goes challenge at Scrapy Land today.  You could win a $15 certificate by entering a project made with any brand of die that Scrapy Land sells.  How fun!  I'm sharing my first card with the fabulous new Tutti Designs Doves and Rings Die.  How exquisite is this die!  I decided to go full on shabby chic and used these wonderfully romantic papers from Maja Design that I won recently - thanks Nancy Dynes!  ;0


I distressed the edges of two panels and layered with the Tutti Designs Nesting Stitched Circle die and a Prima doily die, which I cut in half and inked with Milled Lavender Distress Ink.  I cut a second dove from gold card stock and cut out the rings carefully as a highlight.


I finished with a bow from this beautiful hand dyed crinkle ribbon from D.L. Art, which I won in the Coffee Lovers Blog hop - thanks Diana!  I have been so blessed this year!  I decided not to add flowers to this card, but you could certainly arrange a bundle of flowers along the doilies if you wanted to really shabbify this card.  <3  I hope you are inspired to create a project of your own for our challenge.


I'm also sharing with:
MB-May17

Glittery Cupcake Girls Birthday Card


Join me on the Tutti Designs blog today for tips and tricks in saving your precious papers when making multi-matted designs.  I'm featuring our gorgeous new Cupcake Stand die paired with the Celebrate Word Set.


I'm also sharing with:

Popular Posts