Today we launch a new challenge at
Mini Album Makers! Last October I designed this album to be your "go to" for 4x6 photo storage. You could make this book as simple or complex as you want to. It could be filled to the brim with 4x6 photos or embellished as desired (or to the max like I have done!) Either way, I hope you will find it useful and will pin this post to remember. :) We're also having a
Design Team call through May 15, so hop on over and check out those details too.
The pages are envelope style and have two-sided photo pull outs. Since I made this book six months ago, honestly I forgot why I added the ribbon to one side only (closure I guess?), so I decided to use it to wrap a twig for extra interest. LOL!
I filled my album with family photos from our various mountain/hiking trips. You can see how easily the photos fit the pages and pullouts. They are straight from the photo center, not cropped at all.
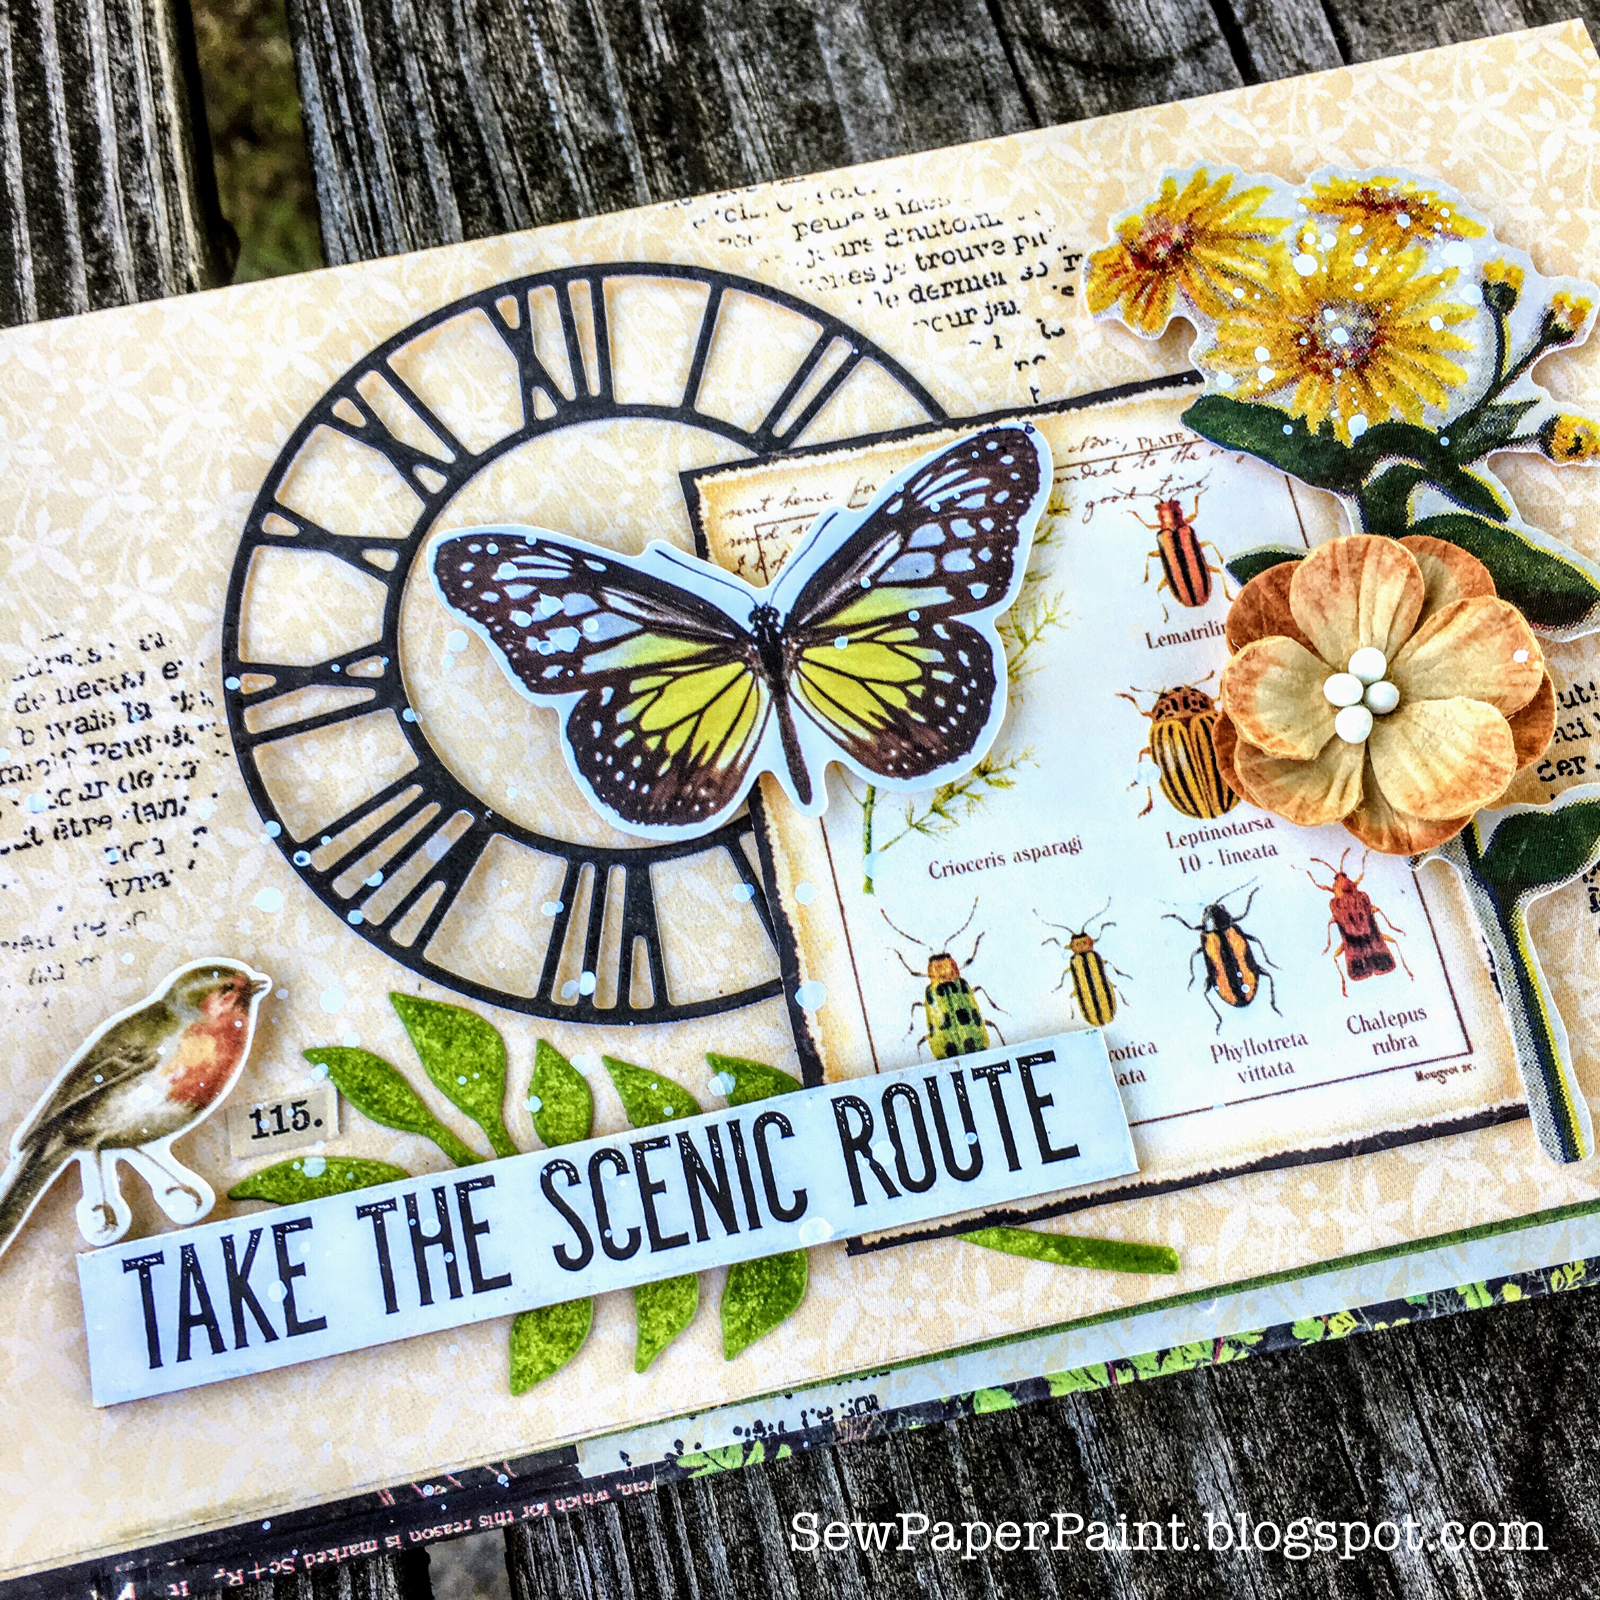
I mixed lots of fussy cut images from the
Graphic 45 Nature Sketchbook collection with die cuts, paper flowers and Tim Holtz Botanical Ephemera cutouts for embellishments.
Prepare your nestled/stacked binding using the following measurements (see
THIS post for a more detailed explanation):
4 3/16 x 1 1/4"
4 3/16 x 1 3/4"
4 3/16 x 2 1/4"
Score each piece 1/2" from each side. Adhere by stacking from smallest to largest, leaving the 1/2" flaps free.
Cut the your paper for the envelopes to 7 x 9 3/4" strip (pattern up and down). Score this piece at 1" and 5 3/16". Then glue the 1" section to the inside like shown above.
This will leave you with cylinder shaped pieces. Apply red line tape to both sides of the flaps on your signature. Snip off the corners of the flaps to miter them and make it easier to slide your cylindrical pages onto. Remove tape on one side and slide your page down flush with the spine, then remove the tape on the other side. It is easier than trying to attach with both sides sticky.
Mark the center of each envelope and punch a 1 1/4" circle punch half way to make the openings for the pull outs. Cut the mats for your photo pull outs. The mats will be 4 1/4 x 6 1/4" for 4x6" photos.
Cut your covers and spine from chipboard. Wrap the front and back covers with patterned paper by mitering the corners and wrapping on all four sides (photo not shown). The covers are 4 5/8 x 7 1/4". Your paper wrap should be 6 1/4 x 8 1/2".
Treat the spine differently. Tape it to the dead center of your spine wrap. The spine should be cut to 1 3/4 x 4 5/8'. The spine wrap should be 5 1/2 x 6 1/4'. Add extra tape as shown above.
Carefully adhere your wrapped front and back cover to the spine wrap, allowing for a 1/8" gap between the covers and the spine. Fold the top and bottom of the spine wrap around your spine and covers . Mount a lining (the yellowish paper above) of 4 1/2 x 7" to the front and back covers. Next add a center lining (the black pattern) of 4 1/2 x 4 3/4" over your spine. Burnish the area between the covers and spine carefully to allow the paper to give for folding.
Next, simply adhere the back of your signature piece, with the envelopes attached to the center of your spine. Viola!
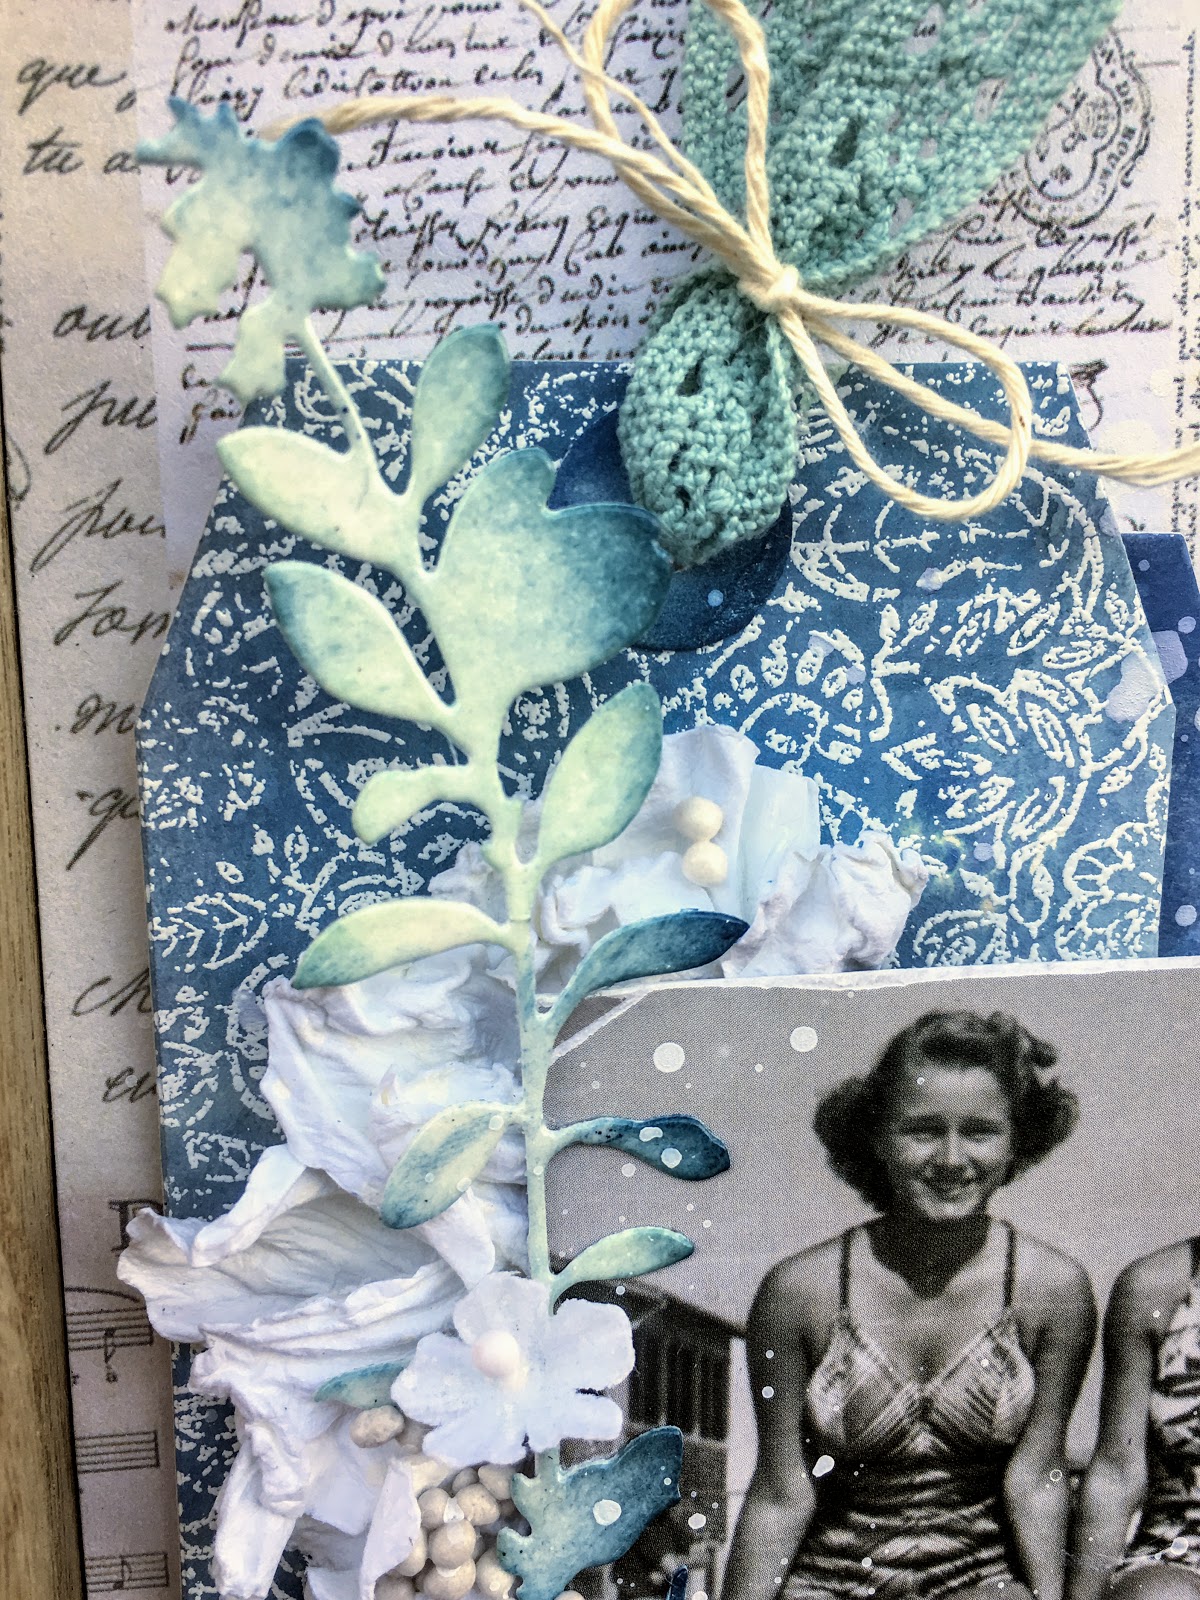
And now some closeups of each page collage. I'm thinking these would each be beautiful card ideas and I may make some square cards with my leftovers. :)
I hope you're inspired and will play along with our challenge at Mini Album Makers for a chance to win a $25 gift certificate to the
Lindy's Stamp Gang shop! Don't forget to pin this tutorial and visit our other incredible designers at
Mini Album Makers for more inspiration!
I'm also sharing with: