Jun 22, 2015

Chose Life Three-Fold Tag Holder Mini

tag 1

This mini album design was inspired by a Heidi Swapp project found HERE.  To create Heidi's Four-Fold Mini follow these directions:

Cut a sheet of scrapbook paper or cardstock to  7 ½”  x  12”.

Score at  5”  along the  7 ½”  side. 

Fold the  2 ½”  piece up to create the pockets.  Burnish well.
Open and score at  3”,  6”,  and  9”  along the  12”  side.  Accordion fold with the front panel having a pocket.  Burnish well.  If desired, snip the corners off of the top of the folded panel to make the panels resemble tags.  Before securing the side pocket edges closed, make sure to attach ribbons for closure.

tag 2

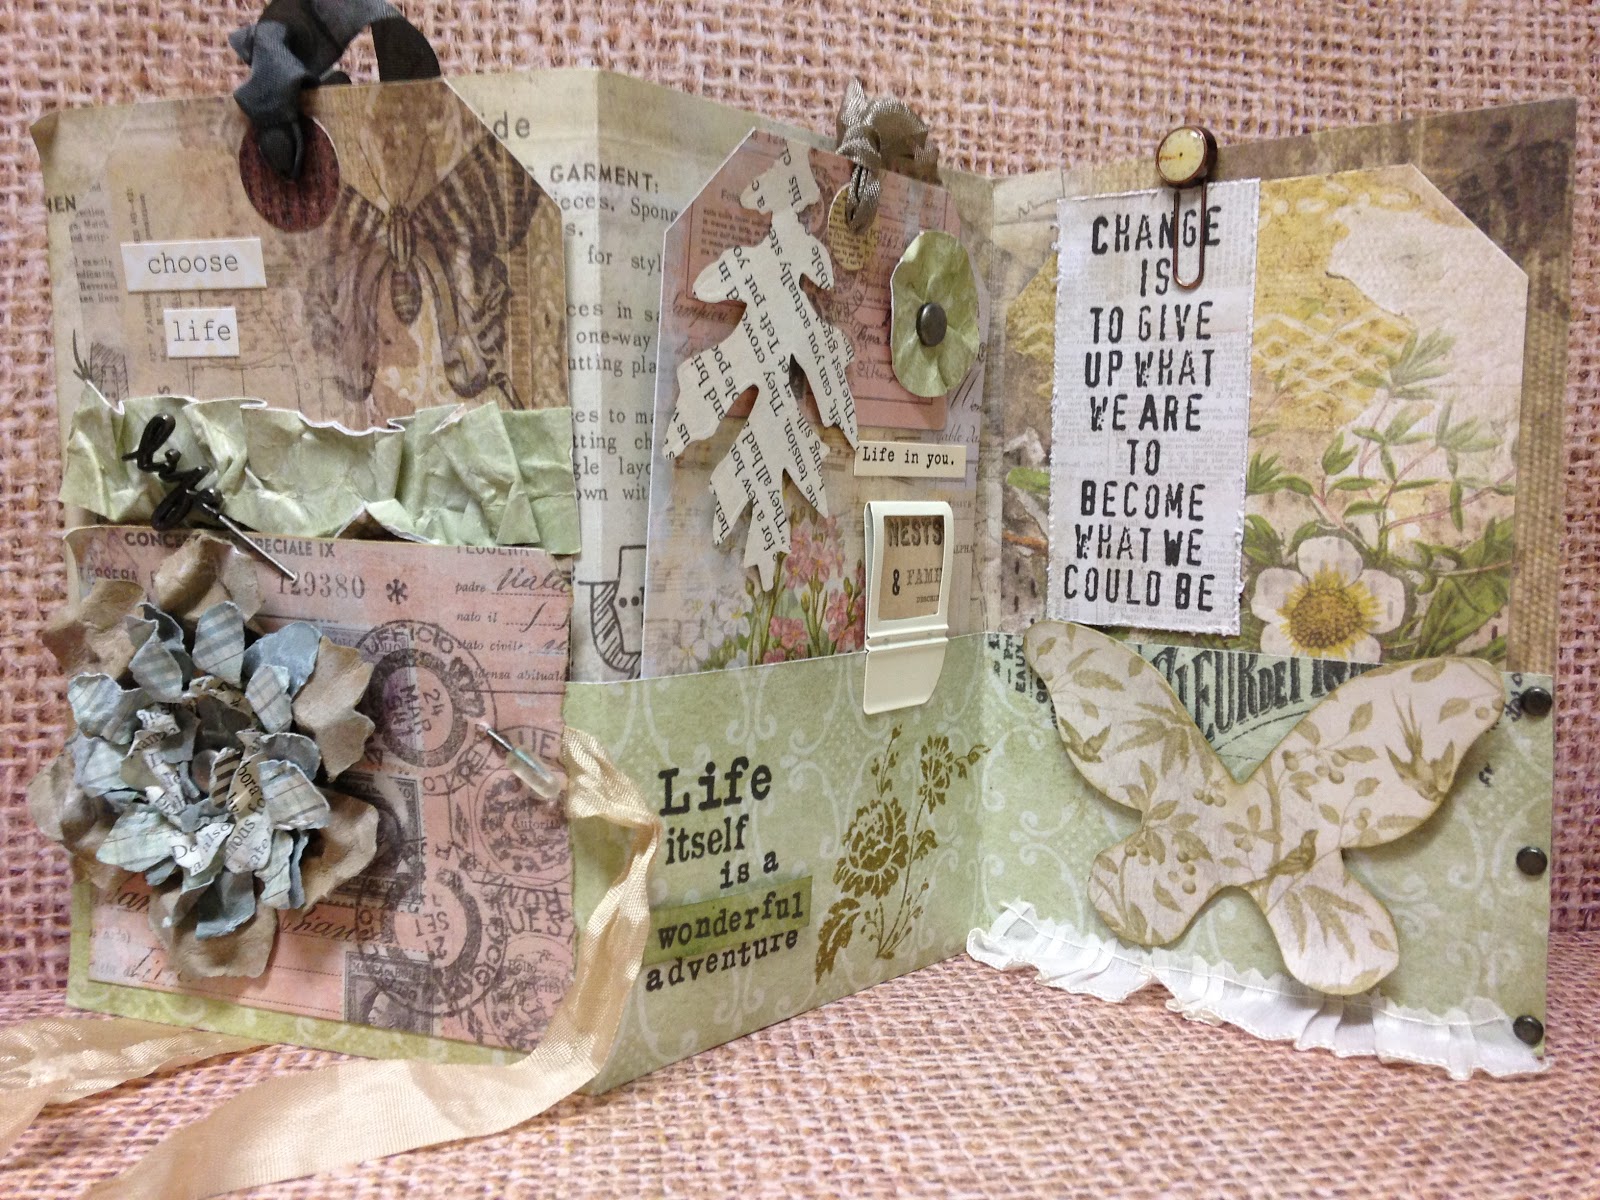
I modified the design to create a Three-Fold Mini with larger sections.  This makes a great little gift for artsy friends!  Here's how to create the Three-Fold Mini:

Cut a sheet of scrapbook paper or cardstock to  9”  x  12”.

Score at  6”  along the  9”  side. 

Fold the  3”  piece up to create the pockets.  Burnish well.


Open and score at  4”,  and  8”  along the  12”  side.  Accordion fold with the front panel having a pocket.  Burnish well.  If desired, snip the corners off of the top of the folded panel to make the panels resemble tags.  Before securing the side pocket edges closed, make sure to attach ribbons for closure.

tag 3

I used Tim Holtz Wildflower paper for this mini.  The cover is embellished with one of my gessoed flowers.  I promise a tutorial is coming soon.

tag 4

Tag detail.  I journaled over this stamp some favorite scripture to remind me to let go of what was and become who God wants me to be.  Choose life!  I thought it ironic that these stamps played on my theme so well.

tag 5

Thanks so much for looking!  May God bless you as you seek Him.  And may He bless the Charleston community with grace and love in light of the recent tragedy.  

tag 6

I have made several other of these minis and will be sharing those with you soon!  Check back!

Jun 19, 2015

Acey Deucy Sister Tags Tutorial Part 2

As promised, today I am sharing the tutorial for my Acey Deucy sister tag number 2.  If you missed the first tag, click HERE.  There you'll see how I created the embossed textured paper.  
This go round I inked my background with Aged Mahogany, Rusty Hinge, and Vintage Photo Distress Inks.  I stamped the ticket (7Gypsies) in Rusty Hinge.  I layered some torn book page and washi tape, then stamped a border stamp by Basic Grey on the right.  I stamped the girl (Acey Deucy) on a mini tag and loved how it looked with a light sponging of ink, but the composition needed something, so I decided to give her an arm by using my Character Constructions doll parts stamp.  I attached it with a flower brad by Tim Holtz.  Then I decided to place a flower in her hair.  
At this point she became "Tilly", as she was getting ready for a grand ball!  So I added the pin, which reminded me of a masquerade mask.  I picked up this lapel pin years ago at the Salvation Army in TX.  Next I added some crackle stamping along the top of the tag.
And finally some vintage seam binding and crocheted trim finished her off.
I just love the dimension!  I stamped the words "Fly Away" to complete the theme.  I can't wait to make a complete paper doll using these stamps.  So glad you joined me today!

Jun 17, 2015

DIY Tattered and Dyed Ribbon Tutorial

This brilliant DIY idea (if I do say so myself) popped in my head last night and I quickly experimented with making tattered & dyed ribbon, thus a tutorial for you!

Ribbon 1

I have been enjoying the ink tutorials by Tammy Tutterow so much, but she and so many others use SOOO many of Tim Holtz's products and I just can't keep up with buying all of his new stuff, I mean sheesh!  I've always enjoyed a good DIY and trying to find a cheaper way of doing, well, about anything!  So glad that this project turned into a success.  I had a scrap of gauzy cotton that I had been tearing and using to clean my paint messes with so I could take Roben-Marie Smith's course, Ripped & Stitched.  Cannot wait to take this class!!!  The material was perfect for making ribbon.  It is not quilter's cotton, and not linen - but somewhere in between.  I picked it up at a second hand store...

ribbon 2

Begin with a piece of cotton approximately 24" - 36" wide and however long.  Snip into the fabric every half to 3/4" (not too wide) then tear off one strip at a time, removing any strings that are released as you go.

Ribbon 3

Nest brush your craft mat or wax paper with Distress Ink and spritz with water about 4-5 times and rub your ribbon strips in the ink, adding more water as necessary directly to the fabric strips.

ribbon 4

Repeat with a second color.

ribbon 5

You can also add color directly to the fabric with the ink pad to create darker sections.

tag 1

Crinkle and let dry, then use for card making, tags, and more.  Alternatively, you can iron the wadded ball while wet to set in some wrinkles.

Here's my lovely pile of experimentation:

ribbons 6

It reminds me of a grungy version of hand dyed silk...  Next I want to do some stitching over the ribbon strips.  Black zig zag, white pinstripes, etc.  Thanks for looking, now go DIY yourself some lovely ribbon to coordinate with your projects.  :)

Jun 16, 2015

Tea Party Square Mini Album Tutorial

Book1

Today I wanted to share my new Tea Party mini album with you and thought a Tutorial on the nestled signature binding would be a bonus. 

Book2

I embossed an amazing Character Constructions stamp for the front cover and added my gessoed flowers. I will do a tutorial on these in the near future. 

Book3

Look at that scrunchy goodness!

Book4

The yellow was my favorite one that I made thus far. It reminds me of TX fields of sunflowers...

Book5

Please forgive me for not knowing all of the stamps I use. So many times I'm using friends' stamps and don't remember to notate the maker, or on acrylics I've thrown away the packaging... The alphas are my favorite set. They are tiny and came from the $1 bin at Michael's. 

Book6

Each page is punched with a circle punch and has a pullout. Another Character Constructions girl and a Fruit of the Spirit stamp, love that! This pullout has a circle flower made by cutting two circles, scrunching them up and layering. 

Book7

Dresses on a line with vintage trim. This has to be one of the prettiest stamps ever made. A die cut bird and gessoed flower. 

Book8

Pullout detail. The swirly stamp is by Basic Grey.

Book9

This men's shirt pattern is by Character Constructions and the text by Stampington & Co.

Book10

The pullout features another Character Constructions stamp and the word Joy is a $1 bin Christmas stamp with the word "Pure" spelled out with alphabets. The paper for this book was a clearance item at Tuesday Morning by an unknown manufacturer. It's very similar to Authentique.

Book11

This is my favorite spread. I love these Character Construction birds! Thought the wadded up doily was lovely.

Book12

The tea cups and text are by Stampington & Co. I cut tops to resemble a tea bag.

Book13

The "T" is also by Stampington & Co. and the brad is from Spare Parts at Hobby Lobby.

Book14

The spoons are by Stampington & Co. I love how the paper on the right resembles cascading ruffles.

Book15

And the last pages.  Below you see how the pages space nicely with this style of nestled signature.  It's not fuller on the edges of the pages compared to the spine but rather equal.  

Book16


5" Pages

Cut 6 pocket pages to 5” x 10 ¼”. Score at 5” and 10”. Burnish and attach ¼” flap to the outside to create somewhat of a cylinder. 

Page Inserts

Cut 6 page inserts to 4 ¾” x 4 ½”.

Nestled Signature

Top: 4 7/8” x 1 ¼”

Middle: 4 7/8 x 1 ¾”

Bottom: 4 7/8” x 2 ¼” 

Score all pieces ½” from each side down the length of each piece. Burnish well in both directions. Attach score tape to the center of the backs of the middle section of each piece and nestle together with the largest on the bottom and smallest on the top. The ½” pieces on the sides should be free and will be adhered into your pages. Cutting a small diagonal section off the ends makes it easier for them to fit into the pages. To adhere apply score tape on both sides of the ½” flaps and insert into page openings. The signature is simply adhered to the inside spine of your book.

Signature Closeup

5 ¼" Covers

Cut 2 pieces of mat board 5 ¼” square for the front and back covers.

Cut 1 piece of mat board to 5 ¼” x 1 ½” for the spine.

Adhere paper over your covers and spine, leaving a ruler's width between the spine and covers as you wrap the paper.  Cover inside as well.  Burnish in groves between spine and covers.  Attach signature, with pages adhered, to the inside spine of your cover.

Book16

Please leave me a comment if you make a 5" square mini album of your own.  The beauty of this design is that you can get two pages from one sheet of double sided scrapbook paper and you need not make the book from plain colored cardstock, then cut smaller pieces of scrapbook paper to cover the pages.  One sheet and done!  Thanks for looking, now go make it pretty!

Jun 15, 2015

Acey Deucy Sister Tags Tutorial Part 1

Tag1

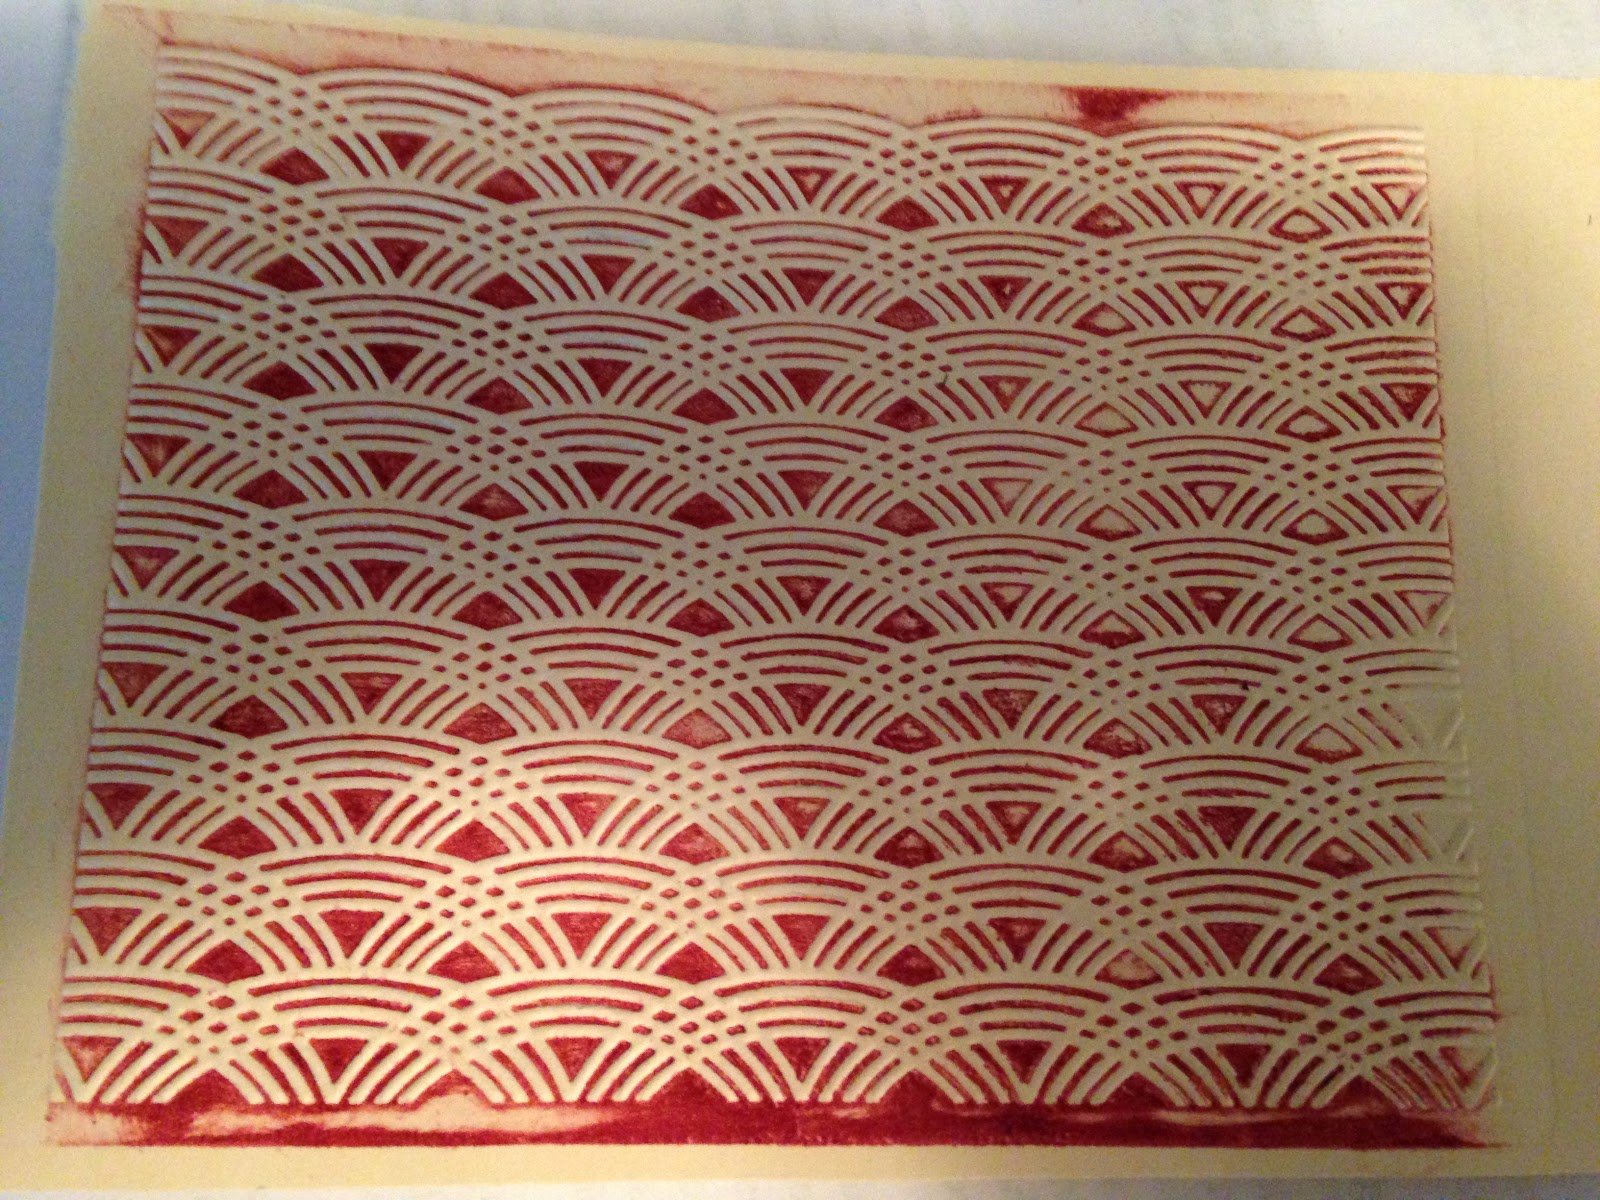
This Acey Deucy tag we'll call "Evette" (or Part 1).  I hope you'll enjoy these gals as much as I have.  I sat down to stamp with my Mother and was showing her some of my great new embossing folders.  I told her of a new technique I had read about where you apply Distress Inks directly to the folder on the side opposite to the side which makes the impression.  I just had to do a hands on demonstration and I'm so glad I did.  These tags were developed simply from playing with this technique.  Here you see the product, as it comes out of the Big Shot.  I used Aged Mahogany on the folder.

Embossing

I stamped text with Chalk Ink in dark brown, then sponged with Peacock Feathers and applied washi tape to my tag.

tag2

Next I sponged Rusty Hinge over the embossed piece. For this tag I tore a large section of the embossed piece and glued it directly over this tag and saved the remainder for another tag (part 2).

tag3

The color was quite dramatic, but I was very pleased so far.

tag4

So I started on my focal image.  I stamped "Evette" in black onto manila card and then stamped Beauty the same way.  I layered the images and cut them out as one.  I snipped the corners and sponged lightly in coordinating colors.  I sponged a seafoam flower with Peacock Feathers and spritzed it to blend the color.  Lastly, I added some twine and more washi tape along the bottom of the tag, then hot glued some crocheted trim in place.  I finished the tag with some vintage seam binding at the top.

tag5

I really like the contrast and colors in this tag.  Patina and sunset!  Thanks for joining me and come back to see "Evette's" sister tag, "Tildy" later in the week.  Update: Click HERE for Part 2.

tag6

Popular Posts