Nov 21, 2022

Graphic 45 Let it Snow Fancy Fold Christmas Cards


Hi everyone!  I'm excited to share with you today a load of cards my mom and I made together last year using the oh so gorgeous Graphic 45 Let it Snow paper collection.  We usually make Christmas cards after Christmas and into January each year because of time off of work and winter setting the cardmaking mojo into full force.  But it seemed strange to share them, so I waited...  I just saw this collection on sale on the G45 website, so I wanted to share so you could take advantage of the half price deal HERE.  If they sell out, maybe you can get some single sheets using the link below from Scrapbook.com.  

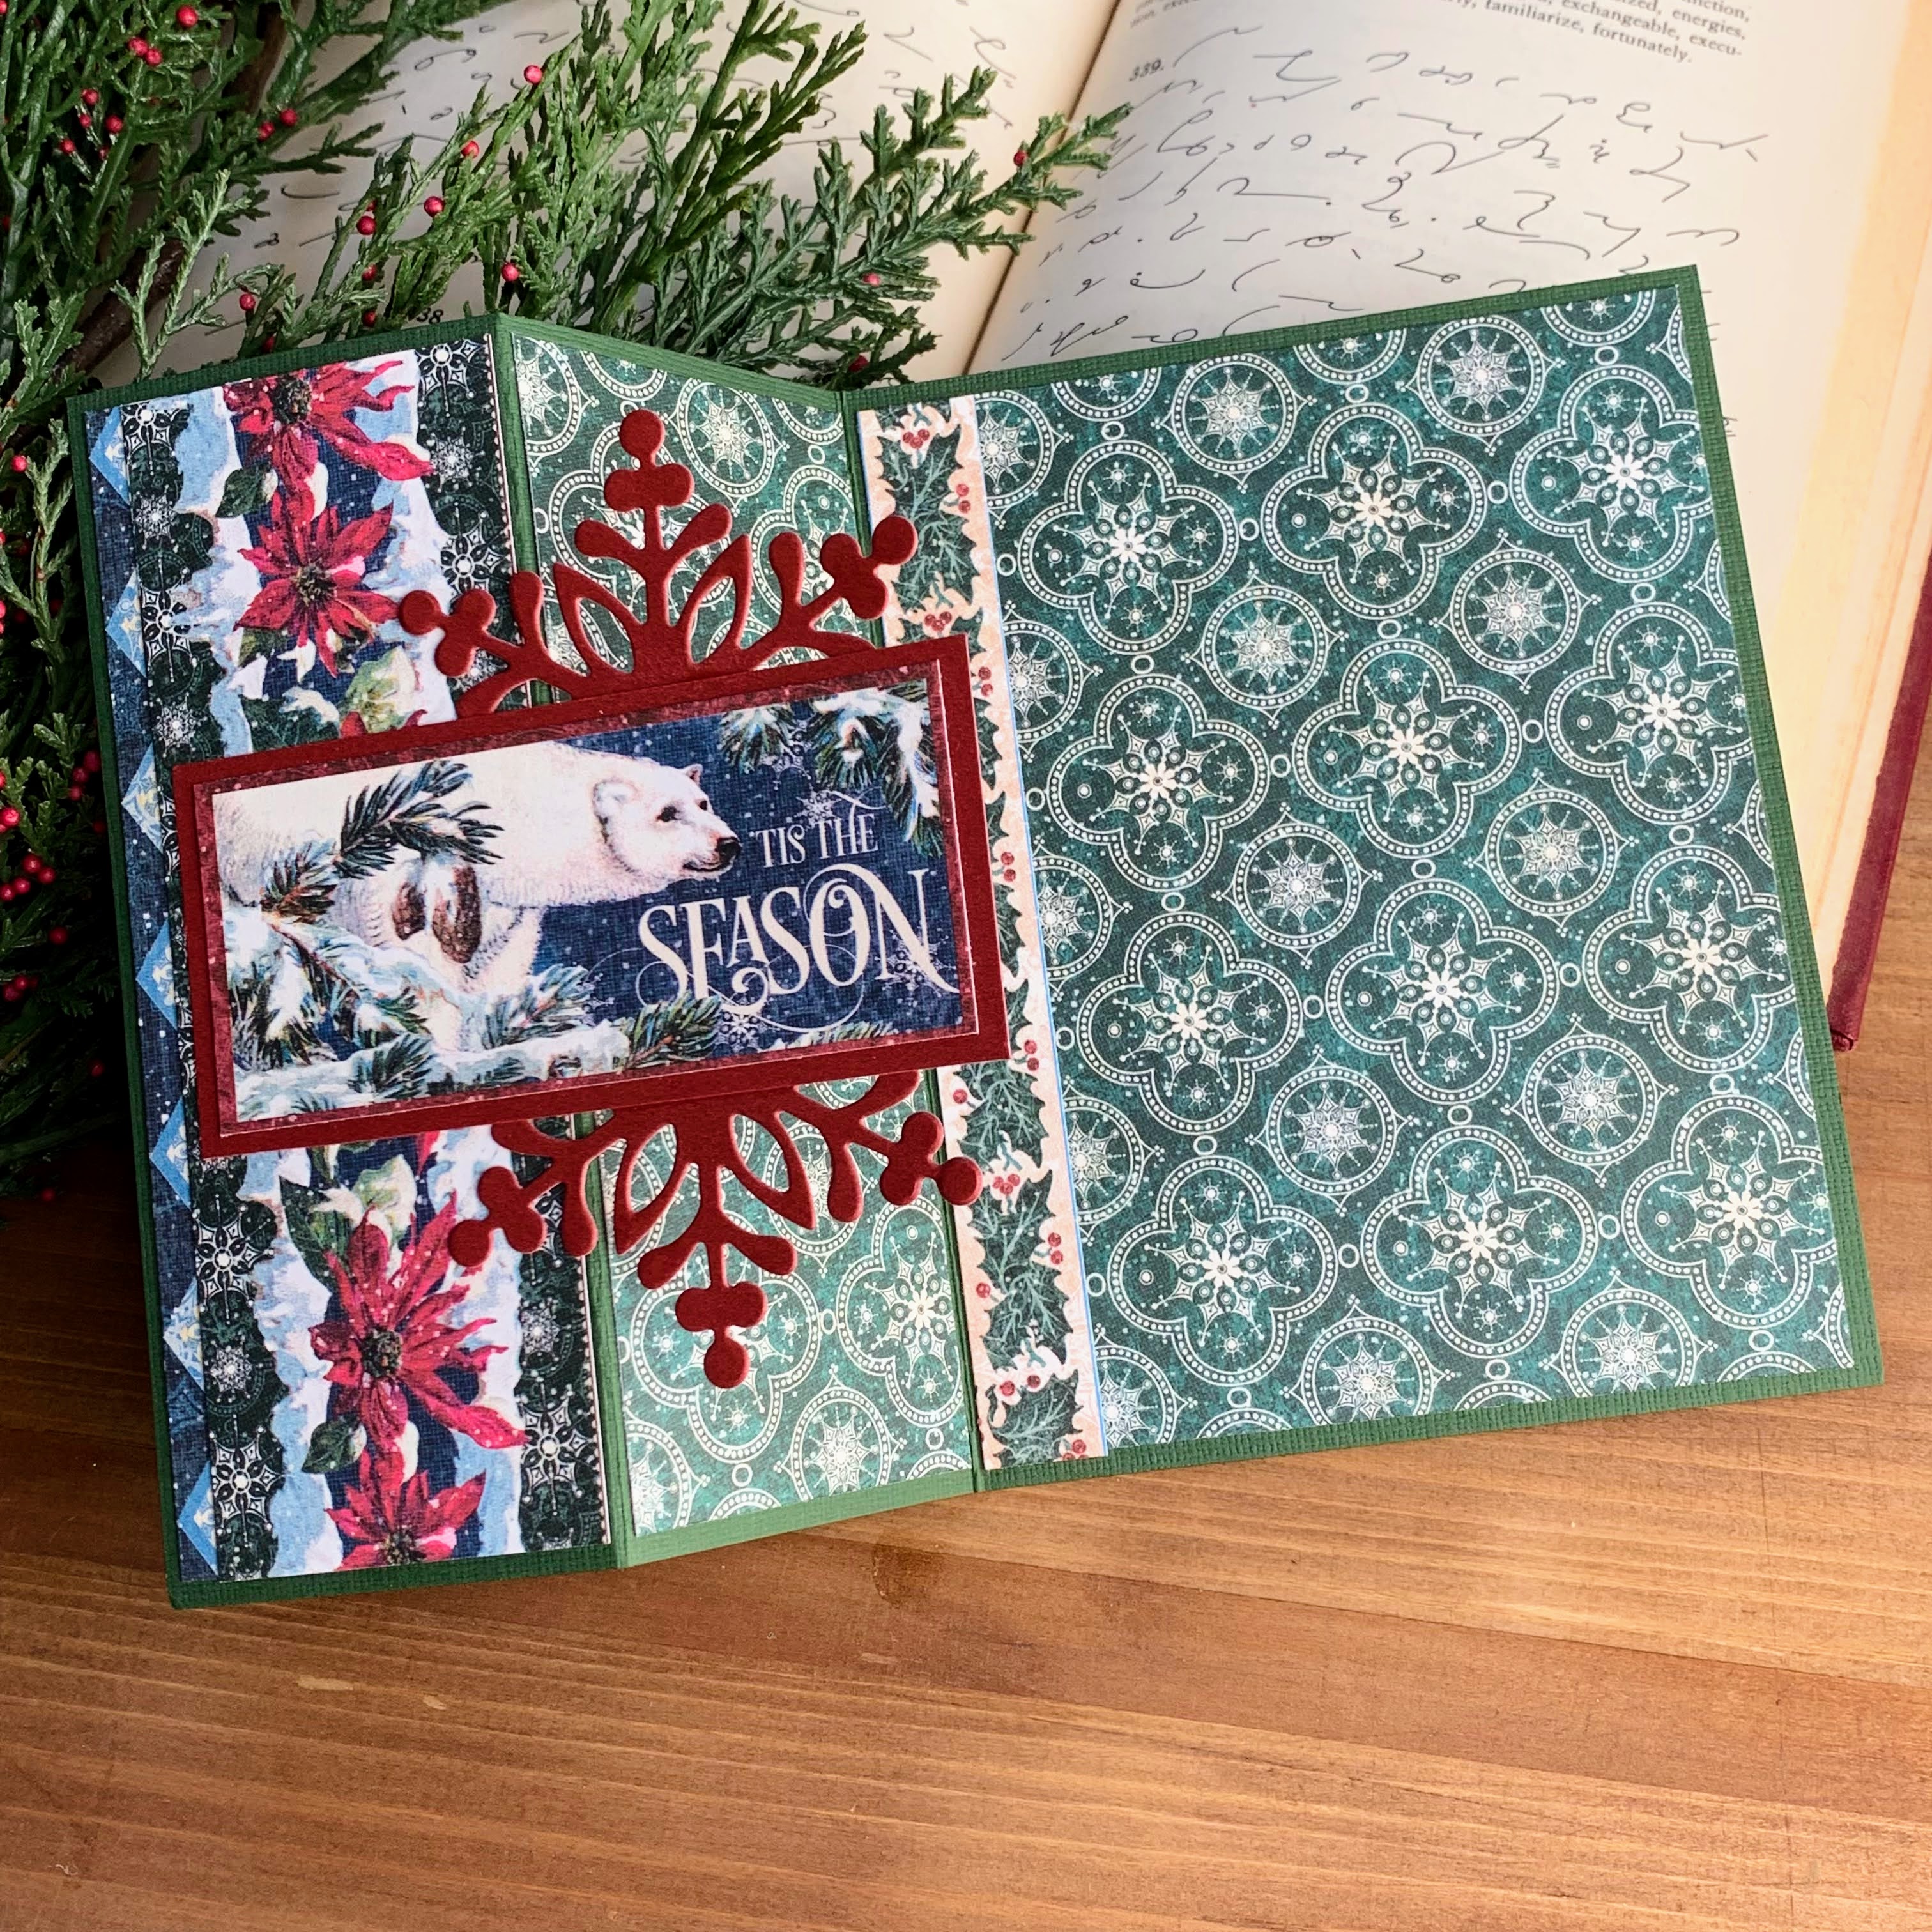
Up first, this fancy fold card was really fun to make using the rectangular focal images found in the paper pad.  I layered with some fussy cut poinsettias and some of the text strip.  The icicles were hand cut, but easy to do. 


We didn't buy any of the embellishment packs, only the 12x12 paper and tried to maximize it to the fullest.  I added some die cuts, these snowflakes are by Tim Holtz. 


Of course that meant lots of fussy cutting!  Some stickles add a shine to the snow. 

I tried to make most of the cards mailable, but couldn't resist some 3D poinsettias here and there. 

This trifold card was really fun to make.  I'm a huge owl lover!  I tore some of the layers to make snowy hills. 


And this one is an easel card, with the snowflake border die popping up, so fun!  It still closes pretty flat to fit into an envelope though. 


A smaller scale trifold card. 

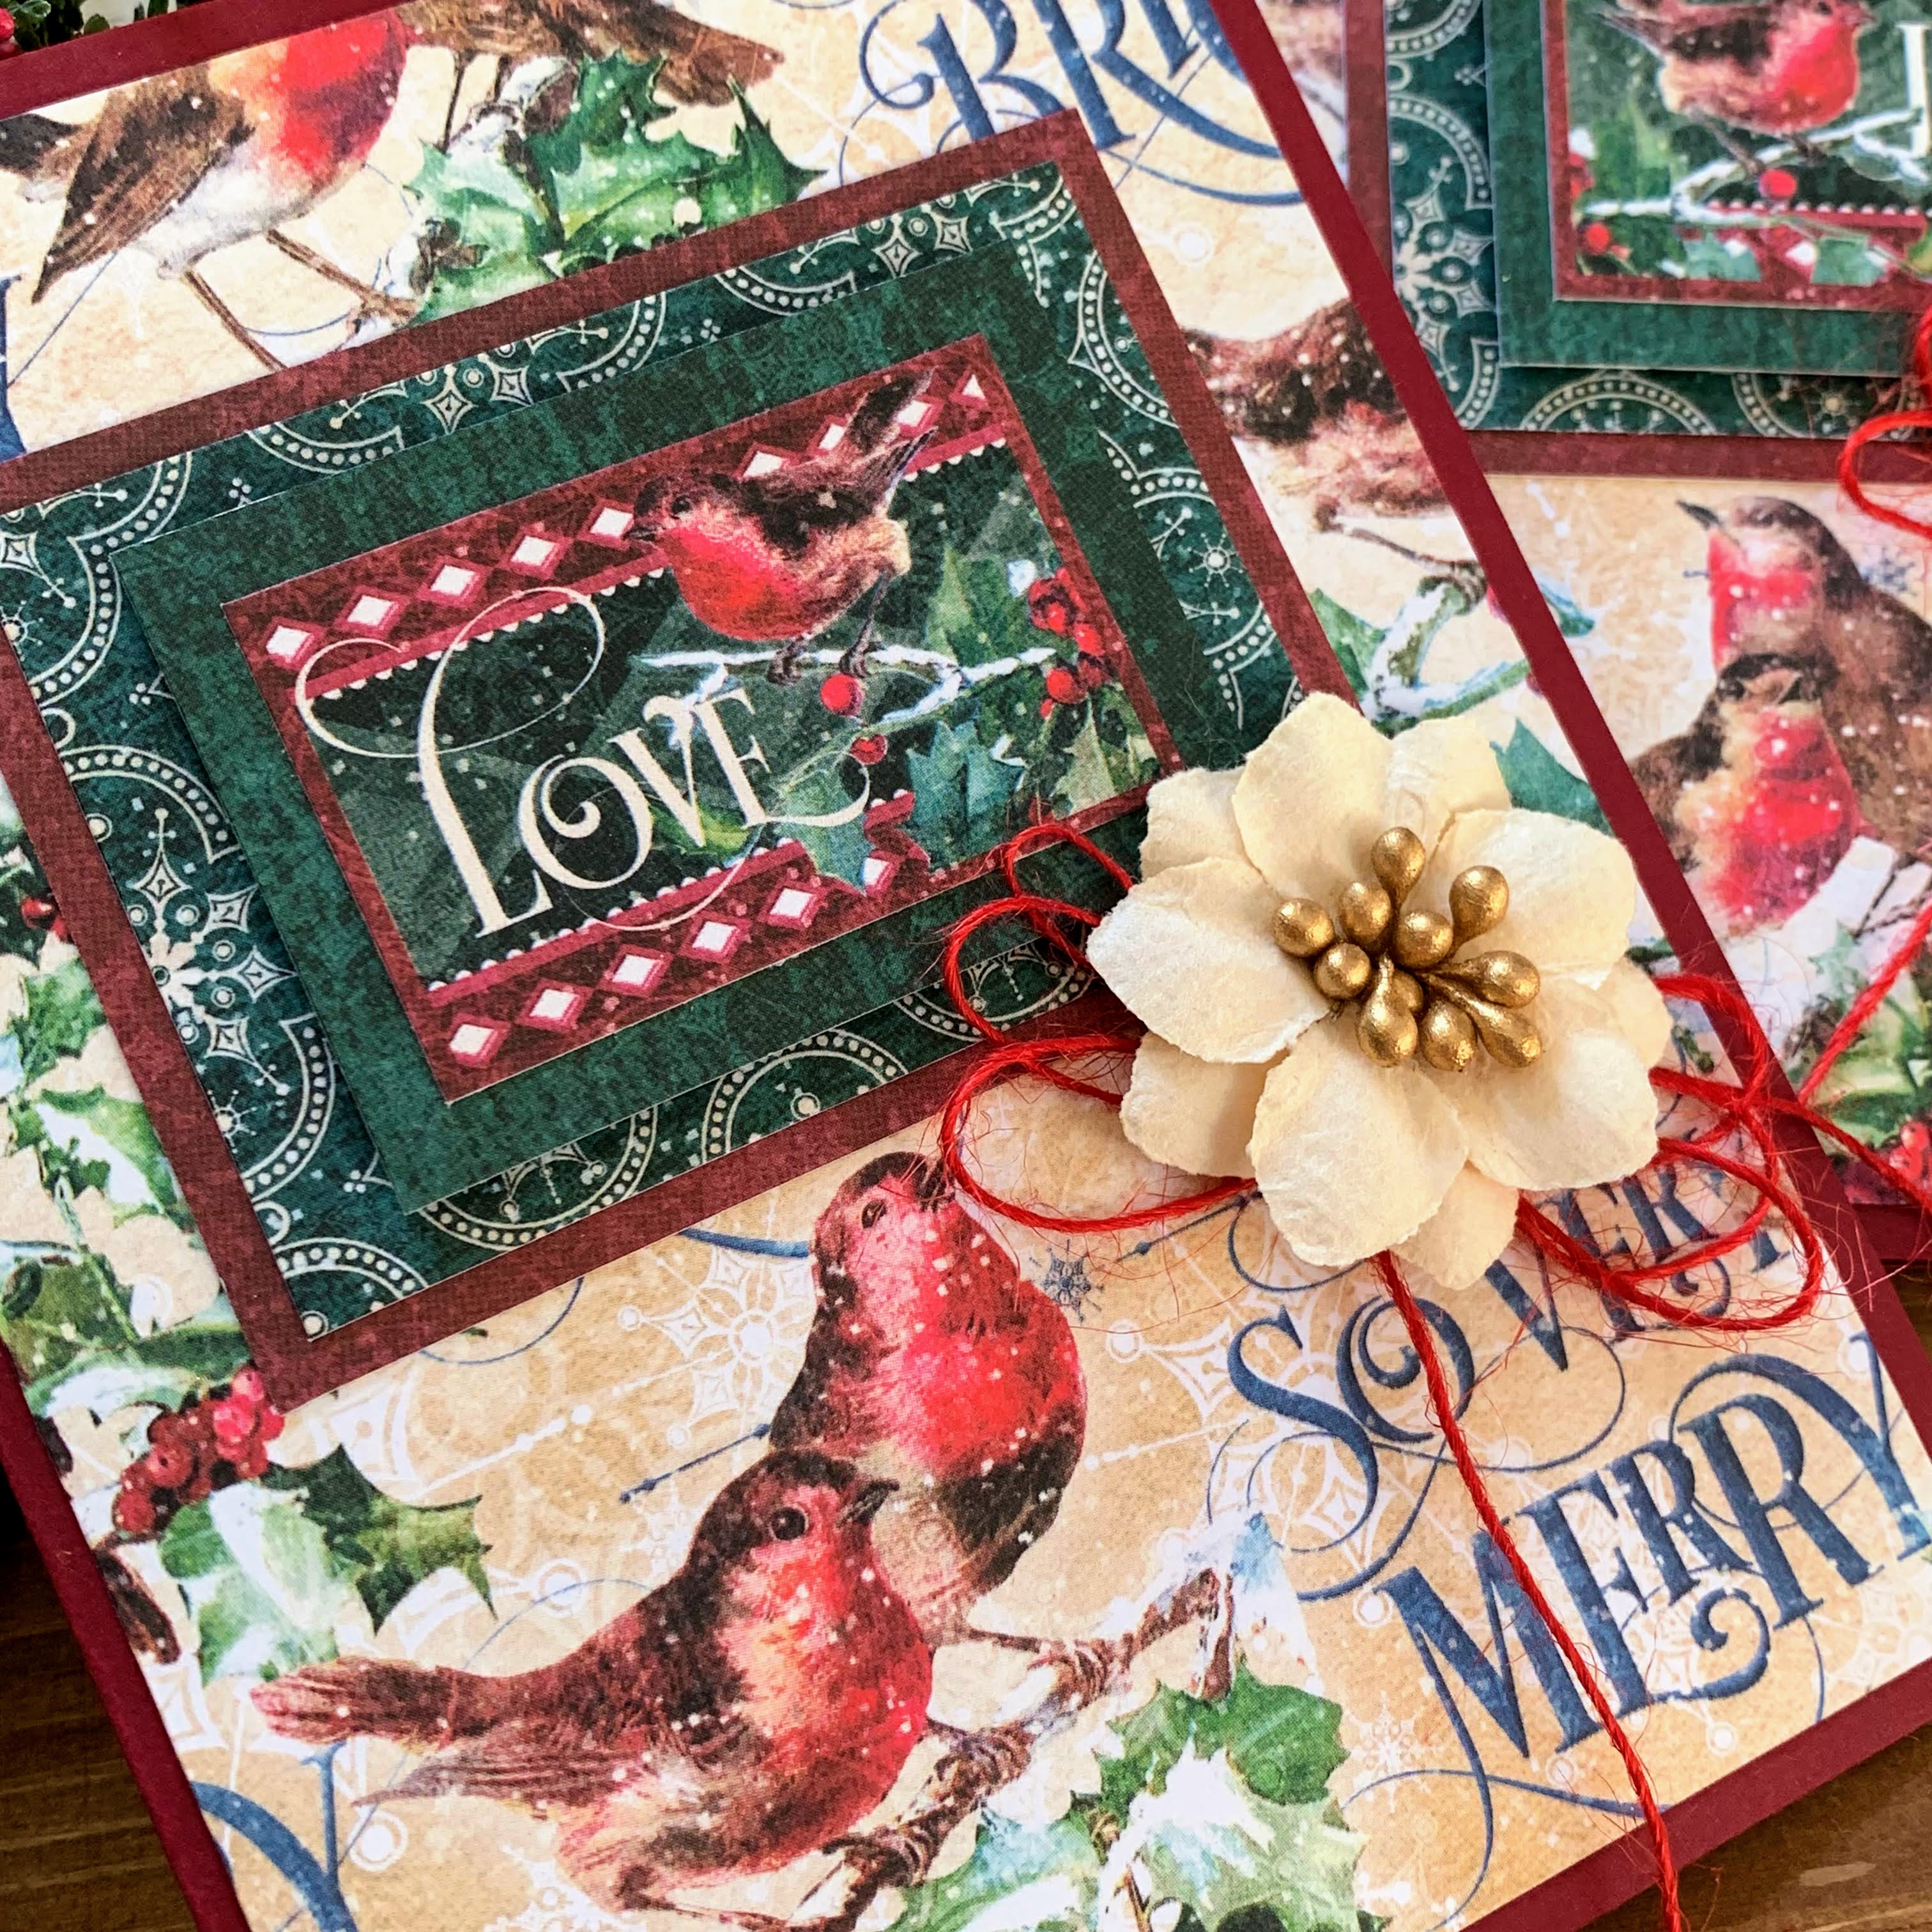
This one has a fancy bow, not a fancy fold. 

These just let the paper speak with some simple layers, but they are my favorite. 
And for the last card, I added a row of pearls with a different Tim Holtz snowflake die.   I really hope you've enjoyed seeing these and if you have this paper will be inspired to play. 

Find Graphic 45 Christmas paper today at Scrapbook.com

Nov 11, 2022

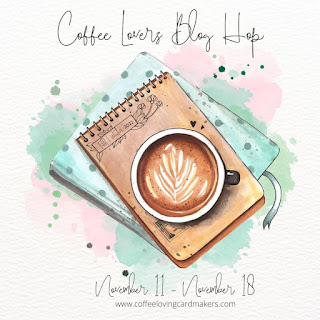
Coffee Lover's Blog Hop w/Sweet 'N Sassy Stamps


Hello everyone!  I hope your fall is off to a beautiful start.  I'm honored today to be joining my friends at Sweet 'N Sassy Stamps celebrating the Coffee Lover's Blog Hop.  

I had such a blast getting inky for this card.  I dipped a Bristol panel into watery Uncharted Mariner Distress Ink and let it dry, then did the same on the reverse side with Vintage Photo.  I used a paint brush to let some ink drip down and carefully let this air dry.  I added some sponging along the edges to darken and "frame" the panel.


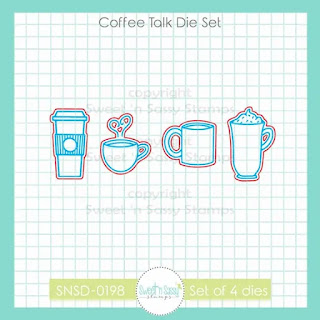
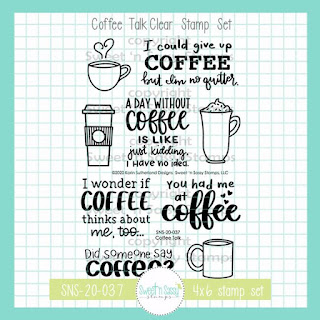
I pulled out the Coffee Talk stamps and dies and repeat stamped the to go cups and watercolored them in the same inks, then used the coordinating Coffee Talk die cuts to cut them all out.  I dried my panel with a heat tool after splashing on some extra ink, then rubbed it with an embossing buddy and used the coordinating sentiments to emboss in white.  What fun sayings!  


I had cut a couple of extra cups and used them with some scrap card to make a gift card pocket for my card innie.  I hope you'll check out these fun stamps on the Sweet 'N Sassy Stamps website and visit the blog for more inspiration.  

See my older Coffee Lovers cards HERE!


Nov 3, 2022

PaperArtsy Jofy Snowman Christmas Cards


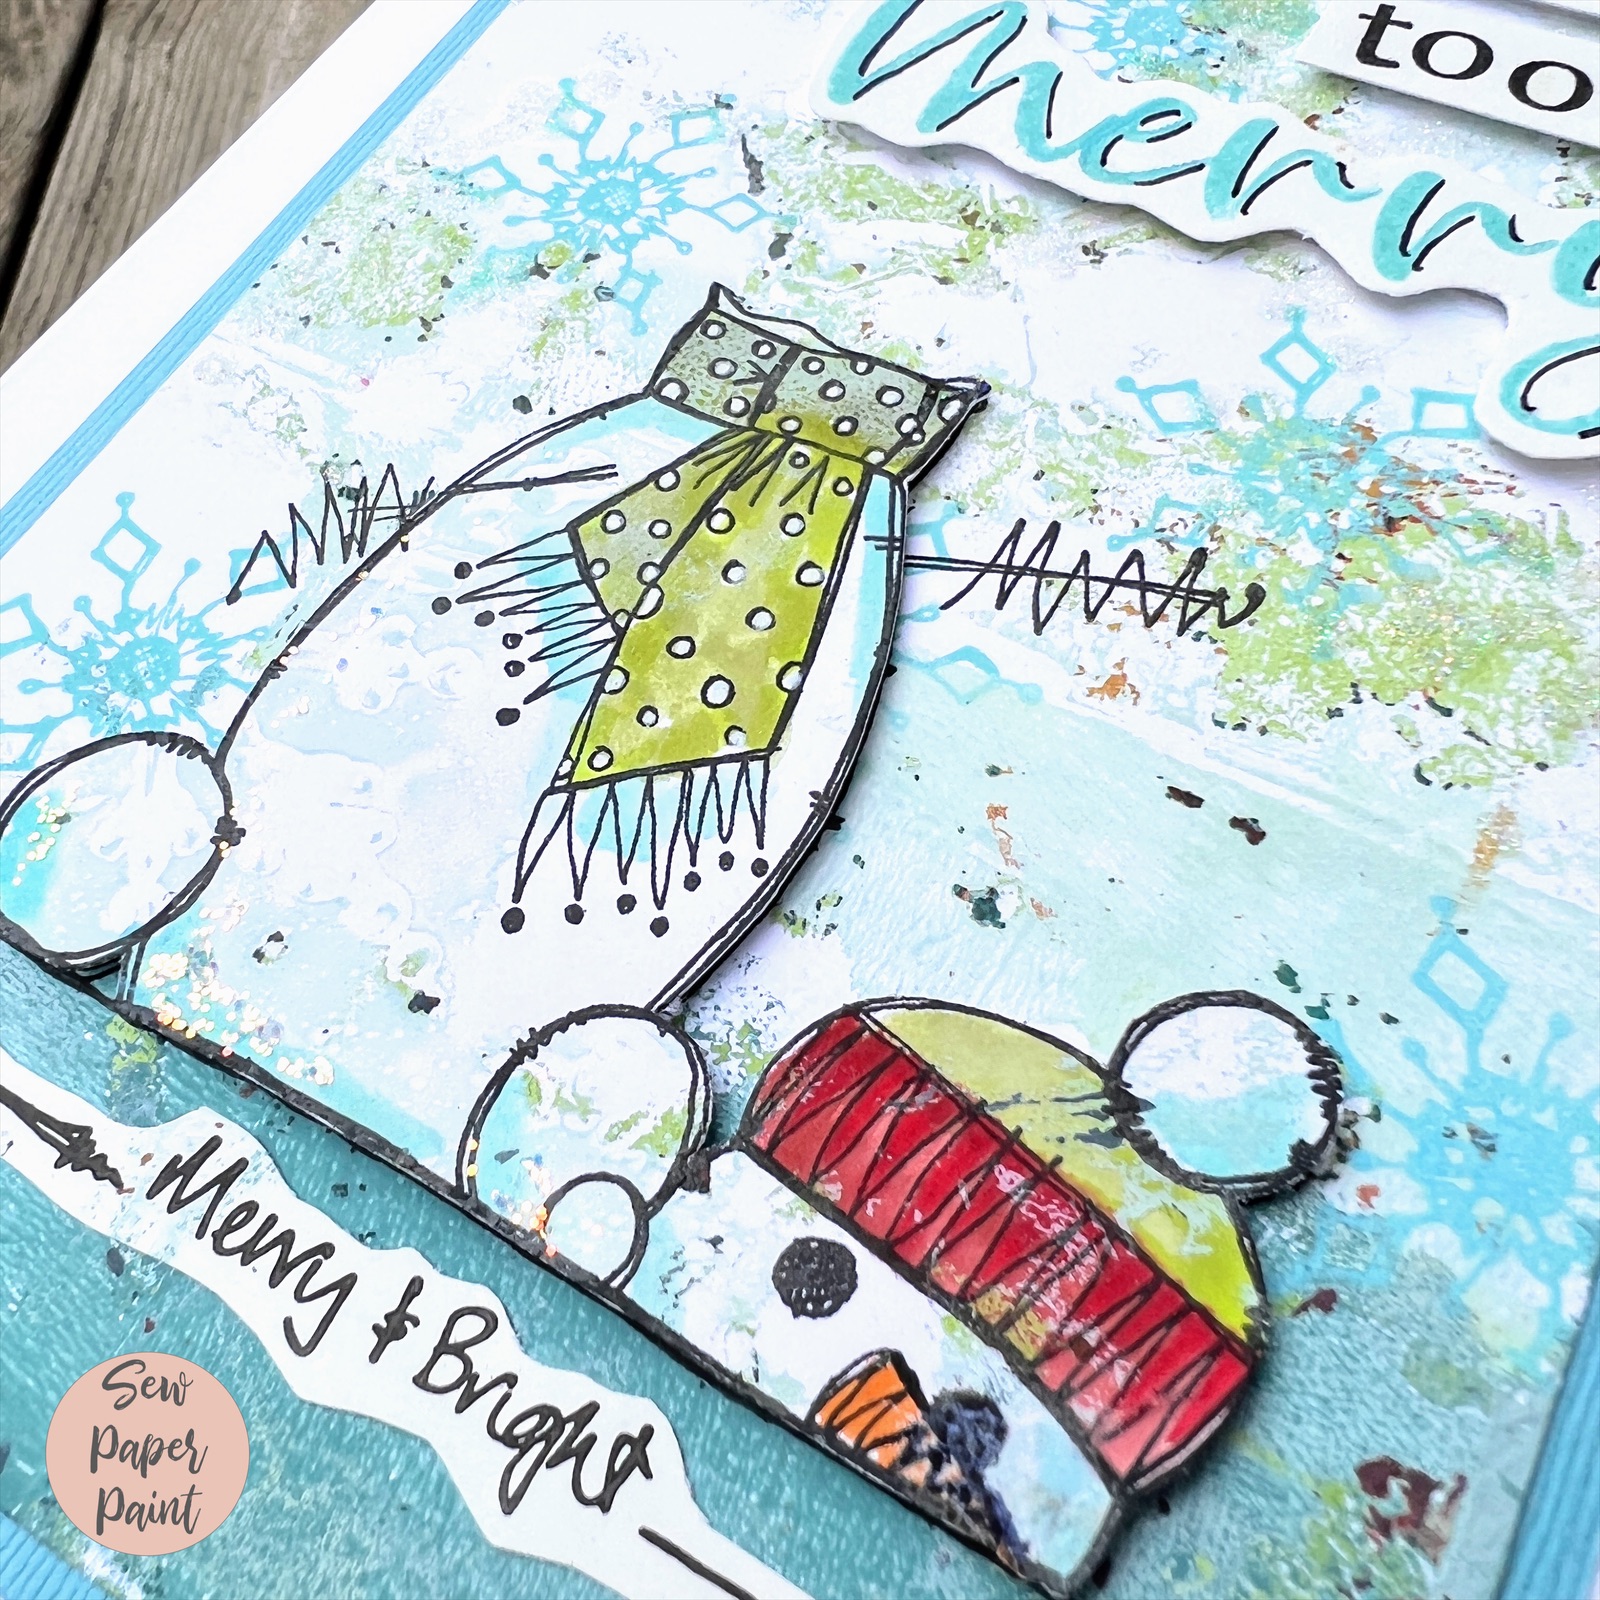
Hi everyone!  Have you been playing along with Jo Firth Young in her Jofy Jamboree FB group?  Jo's sharing weekly free Christmas cardmaking classes on Sundays.  I shared my first batch inspired by week 2 in THIS post.  I always just watch and try to play along using whatever I have that is similar.  Well, this funny snowman stamp set, JOFY01, is the only set I have by Jo.  I took some of the gel prints I made in week 2 and turned them into these funny cards.  I used the snowflake stamps over the background and then layered a PaperArtsy stencil on top and added some glitter paste, which just won't show up on camera.  I think the paper looks like old school Basic Gray paper!  :)


My sweet friend Maxine helped me in my Instagram poll to come up with a caption, "a little too merry."  I used alphabet stamps from my stash to type out the words.  Thanks Maxine!  These were fun to create and I'm looking forward to Jo's next round this Sunday.  I hope you will join the group and join in on the fun! xx, Autumn


Oct 19, 2022

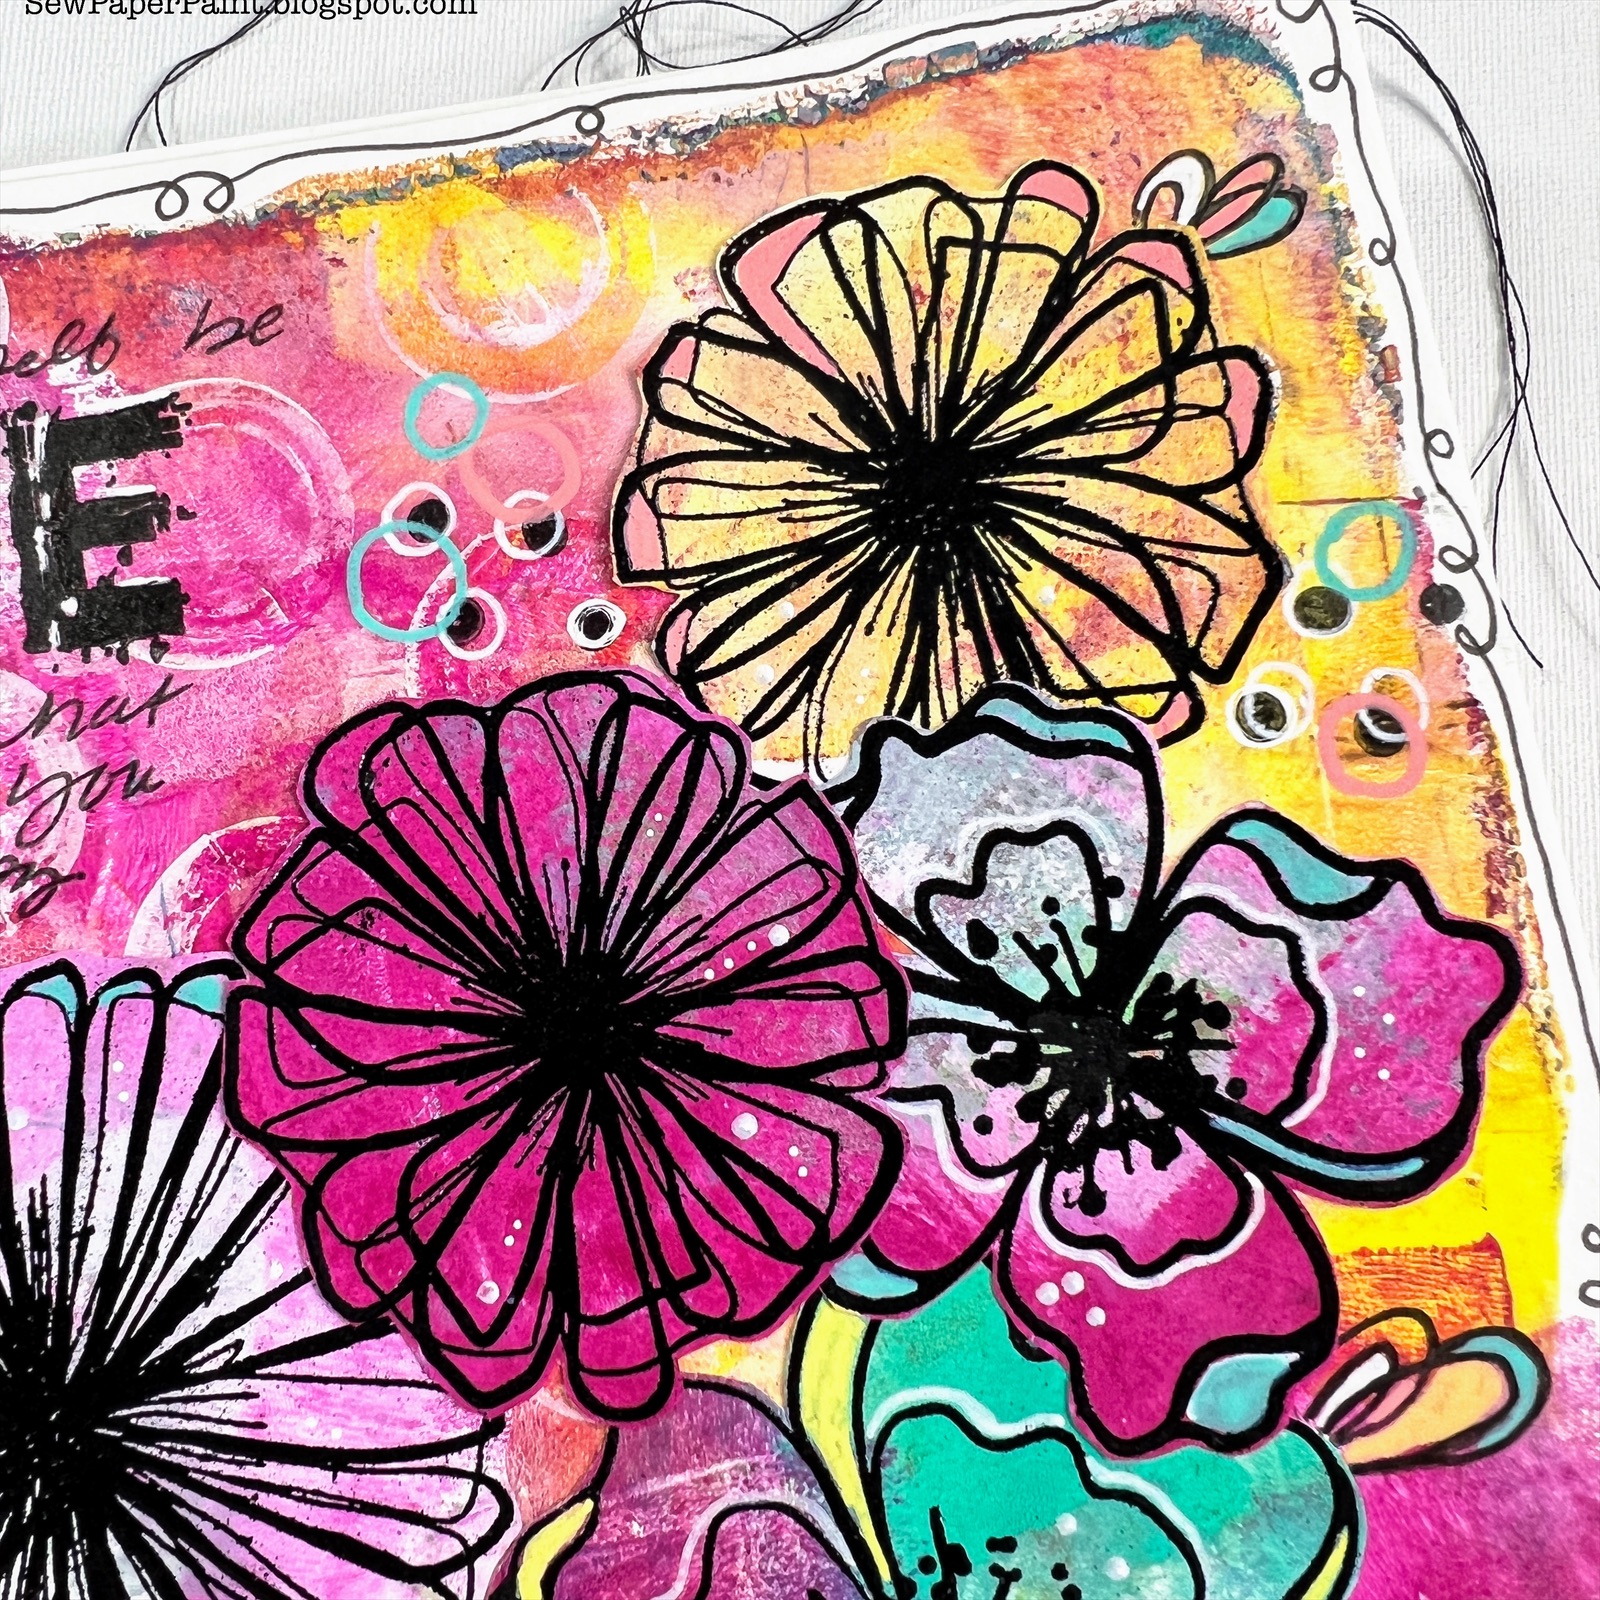
Art by Marlene Bold and Bright Floral Journal Page

Hi friends!  I'm sharing one more page in my Art by Marlene Go Dutch spiral journal with you today.  This, and all of my other pages thus far, are made with gel prints.  I'm finding it a really fun way to use up my prints, though the gorgeous watercolor paper in this journal would be a great surface for direct work...  

For this page I focused on two stamp sets from the Bold and Bright collection, Floral Simplicity and Romantic Florals.  I embossed the various flowers in black onto my prints and fussy cut and layered them.  

I added some doodling and detail work with my Posca paint pens.  

I added my sentiment with an alphabet set from my stash and some handwriting.  It expresses my hopes to let my creativity be more free and less rigid/defined.  I've really enjoyed this journal to express some sincere feelings.  


Here's a recap of my spring/summer pages this year.  I hope they inspire you today!
 
Details HERE.

Details HERE.

Details HERE.

Details HERE.

Details HERE.

Oct 14, 2022

Free Jofy Christmas Classes with PaperArtsy Stamps


Hi friends!  I'm excited today to share a fun free class being taught by Jo Firth Young (aka Jofy) on her Facebook group, Jofy Jamboree.  It's so very generous of Jo to share her time to help us with inspiration for our Christmas card making.


I only had one of Jo's Christmas stamp sets, so I had to be extra creative in order to play along.  I did have a couple of Jo's mini stamps and several of her gorgeous stencils, but the majority of my collection is Jo's fabulous flower stamp sets.  I wish I had THIS set (JOFY118), but what I did to replace it was to cut a rectangle to the size I wanted my finished trees to be.  I then folded it in half and cut it into a triangle and used it as a template.  I simply drew circles and painted them with Fresco Chalk Acrylics by PaperArtsy to make the baubles.  


For both cards, I followed Jo's instructions in making the gel printed background with her stencil PS309.  If you'd like the smaller circles Jo used, use stencil PS329.


Besides my hand drawn trees, I used Jo's mini stamp JM30.  These darling presents can be used for birthdays too and I just love the stamp!  Here I stamped a bunch of them onto my various prints and stacked them into a tree shape.  I added Jo's darling little birdie, JM20.


For the stars atop my hand drawn trees and for the star border at the top of this card, I used my one and only trusty Jofy Christmas set, JOFY01.  I'm hoping to use the remainder of the images in Jo's future FB live classes this Christmas.


So make sure to join the Jofy Jamboree Facebook group HERE.  Look under the Guides section of the group HERE to find all of this year's classes, as well as last year's Christmas classes and other non-Christmas classes.  Such a wealth of information and fun to be had!  


Popular Posts