What do you get when you see Tim Holtz on Facebook live AND new Simon Says Stamp toys in the mail at the same time?! Invention Convention, I tell you! I absolutely love the idea of using embossing folders, but they never end up in my projects. I have about fifteen patterns and rarely use a one. Then Tim showed how to use the diffusers in his Sizzix Facebook takeover. (See the Sizzix FB page if you missed it.) Basically, the diffuser is a top plate for your cutting machine sandwich. It applies pressure everywhere except the cutout part of the plate. I just loved the circle one and wreath idea, especially when Tim showed simple punched wreath cards. And with punches being the second most unused craft supply in my stash, I thought it high time to get these products out for play!
A diffusing plate should be at least as big as your embossing folder. First I cut a sheet of white cardstock to size. I carefully measured and aligned my circle die in place and then taped to secure. I cut through and removed the circle, but left the outer portion to use as a template. Next. I aligned my template with the same sized sheets of thin cardboard and cut several of these one by one. I secured layer by layer until they were as thick as my cutting plate. Then gave it a test and it wasn't thick enough, so I added one more sheet of chipboard. I used Aileen's tacky glue and it worked great. Run your sandwich through your machine using the DIY diffuser in place of your top cutting plate. I saved the white template to use to mask my stamping, as seen in the card below.

The benefits of using a diffuser I've seen so far are 1. the stamping aspect and 2. the use of negative space to make your focal element pop and not compete with the embossed design and 3. the outline is perfect for helping place your wreath elements.
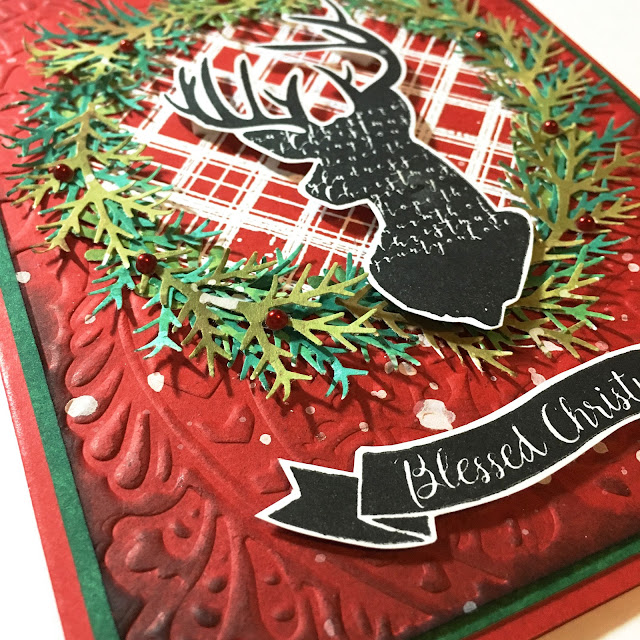
I used clear Aileen's tacky glue to attach my punched elements for the wreath. I used the white tacky glue to adhere my layers of chipboard together for the DIY diffuser. For my deer card, I used a Basic Grey Sizzix embossing folder and sponged it with black ink to add to the rustic effect. Splashes of gesso help mix it up and look a bit like snow. The little berries are tiny pearl stickers.
My husband was in love with the polar bear in this set, so I decided to try another version. I used metallic kraft core paper and layered with the new Tim Holtz snowflake thinlet set. I embossed the bear in gold and added various bling.
I adhered sequins too and splashed with my trusty Goldfinger metallic paint by IndigoBlu. If you look carefully, you can see the gold thread I added in a circular shape. Fun!
I could not stop! I mean seriously... I made a fourth card but you'll have to wait for the Coffee Lovers Blog Hop to see it. See the link in my sidebar. The last card was made with a dotty folder. I rubbed my Versamark pad over the raised areas and embossed with white EP. I did a reverse of the punches for a different effect. I punched out the red "berries" using my trusty Cropadile and then glued them down and added Stickles over them for shine. More sequins and string.
I truly hope you've enjoyed seeing these as much as I enjoyed making them.
Don't forget to pin the graphic for reference.
I'm sharing with:


