Showing posts with label video tutorial. Show all posts

May 3, 2023

Art by Marlene May Flower Challenge Mixed Media Tags


Hello darlings!  I've been having some creative abandon playtime for the May Flower Challenge by Art by Marlene.  These are projects outside of my normal grungy style and I find it freeing to let loose and try new things this way.  If you're not a member, I'd urge you to join the ABM Creatives Facebook group HERE for lots of inspiration and various challenges.  And make sure to follow me in Instagram for my daily posts @sewpaperpaint.  This tag is for day three, Happiness.  I'm sharing a video tutorial HERE.


The main flower is from Marlene's newest release, ABM-SI-STAMP405.  I colored with Prism Brush Markers.  The stitching is from ABM-ESSTAMP77.  The words "happy happy" are from the blowfish stamp set STAMPBM67.  I created the background by embossing the stencil ABM-OOTW-MASK44 in white and then sponging Distress Oxides in Mustard Seed and Spiced Marmalade.  I finished with the scalloped washi tape, AMB-SI-WASH08 and a stamped bird from 2022 Advent Calendar.


And here is my day one tag for the Flower Power theme, which I made with Distress Oxides in Mustard Seed, Worn Lipstick, Wilted Violet, Peacock Feathers and Twisted Citron.  The video tutorial can be found HERE.  


The main flower is from the same stamp set as above, ABM-SI-STAMP405.  The floral border stencil is ABM-SI-MASK185.  And the embossed white foliage and dots are from ABM-BB-STAMP122.  The sentiment here is from a Tim Holtz sticker.


And here is my tag for day two, Pastels.  This video tutorial can be found HERE.  


The main flower is from ABM-BB-STAMP122.  I used aqua glitter embossing powder for the leaves die cut from ABM-SI-CD505 and clear glitter EP for the flower, which add a nice textured sparkle.  The background was done by sponging craft paint through ABM-ES-MASK70, a favorite stencil.  The text is a Studio Light Essential stamp, SL-ES-STAMP369.  I finished with Marlene's Rub-Ons and adhesive pearls by JMA.  


It's not too late for you to play along!  You can share as few or as many projects as you like, just use the hashtag #abmmaychallenge on social media.  I'd love to see your creations if you are inspired by my videos.  xx, Autumn


Jun 12, 2022

Jofy Stamps Journal & Card Tutorials


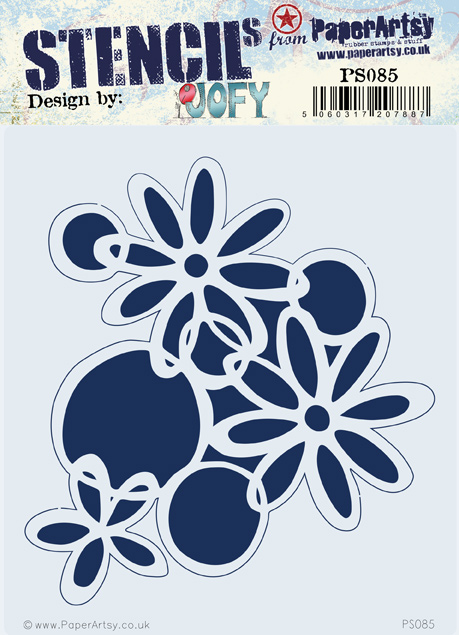
Hi friends!  I hope your summer is off to a great start.  And for my sweet Aussie friends, I hope you're staying warm.  <3  We've just returned from a lovely beach vacation in Florida and I'm feeling more inspired than I have in ages.  There's nothing like going away to make you appreciate home.  We've been traveling so much for months with my youngest's basketball league and I'm glad to have a break.  I'm cleaning and organizing in my art room to make it a vacation destination within my own home.  He he!  Lately I've been doing some bright and cheery projects with the new Jofy stamps by PaperArts.  This first card was made playing along with Jo's facebook live in her Jofy Jamboree group.  You can join HERE and find the video replay HERE. I used PaperArtsy stencil PS085 and Jofy stamp set JOFY111.  I stenciled with Distress Oxides in Faded Lipstick, Picked Raspberry and Tumbled Glass. 

Today while I was waiting on the live, I made a card version of the journal spread I shared yesterday.  This is for my awesome crafty friend Bonnie.  Happy Birthday BB!


And here's the journal spread.  I blogged it for Topflight Stamps HERE and shared a video tutorial HERE.  All of these products are available at Topflight.  I mixed in a Tracy Scott stencil, PS189, and another Jofy stamp set, JOFY63. 


A few weeks ago, I shared another video post for @topflightstamps Instagram with the same Jofy stamp set.  I showed how to make simple gel printed backgrounds and made a couple of cards with the prints.  You can find the video tutorial HERE.  This one is real time and I'm talking you through the process.  I'm getting braver!  Ha ha!  I do hope these videos and projects will inspire you to make some happy art of your own.  I appreciate your support of my blog and YouTube channel.  Big hugs, Autumn


Jan 10, 2022

Collage Pocket File Folder Folio Video Tutorial


Hello dear friends!  I've been diving back into collage again and am excited to share a new video tutorial with you on a fun fold file folio, with loads of pockets to fill 'til your heart is content!  

Find the video HERE

I used a few digitals I had on hand, the main elements were a freebie from the JJ with Joy FB group, given by Junk With Steph.  I bought a set of background papers just to make the process quicker.  All of the background pages were from the My Porch Prints Basic Journal kit from Etsy.  I printed them as is and just cut them to the size of my finished folio.

Here I used an exacto to trace and cut a circle die to make a window, then cut the same circle with the next larger circle to make the frame, which shows the bee on the tag and then the bird on the page beneath.  :)

I embellished the finished journal with lots of stitching, washi stickers and Tim Holtz washi tape. 

I also added several of Tim's sentiment stickers, all creating motivational quotes throughout. 

I used Darkroom Door Postmarks stamps over the images on most pages.

And how about that gorgeous feather?  My daughter found it on a trail this fall.  It's at least a foot long, such a treasure!

This tag may be my favorite because of the sheep image.  I am always drawn to them. 

And the back cover...  I will share lots of closeups and details on my collage/journaling Instagram page @letterpaperpen, so make sure to follow.  And I'd love for you to become a subscriber to my YouTube page and pin this post for later reference.  If you'd like to see my other File Folder Folio tutorials click HERE.  And make sure to check out THIS one from my LPP blog.  Thanks friends and happy collaging!  xx, Autumn

You are invited to the Inlinkz link party!

Click here to enter

Aug 3, 2021

How to Make a Junk Journal from Digital Paper Prints


Hi everyone!  I'm excited to share a new type of tutorial with you today on using printed papers to make a junk journal.  I know many of us have seen beautiful printable JJ kits on the market, but don't know exactly how to transform the prints into a completed journal.  I hope this tutorial will help give you that confidence!  Please Pin this post and share to help support me making future videos. 

The joy of making your own journal in your own style with all of your favorite elements is immense, and if I may say it is quite addictive.  In this video you will see how easy it is to transform printed copy paper pages into a beautiful, vintage style book, which you can use as a journal, a photo album or simply admire as an art book. A few added pieces of authentic ephemera, such as feathers, wine labels, postage and vintage cards really elevate the printed book. 

I've used various free printables from my library of resources on my Pinterest board HERE, along with a couple of purchased items from Etsy.  The owls are mostly from and can be purchased HERE.  They were my big splurge for a whopping $1.99.  My other main purchase was the handmade paper, which was $19.99 on Amazon, and I only used four sheets out of 50, leaving plenty for other books. 


I've included a photo of every page at the end of the video, but here are a few favorites.


And here is the video with all of the details on assembly, staining and a flip through of each spread.  I hope you enjoy it!  Hugs, Autumn

Please subscribe to my YouTube Chanel!

Feb 16, 2021

Bleed Through Technique with Lynne Perrella PaperArtsy Stamps

 
Hi friends!  I'm so excited to be sharing a new blog post on the PaperArtsy blog.  I've used images by my all time favorite stamp designer, Lynne Perrella, to create a vintage inspired journal. 
 

Along the way, I discovered a really neat technique, which I'm calling Ethereal Bleed Through Stamping.  I shared a video tutorial on Instagram HERE.

Here you can see the front and back, with the gorgeous bleed through.  It's such a fun technique and I hope you will try it!

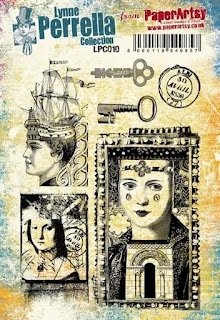
This gorgeous stamp is set LPC041, which you can find at TopFlight Stamps.  I also used stamp set LPC010, a true favorite!


Make sure to visit the PaperArtsy blog for all of the juicy details and thanks so much for your continued support.  Hugs, Autumn


Popular Posts