Showing posts with label Acey Deucy. Show all posts

Jun 19, 2015

Acey Deucy Sister Tags Tutorial Part 2

As promised, today I am sharing the tutorial for my Acey Deucy sister tag number 2.  If you missed the first tag, click HERE.  There you'll see how I created the embossed textured paper.  
This go round I inked my background with Aged Mahogany, Rusty Hinge, and Vintage Photo Distress Inks.  I stamped the ticket (7Gypsies) in Rusty Hinge.  I layered some torn book page and washi tape, then stamped a border stamp by Basic Grey on the right.  I stamped the girl (Acey Deucy) on a mini tag and loved how it looked with a light sponging of ink, but the composition needed something, so I decided to give her an arm by using my Character Constructions doll parts stamp.  I attached it with a flower brad by Tim Holtz.  Then I decided to place a flower in her hair.  
At this point she became "Tilly", as she was getting ready for a grand ball!  So I added the pin, which reminded me of a masquerade mask.  I picked up this lapel pin years ago at the Salvation Army in TX.  Next I added some crackle stamping along the top of the tag.
And finally some vintage seam binding and crocheted trim finished her off.
I just love the dimension!  I stamped the words "Fly Away" to complete the theme.  I can't wait to make a complete paper doll using these stamps.  So glad you joined me today!

Jun 15, 2015

Acey Deucy Sister Tags Tutorial Part 1

Tag1

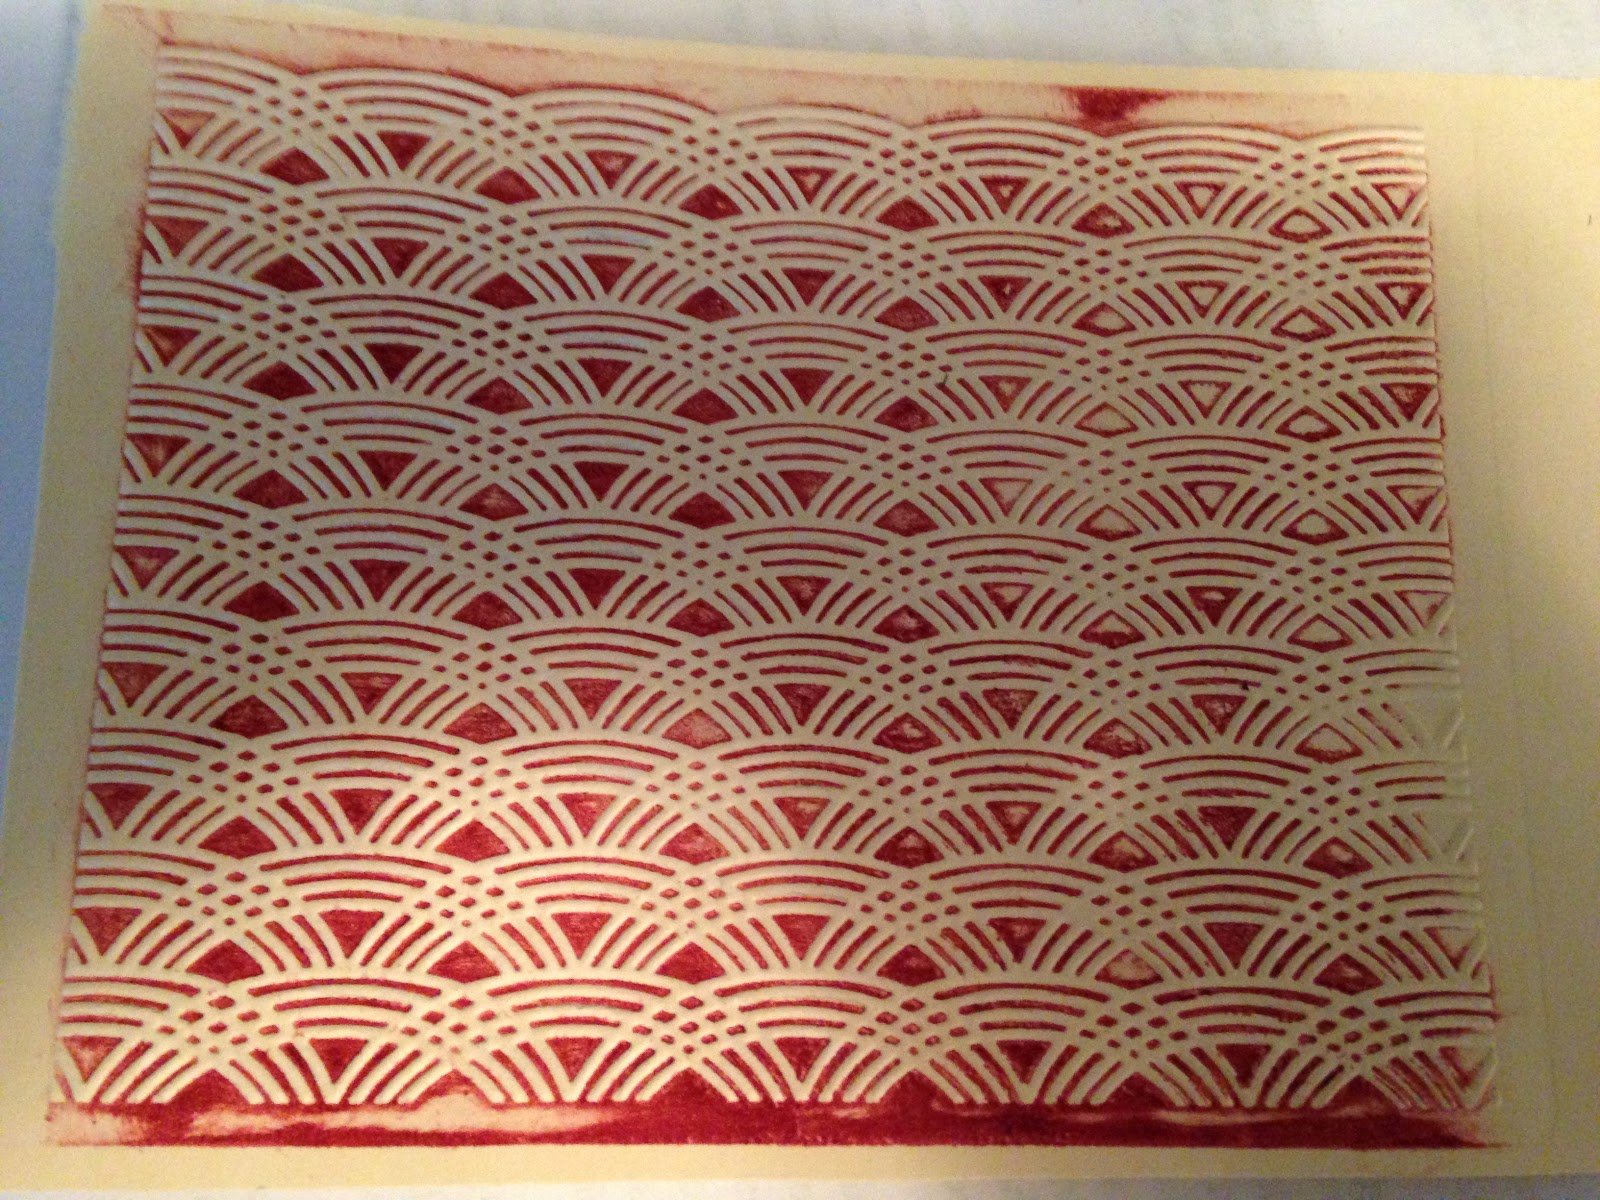
This Acey Deucy tag we'll call "Evette" (or Part 1).  I hope you'll enjoy these gals as much as I have.  I sat down to stamp with my Mother and was showing her some of my great new embossing folders.  I told her of a new technique I had read about where you apply Distress Inks directly to the folder on the side opposite to the side which makes the impression.  I just had to do a hands on demonstration and I'm so glad I did.  These tags were developed simply from playing with this technique.  Here you see the product, as it comes out of the Big Shot.  I used Aged Mahogany on the folder.

Embossing

I stamped text with Chalk Ink in dark brown, then sponged with Peacock Feathers and applied washi tape to my tag.

tag2

Next I sponged Rusty Hinge over the embossed piece. For this tag I tore a large section of the embossed piece and glued it directly over this tag and saved the remainder for another tag (part 2).

tag3

The color was quite dramatic, but I was very pleased so far.

tag4

So I started on my focal image.  I stamped "Evette" in black onto manila card and then stamped Beauty the same way.  I layered the images and cut them out as one.  I snipped the corners and sponged lightly in coordinating colors.  I sponged a seafoam flower with Peacock Feathers and spritzed it to blend the color.  Lastly, I added some twine and more washi tape along the bottom of the tag, then hot glued some crocheted trim in place.  I finished the tag with some vintage seam binding at the top.

tag5

I really like the contrast and colors in this tag.  Patina and sunset!  Thanks for joining me and come back to see "Evette's" sister tag, "Tildy" later in the week.  Update: Click HERE for Part 2.

tag6

Popular Posts