Showing posts with label Character Constructions. Show all posts

Jun 5, 2024

Vintage Gel Printed Accordion Book Tutorial


Hi everyone and happy spring!  I've enjoyed some playtime with my mom this spring and we've done a lot of gel printing.  I was trying to think of a way we could use our stash prints and decided we should make an accordion book.  I picked one of my favorite 8x10" prints and cut it in two to cover two pieces of 4 x 6.5" chipboard, wrapped around the sides with mitered edges.


Here is my pile of gel prints.  Honestly, I didn't put a dent in this set alone!  This project didn't take as much printed paper as I had hoped...  But it was a fun project nonetheless.


I cut two pieces of white cardstock and scored them to fit inside and adhered the overlap to make the accordion panels.  Then I glued these to each cover and covered with gel prints measuring slightly smaller than the covers, 


I looked at my wooden stamp display and was inspired by this darling Character Constructions girl and called up a good friend and asked to borrow some of her doll stamps so I could complete my book.  Thanks Barbara!


I stamped all of my dolls onto book pages and added a bit of watered Tea Dye Distress Ink to give them a slight coloration.


Next I dipped all of my die cut Tim Holtz Wildflower in a combination of Tea Dye, Walnut Stain and Rusty Hinge Distress Inks.  


I mixed in my favorite scripture stamps with other favorite old wood mount stamps.


I always enjoy stamping on old paper.  Here I tea dyed some graph paper and it was a great backdrop to the scripture.


How many of you still own these stamps.  Personally, I treasure mine!  Both my friend and I have them on display in our art rooms.  
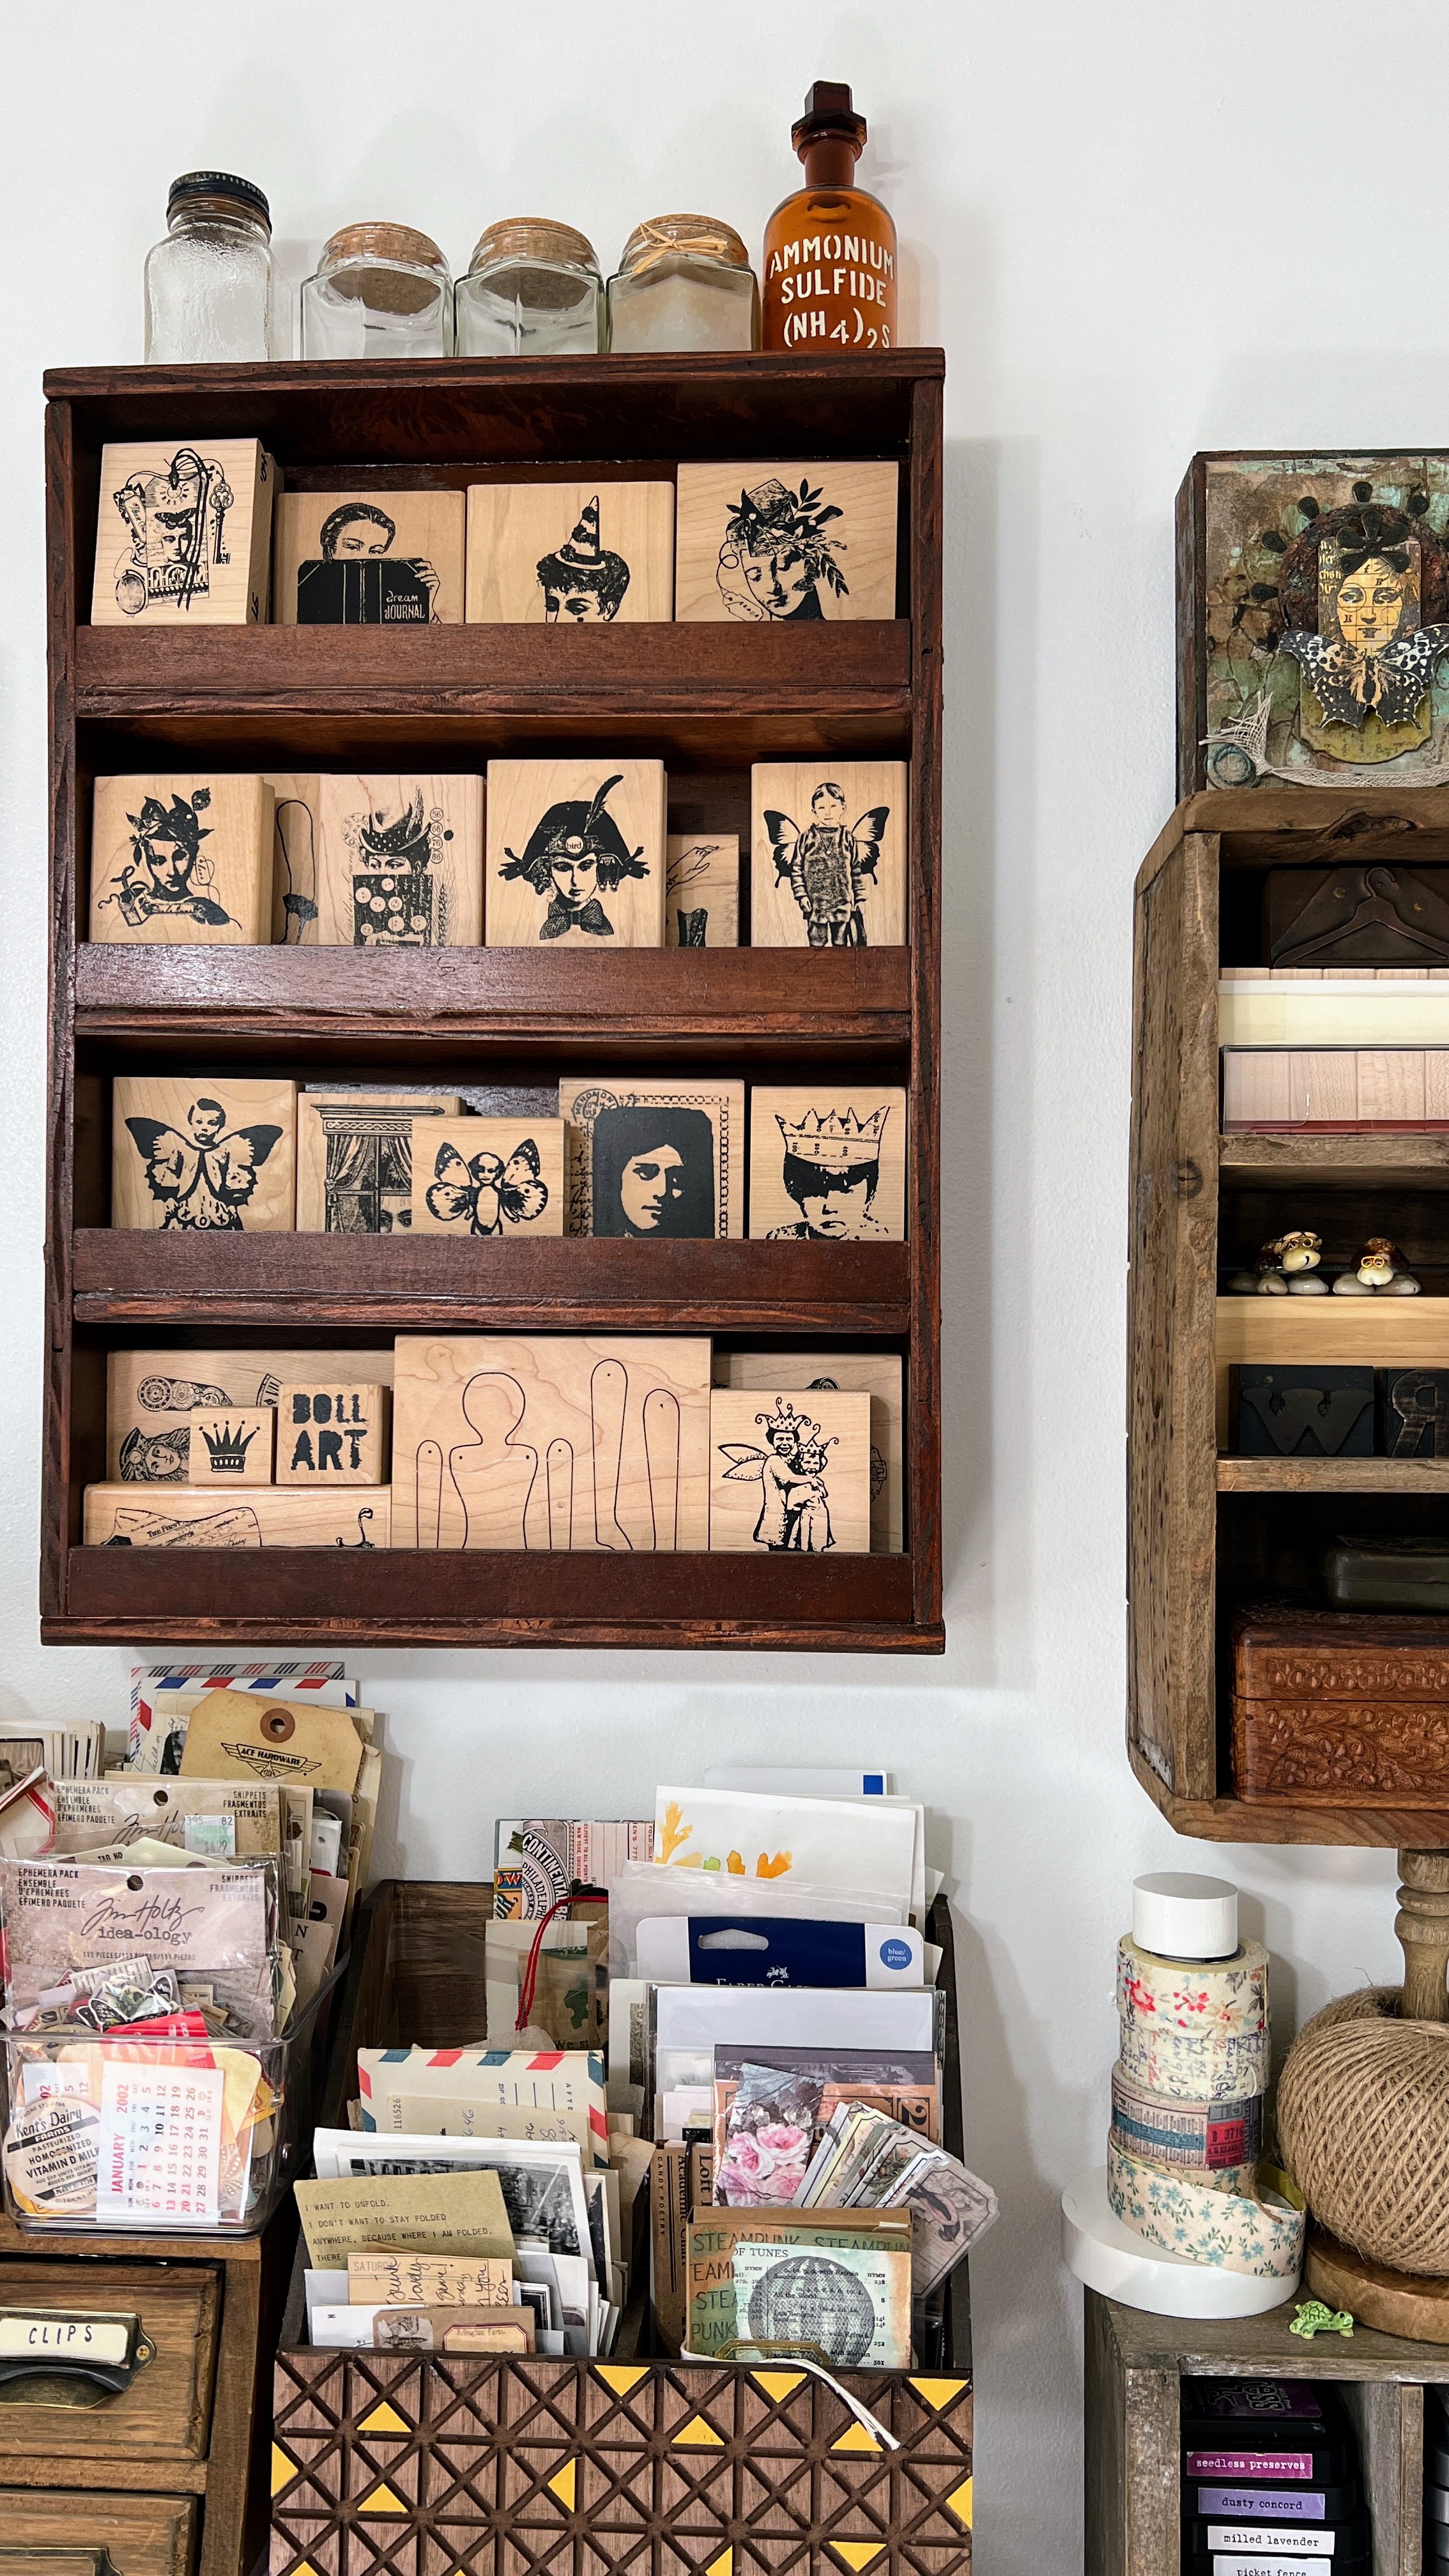

Here's a shot of mine from last year.  I've since changed things up a little, but still love this image.


I also took some free vintage label images and overlaid a typed font scripture and printed it.  I love the look and pop of aqua!


My finished book is a little busy, but fun to inspect.  I really hope it has made you smile today and has you considering how to incorporate your old stamps into your current work.  


I finished the book off with a sari ribbon binding.  
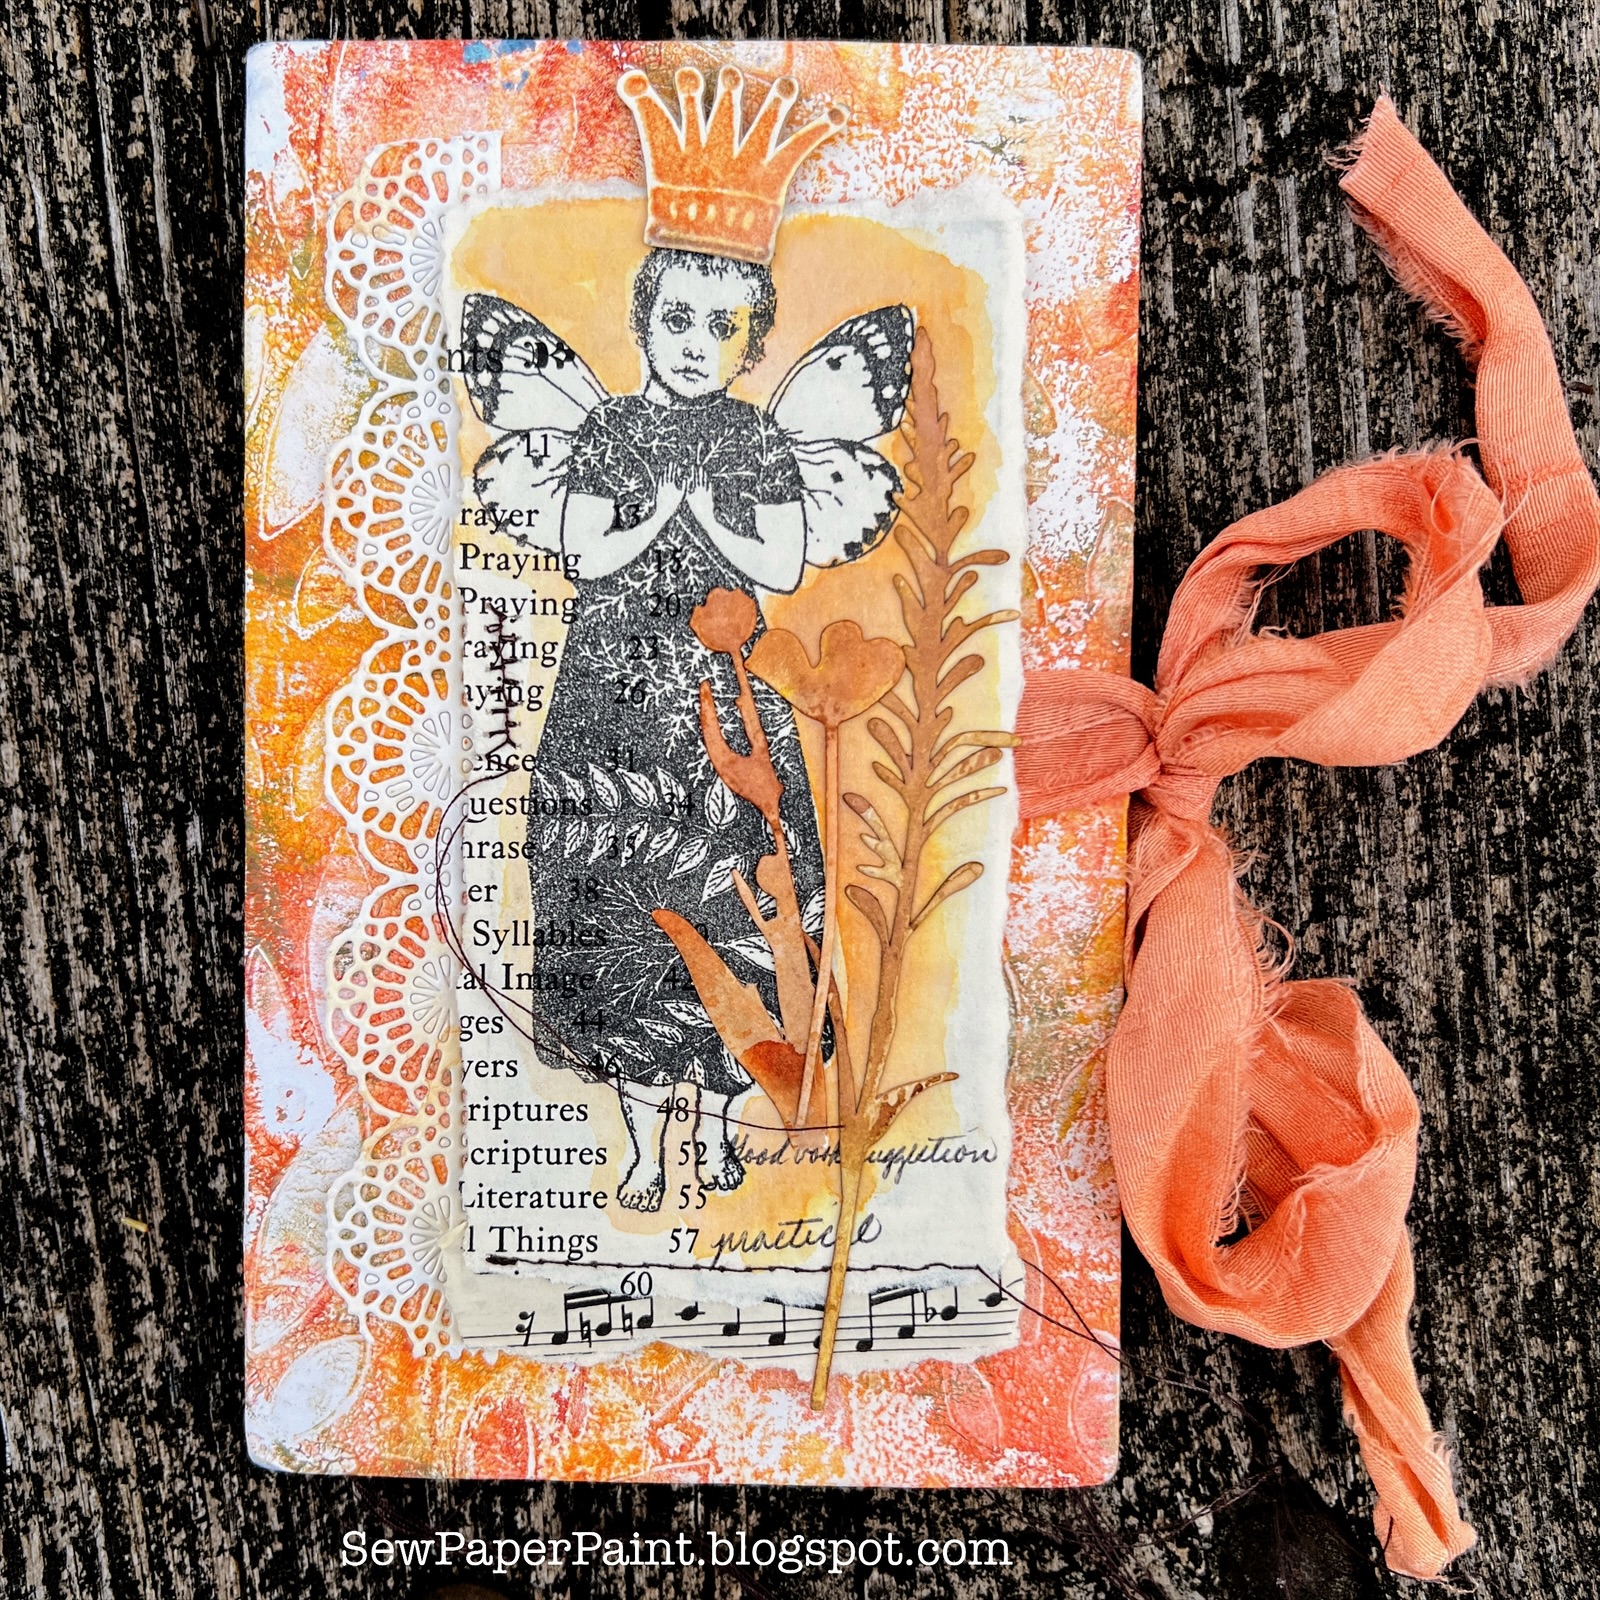

I just loved this particular gel print and was happy to make it the focal point of my book.  Happy crafting!  xx, Autumn


Apr 5, 2016

For the Birds Square Mini Album

Stampers Sampler

My jaw hit the floor when I opened the latest Somerset Place blog post.  I have been giddy all week about my cards being published in the latest Stampers Sampler, but seeing my pages being used for advertisement sent me over the moon.  Head on over and check it out for yourself HERE.  The post has a giveaway too, so it will be worth your efforts.  :)

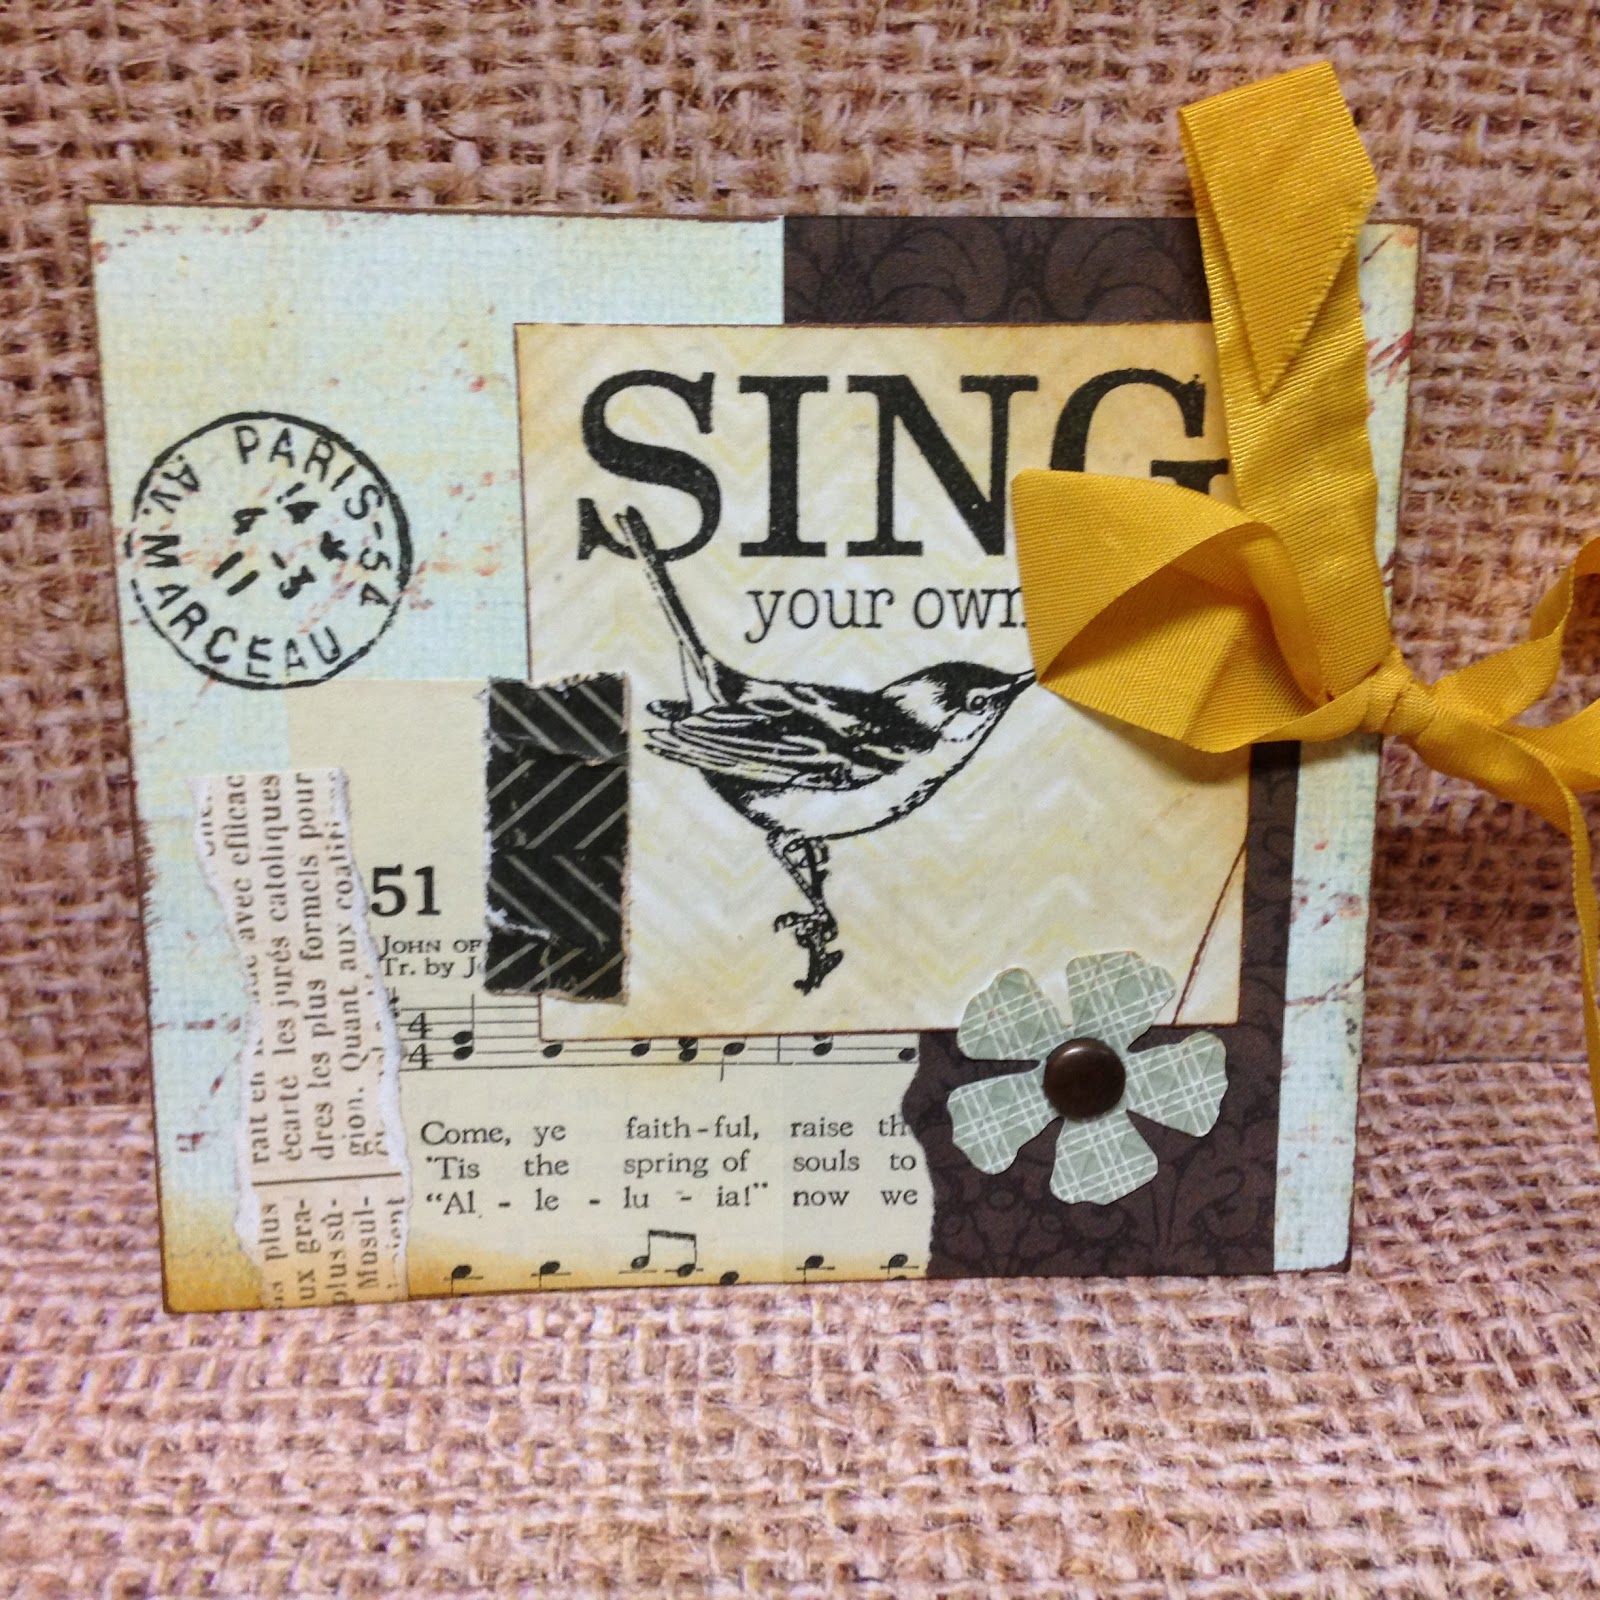
I have been wanting to share this mini album with you all for ages.  The cards that were published came from a play day with my favorite two stamping buds, my mom and our friend Barbara.  We got together and had a great day of creating working on bird themed mini albums.

Album1

Each page is an envelope made from mostly Authentique 2-sided papers.  Sadly, I thought all of the dressed birds were Character Constructions stamps and Stampington printed my error.  The long beak bird is CC, but the other dressed birds are by Invoke Arts and can be found in their Etsy shop HERE.  These are my absolute favorite stamps, but belong to Barbara.

album 2

Each page has a pull out.

album 3

album 4

album 5

This was a $1 stamp I picked up from Joann's.

album 6

album 7

The bird came from BoBunny paper, I believe.  This paper is Kaiser Kraft, my favorite all time collection.

album 8

album 9

album 10

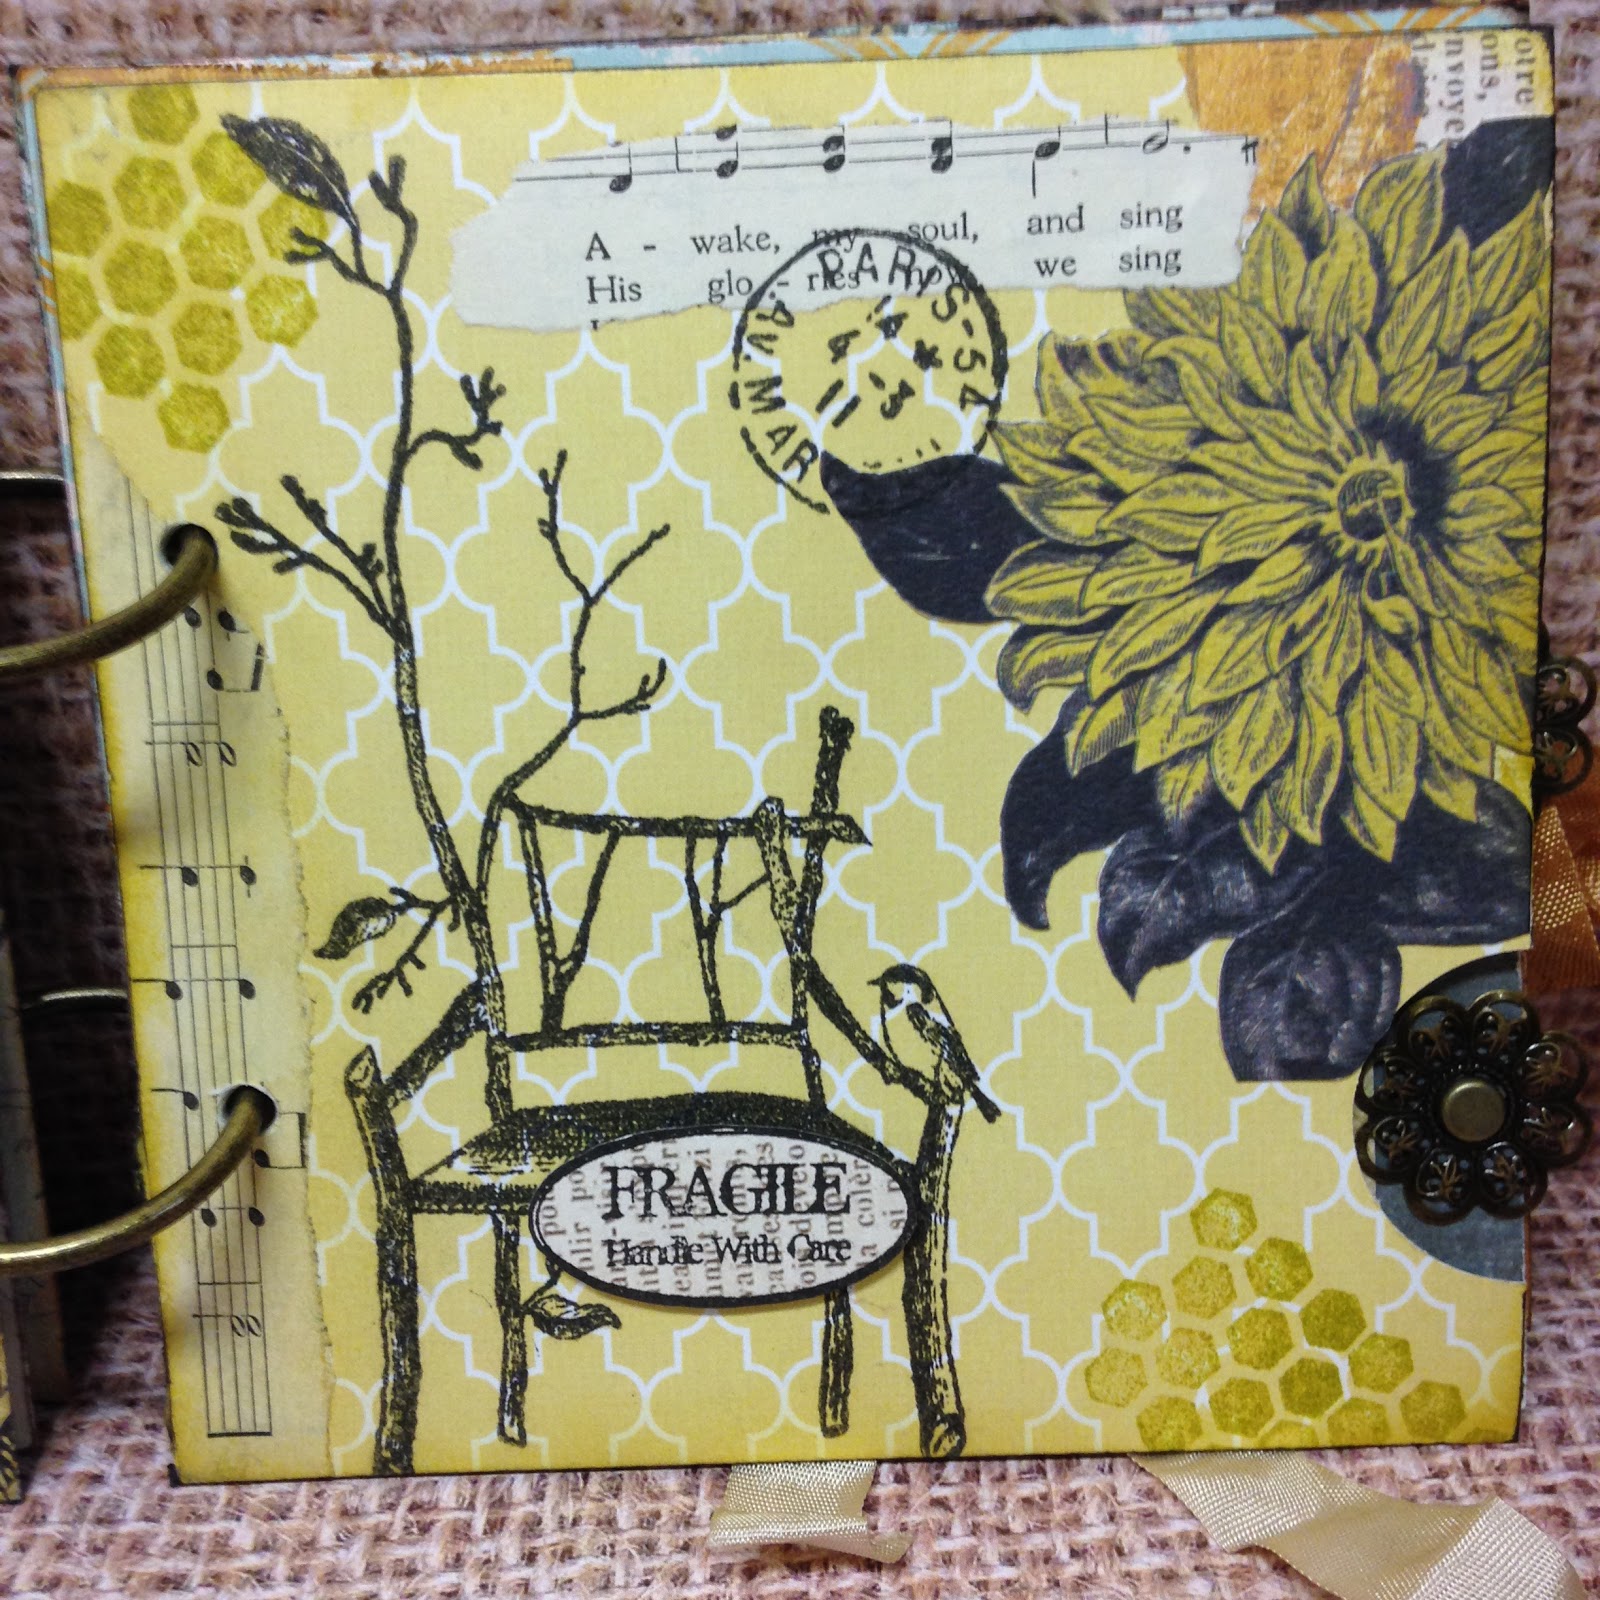
The chair is Character Constructions for sure.

album 11

album 12

album 13

Making these little stamping collages is one of my favorite things to do.  It's such a great way to use up bits and pieces and show your stamps some love!

album 14

album 15

After I made the book, I was still wanting to do more, so I made the batch of cards that were published.  Thanks so much for visiting me today and celebrating with me!  <3

album 16

Next I need to make a cover for my book.  Wish me luck!

album 17

I'm sharing with these fabulous stamping challenges:
Fantasy Stamper
(Invoke Arts stamps are about 8 years old.)

You are invited to the Inlinkz link party!

Click here to enter

Mar 15, 2016

Woodland Paper Doll Altered Book Spread

book 1

 Hi everyone!  Today I am sharing something a little different with you, a little fairy tale.  This spread in my new altered book is focused around one of my woodland series of paperdolls.  They are some of my favorite work from the past year, but I haven't shared them because I wanted to create them a "home" first.  I just haven't been able to get that together, so I pulled one of my favs for this spread.  Maybe I will recreate her for that project later.  Anyway, I started collecting images in THIS Pinterest board.  I resized them in a Word document and printed them, then pieced together the parts to my fancy and colored them with inks and my Colorbox stylus.  The wings and boots are Character Constructions paperdoll stamps by Cathrine Moore.

book 2

Basically, my little fairy tale is about a group of critters who live in the woods near a park.  They spend their days watching the children's birthday parties, longing for such a grandiose event of their own.  Then one day, our girl Bertha, gathers together all of the odds and ends, discards from the humans that she's been collecting and suggests to the others a soiree of their own.  A costumerie is born...  That evening the park is transformed into a magical gathering of the most amazing friends.

book 3

For my background I played with spray inks and Glimmer Mists over a Tim Holtz burlap stencil.  I used Tim's tattered leaves dies on book pages to create the faint leaves in the background.

book 4

I hand stamped the text onto the type writer with a mini alphabet set.  Some random stamping in the background with 7Gypsies stamps and the larger butterflies are Tim's.

book 5

And here's our girl in her finery.  What fun!  I hope you'll be inspired to see paperdolls in new ways.

book 6

I'm playing with these awesome challenges:
Our Creative Corner: Return of the Challenge - I chose What Makes You Smile (Paperdolls!)

Feb 2, 2016

Character Constructions Paper Doll Valentine Card

card 1

I am so pleased to be a guest designer for Try it on Tuesday today!  Thanks so much to this fabulous and talented team for asking me to create for this challenge, which is one of my favorite themes - A Fine Romance/Valentine!  I absolutely love making Valentine cards more than any other type of cards.  One of my big pushes towards Valentines cards has always been my love for making paper dolls.  I really had fun making this one!

TioT

card 2

I started with a Character Constructions lady and set of arms.  I sponged them to create the color.  Then I took a stamped torso tag (I don't know the maker - I stamped a bunch from a friend's stamp years ago) and cut the top off (the tag part) and curved it in to make a dress.  I covered the torso with an experiment in resist gone bad.  I had stamped and clear embossed a bunch of roses on hymnal paper, but the paper was too thin and the ink bled through to the back of the roses, eliminating the resist effect.  It was still pretty in color and I wanted to use it somehow.  Thus the 'Tover (leftover) part of my entry.  The painted book page is a 'Tover too, as well as the inky paper I stamped the heart onto.

card 3

This particular doll has always begged to be used for Valentines because of that heart tear drop.  If you are looking for a source for some paper doll stamps of your own, try Stamp Diva.  I've had most of my dolls for so long, they are actually on wood blocks, but this shop carries all of Catherine Moore's new unmounted collections plus the dies to coordinate.  It is so much fun mixing and matching all of the collections!

card 4

I just loved these cool brads and decided a key would be perfect to go with the heart (Prima).  Notice that the arms are articulated.  Those sweet arms can open wide for a Valentine hug...  <3

card 5

Rather than giving her legs, I decided to make her into a mannequin.  I traced a grunge board die cut (a latch) onto manila and inked it black.  I stamped a crackle stamp in gold over it to give it a little dimension.  The I Love You sentiment is Inkadinkado and Always is Penny Black.  The gorgeous gold embossed stamp is also Penny Black.

card 6

I'm also playing along with:

Nov 19, 2015

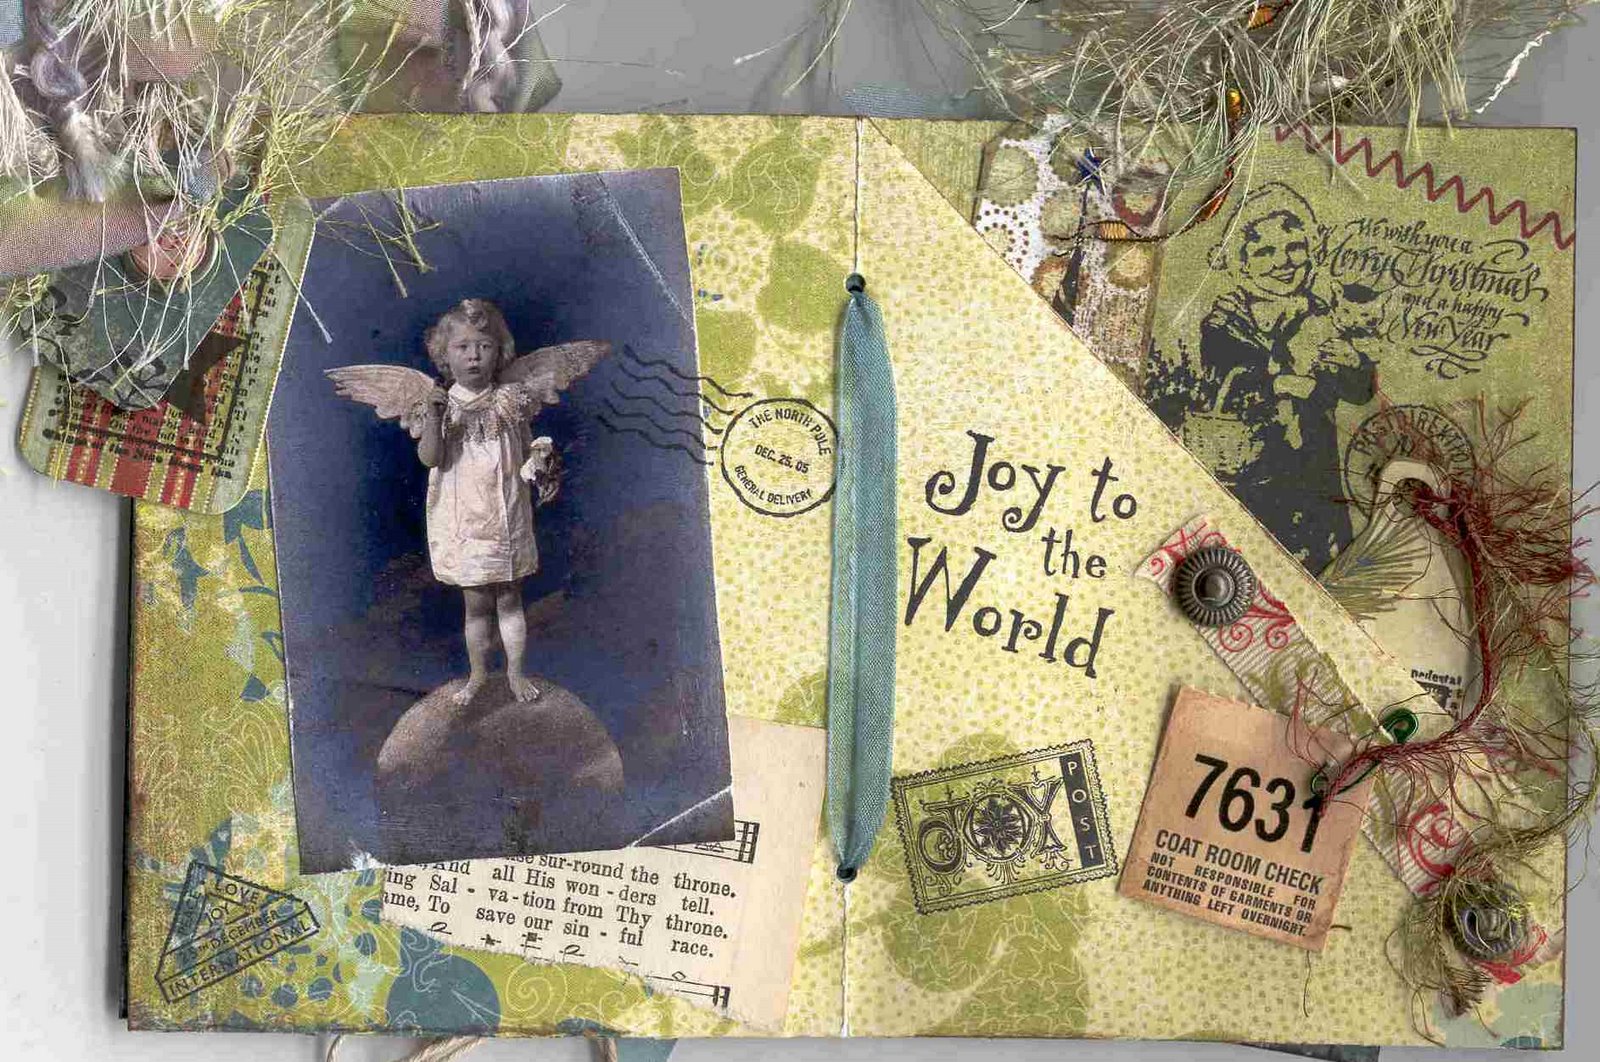
Simple Stamped Christmas Mini Album

book 1

I have another super simple mini album for you today.  I just love making these "deluxe" cards and filling them with my favorite stamps.  This one features a lot of Character Constructions images - my all time favorites!  I've also incorporated free vintage images, fun and easy!

book 2

Simply cut two sheets of double-sided scrapbook paper down to 8 1/2 X 11".  Fold each sheet in half and in half again.  The two folded sheets will nestle in one another.  Alternate folding "flaps" down every other page to make the pockets, then secure the remaining openings closed with Score tape.  I hope this makes sense.  Let me know if you have any questions.  To bind the books together, just punch two holes and then run some ribbon through and tie in a bow.

book 3

Honestly, I don't own all these stamps!  I like making these kinds of books with my stamping friends so we can share stamps.  We pick a theme and bring all we have!  Kudos to my friend Barbara, who is the QUEEN BEE of cool stamps!!!  Love ya, miss ya, come home soon!

book 4

That sleigh silhouette has to be one of my favorite stamps ever made...  This entire booklet is filled with tags, what could be more fun!

book 5

Thanks for looking!  I'm joining the fun this week with Simon Says Stamp for their Christmas challenge HERE, and with Addicted to Stamps for their Anything Goes challenge HERE.
You are invited to the Inlinkz link party!
Click here to enter

Popular Posts