Showing posts with label Paperbag Studios. Show all posts

Jun 5, 2024

Vintage Gel Printed Accordion Book Tutorial


Hi everyone and happy spring!  I've enjoyed some playtime with my mom this spring and we've done a lot of gel printing.  I was trying to think of a way we could use our stash prints and decided we should make an accordion book.  I picked one of my favorite 8x10" prints and cut it in two to cover two pieces of 4 x 6.5" chipboard, wrapped around the sides with mitered edges.


Here is my pile of gel prints.  Honestly, I didn't put a dent in this set alone!  This project didn't take as much printed paper as I had hoped...  But it was a fun project nonetheless.


I cut two pieces of white cardstock and scored them to fit inside and adhered the overlap to make the accordion panels.  Then I glued these to each cover and covered with gel prints measuring slightly smaller than the covers, 


I looked at my wooden stamp display and was inspired by this darling Character Constructions girl and called up a good friend and asked to borrow some of her doll stamps so I could complete my book.  Thanks Barbara!


I stamped all of my dolls onto book pages and added a bit of watered Tea Dye Distress Ink to give them a slight coloration.


Next I dipped all of my die cut Tim Holtz Wildflower in a combination of Tea Dye, Walnut Stain and Rusty Hinge Distress Inks.  


I mixed in my favorite scripture stamps with other favorite old wood mount stamps.


I always enjoy stamping on old paper.  Here I tea dyed some graph paper and it was a great backdrop to the scripture.


How many of you still own these stamps.  Personally, I treasure mine!  Both my friend and I have them on display in our art rooms.  
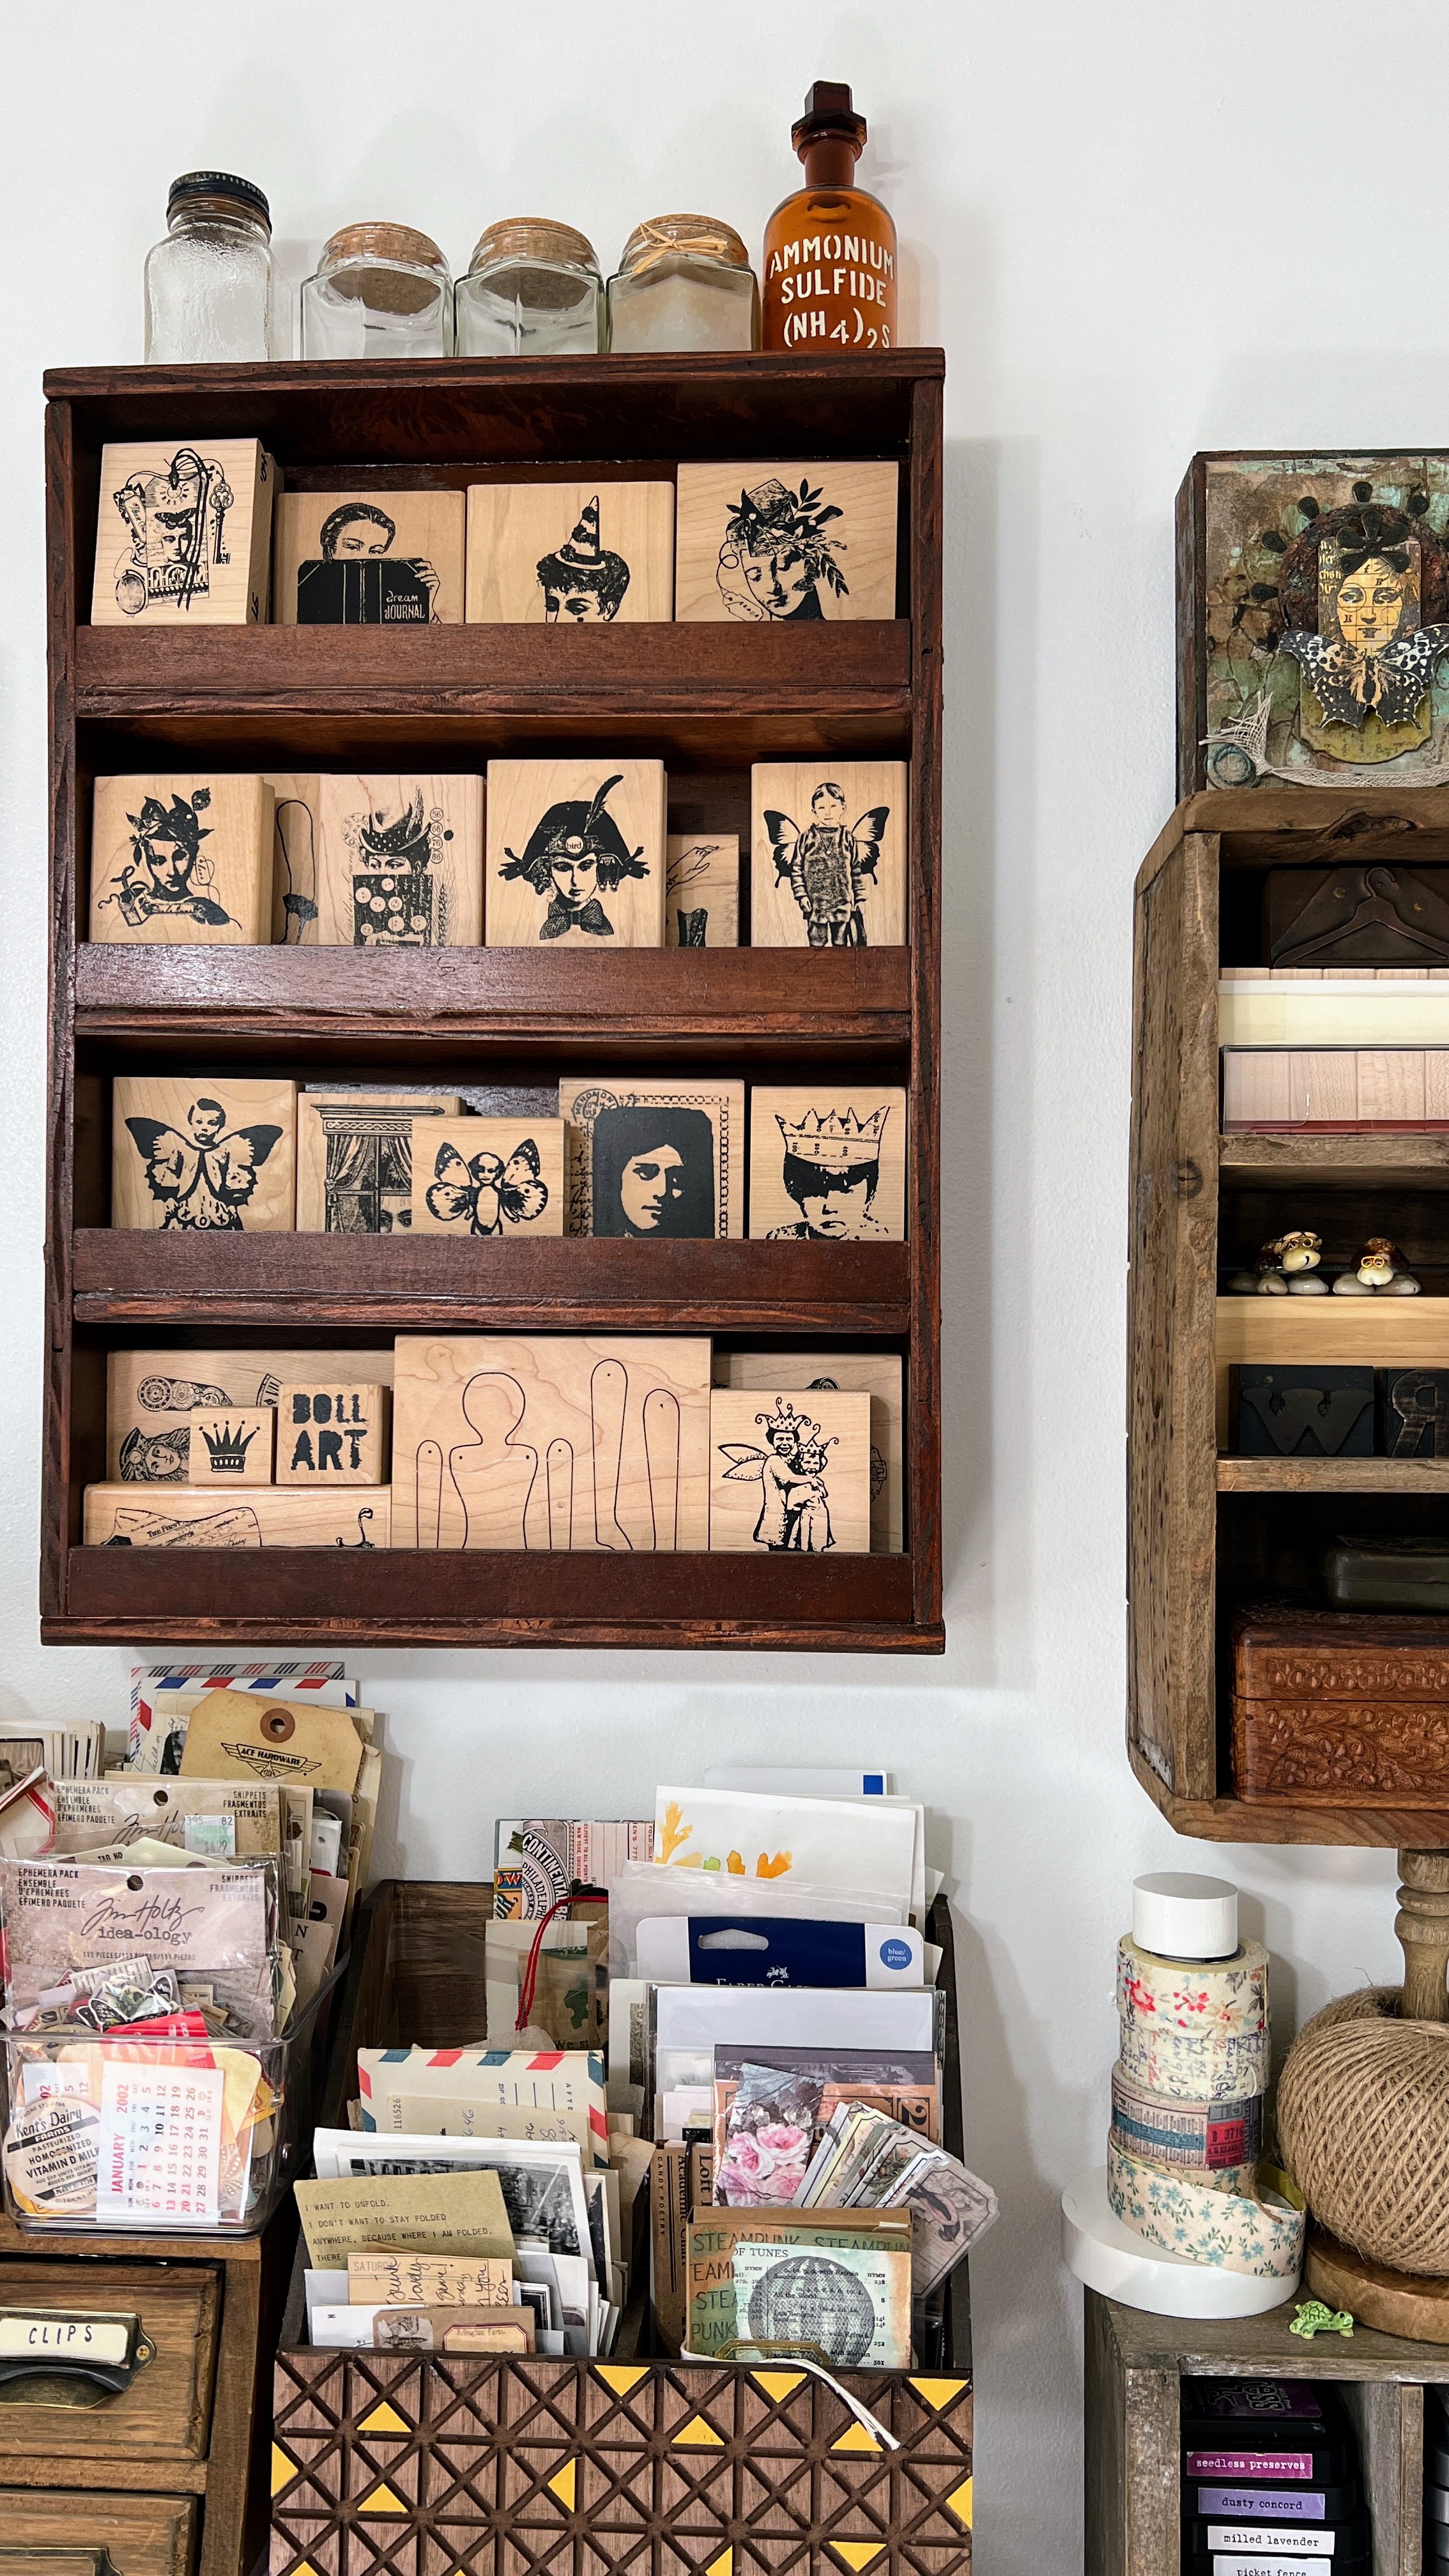

Here's a shot of mine from last year.  I've since changed things up a little, but still love this image.


I also took some free vintage label images and overlaid a typed font scripture and printed it.  I love the look and pop of aqua!


My finished book is a little busy, but fun to inspect.  I really hope it has made you smile today and has you considering how to incorporate your old stamps into your current work.  


I finished the book off with a sari ribbon binding.  
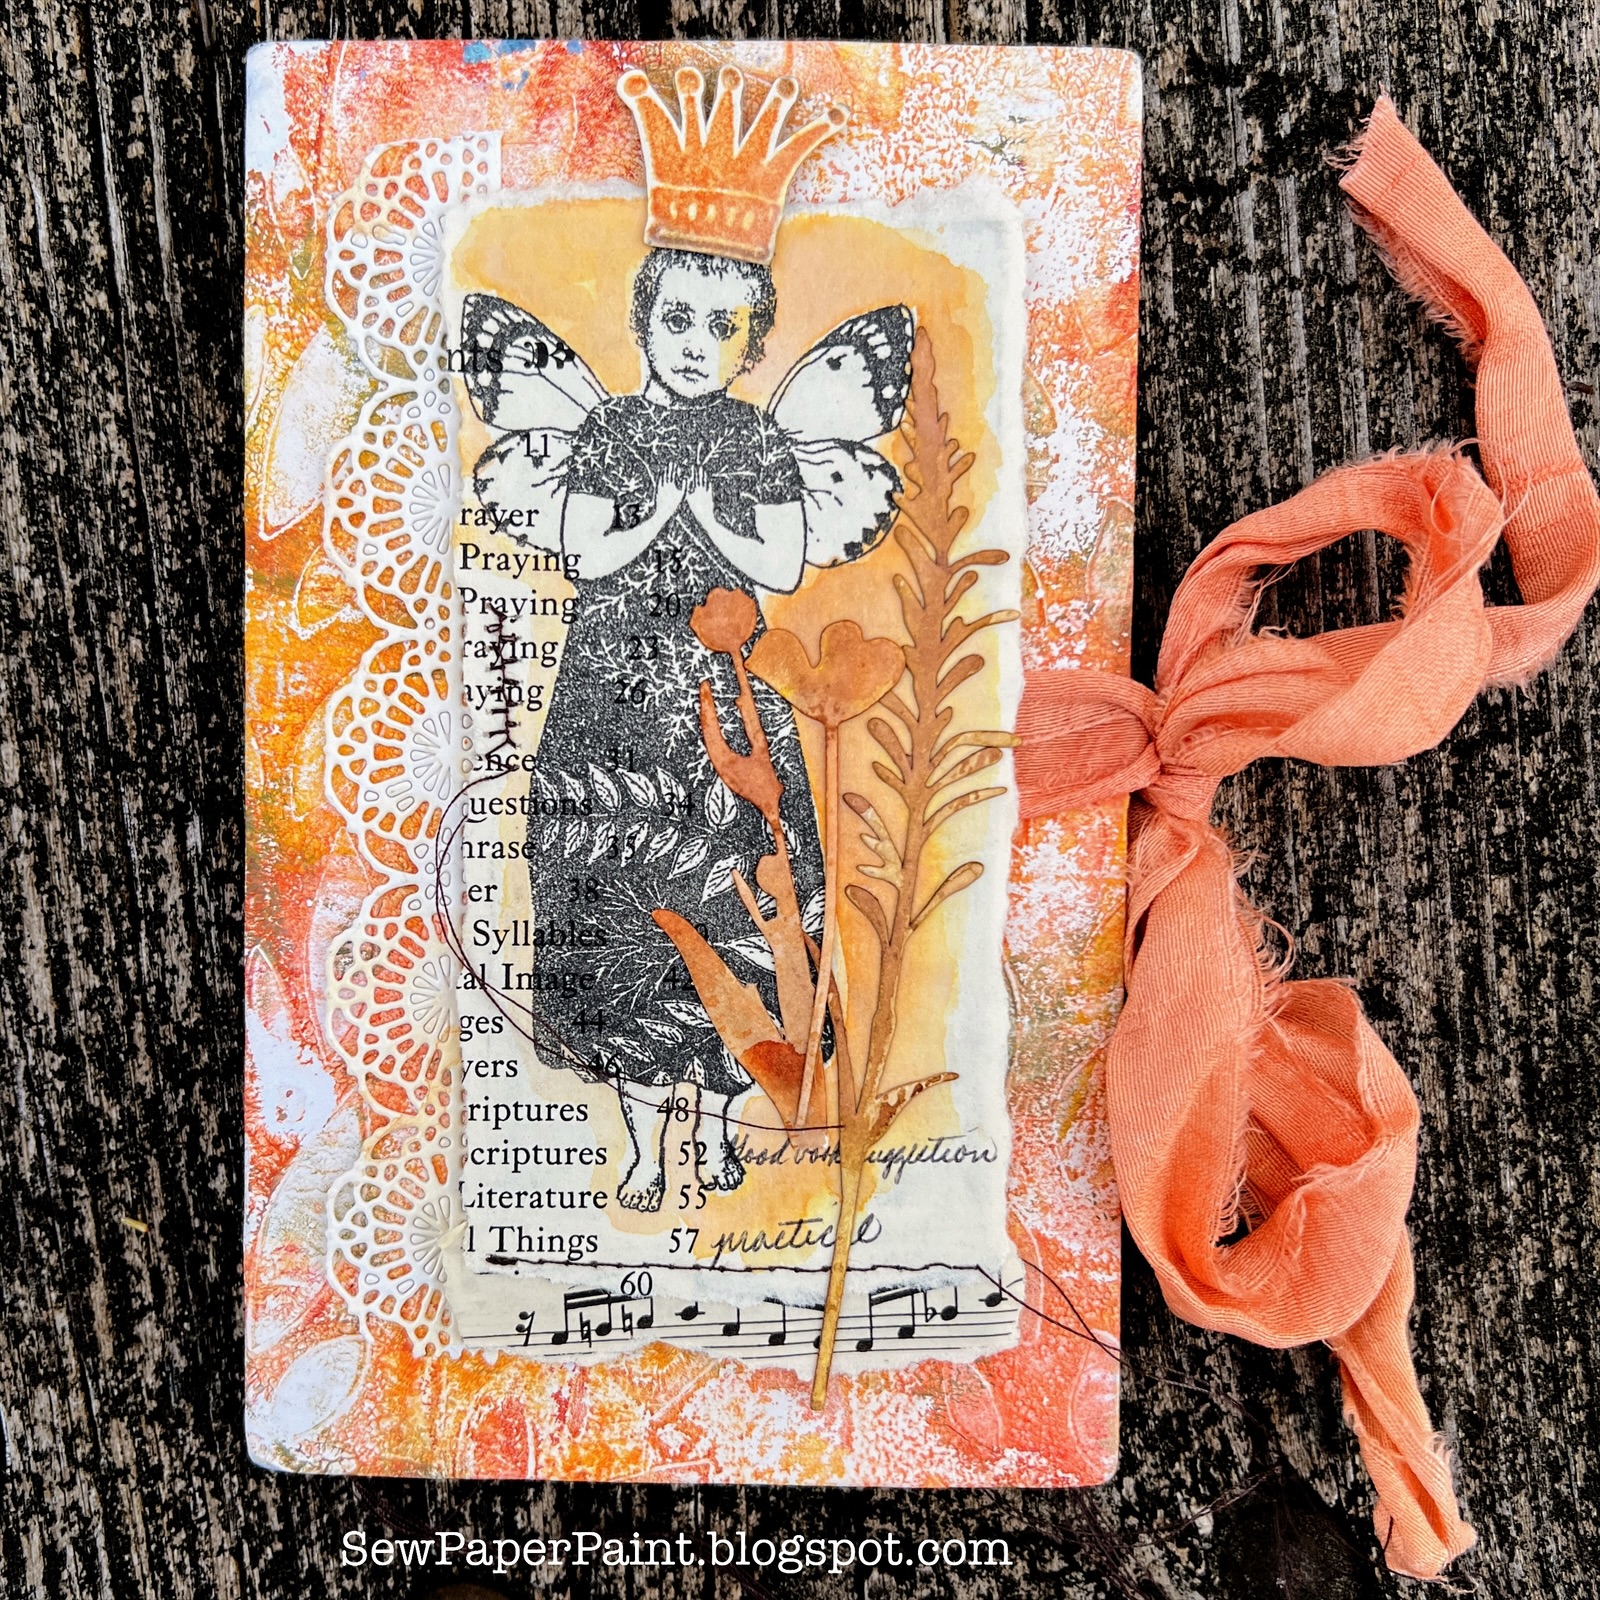

I just loved this particular gel print and was happy to make it the focal point of my book.  Happy crafting!  xx, Autumn


Aug 11, 2016

Playing with Graphic Patterns and Watercolor Resist

card 1

Pattern.  Quite simply the reason we are drawn to cardmaking!  I absolutely adore graphic patterns as well as beautiful natural patterns.  Right now I am completely smitten with watercolor and love creating organic patterns with the flowing ink, but sometimes want to further my color with more graphic elements.  For this card, I chose embossing resist.  This beautiful border stamp by Tim Holtz was turned on its side to create a “grounding” for my bundle.  Next, I used varied shades of pinks, oranges, and even grey to pool colors around my embossed image.  Some washi tape and text stamping add to the layering of my patterns, and even some solid color in the strip across.

card 2

I decided to cut my Lynne Perrella image in half and stretch it further across the card.  I wanted the heart to be closer to her.  I tucked in some white flowers and added a Finnabair butterfly, as if they were kisses.  The word “beautiful” completes the collage, a die cut by Verve.  I love gathering all of my stamps from different companies to play, I love adding the variety of patterns and designs together.  Thank you PaperArtsy for continuing to inspire me with out of the box challenge themes and new ways to play.

I'm sharing with:

Apr 12, 2016

Prima Floral Stamps and Tim Holtz Daisy Punch Birthday Card


Please excuse the back to back posts, but I was trying to squeeze in some more birthday stamping for the SSS 7th birthday bash (not to mention the SEVEN $50 prizes...)  Anyway, like I was saying in the last post, I decided that I should just do what I do and then why not do it again and again when it works well?  So I whipped out another card using the same techniques as the last one.  This time I took a pick so you could see the layers of stamping and how the ink flows more in some areas than others when you stamp onto your wet watercolor panel.


I went a little heavier on the stamping this time, and it was so much fun!


I decided to break out my new Prima flower stamps.  I had cut out a bunch of them, intending to loosely watercolor them like so.  I wanted to brighten the background up, so I switched to a different paint.  For the background I was trying to use up some dried WC in my palette and it was pretty, but I wanted to go brighter for a birthday card.


Over the weekend I played around with making embellishments, to get me through the creative lull.  I punched out a bunch of Tim's new daisy flowers and dipped each cut into pools of distress ink, then shaped them.  I tried to mix the colors up a little.


So what do you think about this card featuring ELEVEN different stamps?!  Ha!  That's gotta be a record...  The sweet focal image is Paperbag Studios.  :)


I'm playing along with: 

Jan 20, 2016

Altered Board Game Mini Album Tutorial

book 1

I'm back to share a neat tutorial for you today on converting old board games to altered book projects.  I was running out of things to alter this weekend.  I wanted to switch things up from making cards and tags.  I rummaged through my drawer of "alterables" and found two and a half Scrabble board games.  I decided they would make the perfect substrate for my collection of projects for A Vintage Journey challenges, since they are basically heavy chipboard.  Maybe by the end of the year I will have an entire collection that will form a pretty neat altered book.

book 2

Simple board games come with a board that is scored in the center and connected on top with the printed game and on bottom with cloth book binding tape.  To turn them into book pages simply break the "spine" by folding the halves backward.  You may have to do this twice, but the halves simply break in two.  Next divide the length of each panel in two to determine where to cut.  Then cut with your regular paper cutter using an old blade.  Always save an old blade - I write on mine OLD with a Sharpie.  Cut once at the desired length using the ruler on your cutter, then flip and cut again on the other side to complete the cut.  Easy peasy cutting - no fancy cutter required.

book 3

For my pages I left the ragged cloth tape as is because I was fond of the tattered look.  I am going to line all of these up as the "spine" of my book.  As I work each page, I will lightly sand the cut edges so they won't feel sharp or rough.

book 4

For these pages I layered my collages over the printed game board side and inked the Scrabble pattern with Walnut Stain so it would blend in with my designs.  Of course, you could paint or gesso the pages if you like.  But, Scrabble is actually my favorite board game and I wanted the board itself and the "Scrabble burgundy" to show.  The only reason I could bare to upcycle these game boards is  that I have a deluxe spinning board with groves to hold the tiles in place.  I know, I'm so cool!  ;0

book 5

For my girlfriends collage I cut and layered parts of the Wallflower stash by Tim Holtz.  I tattered the edges and dipped each piece in puddles of ink to further grunge them up.

book 6

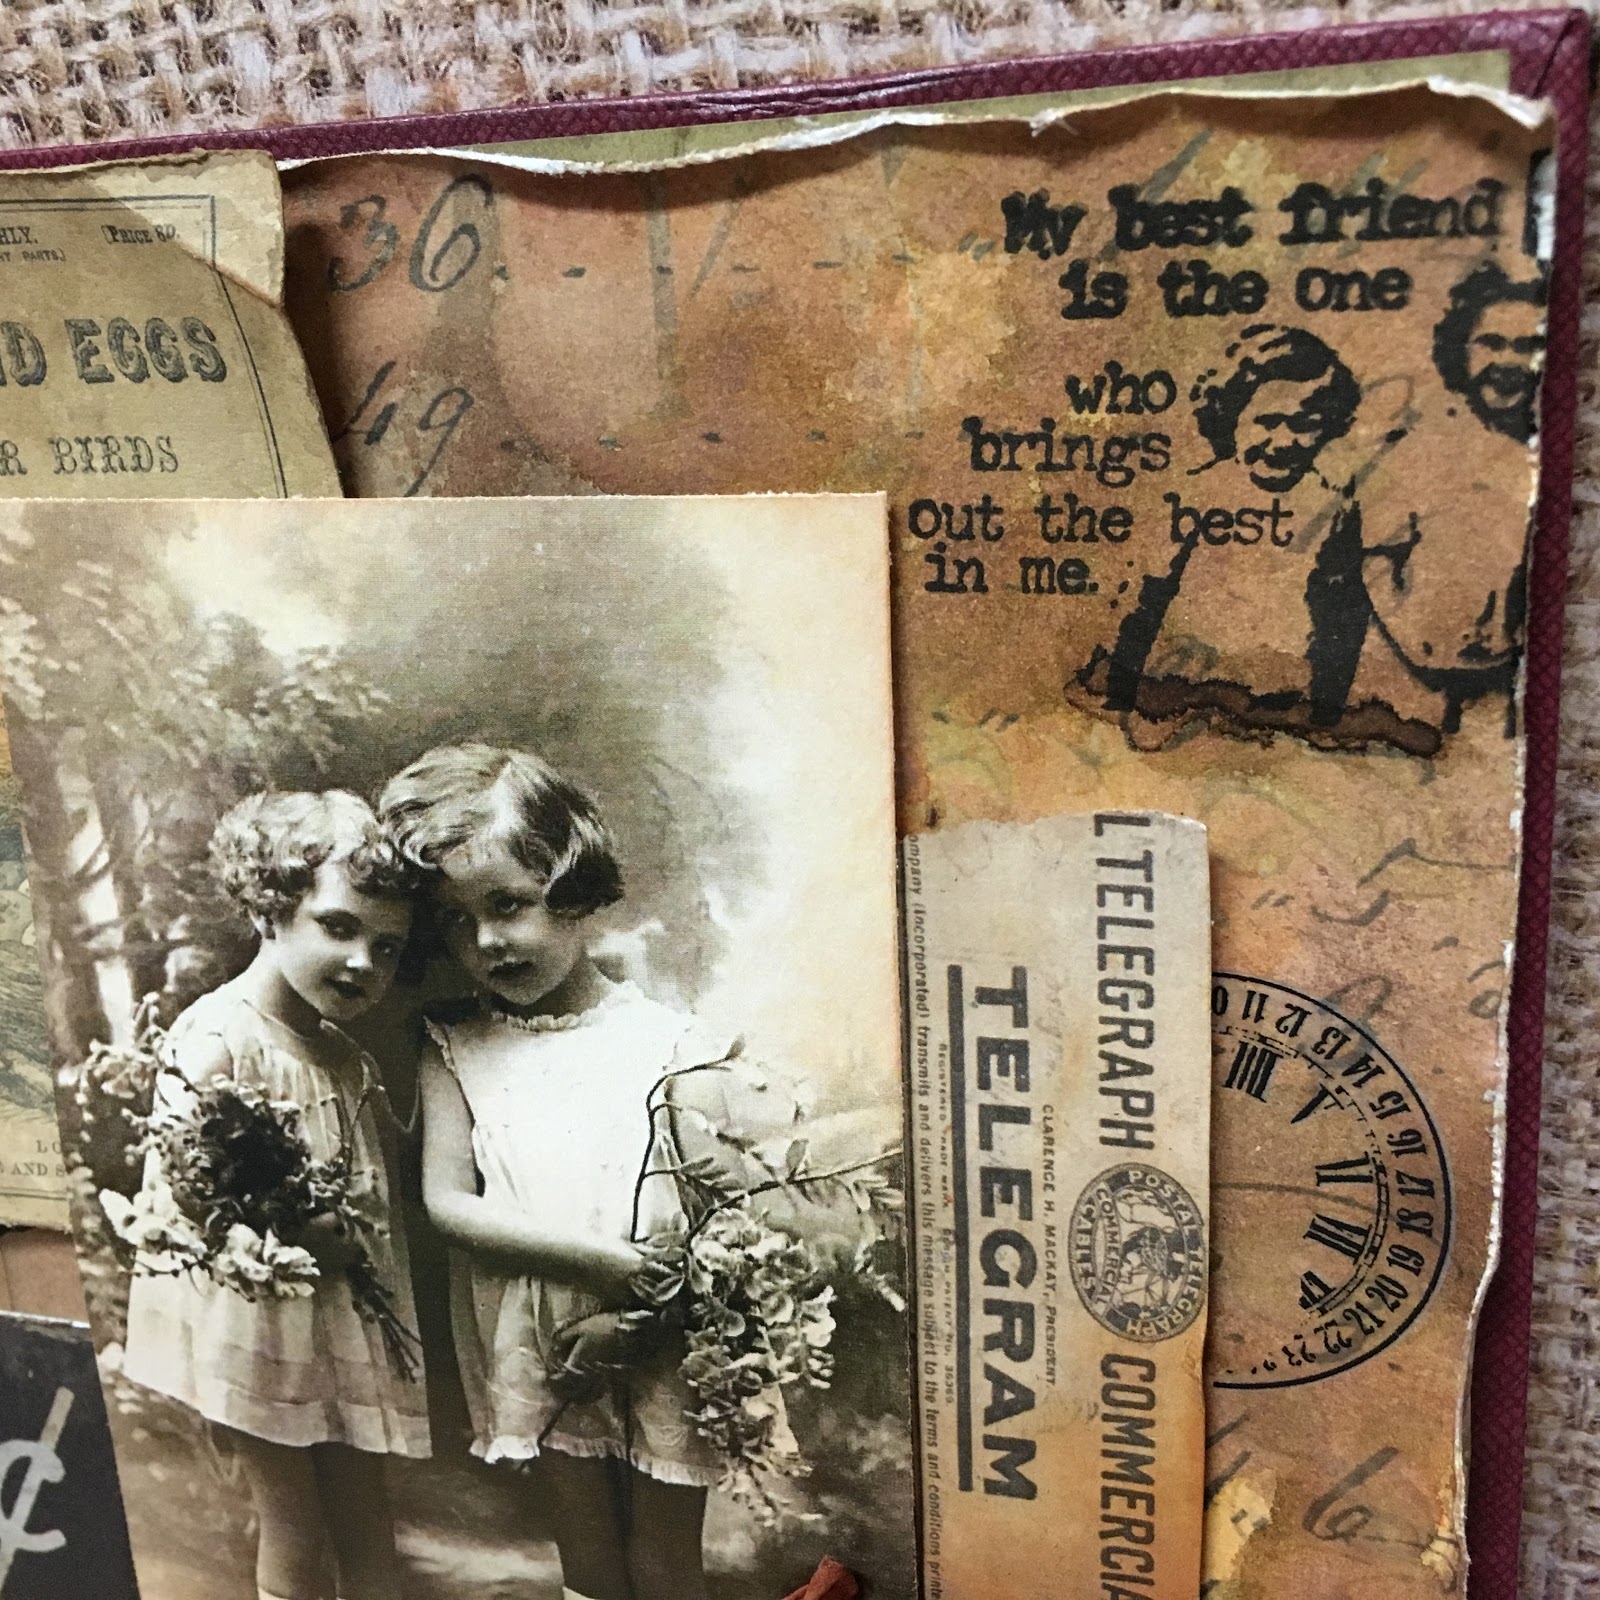
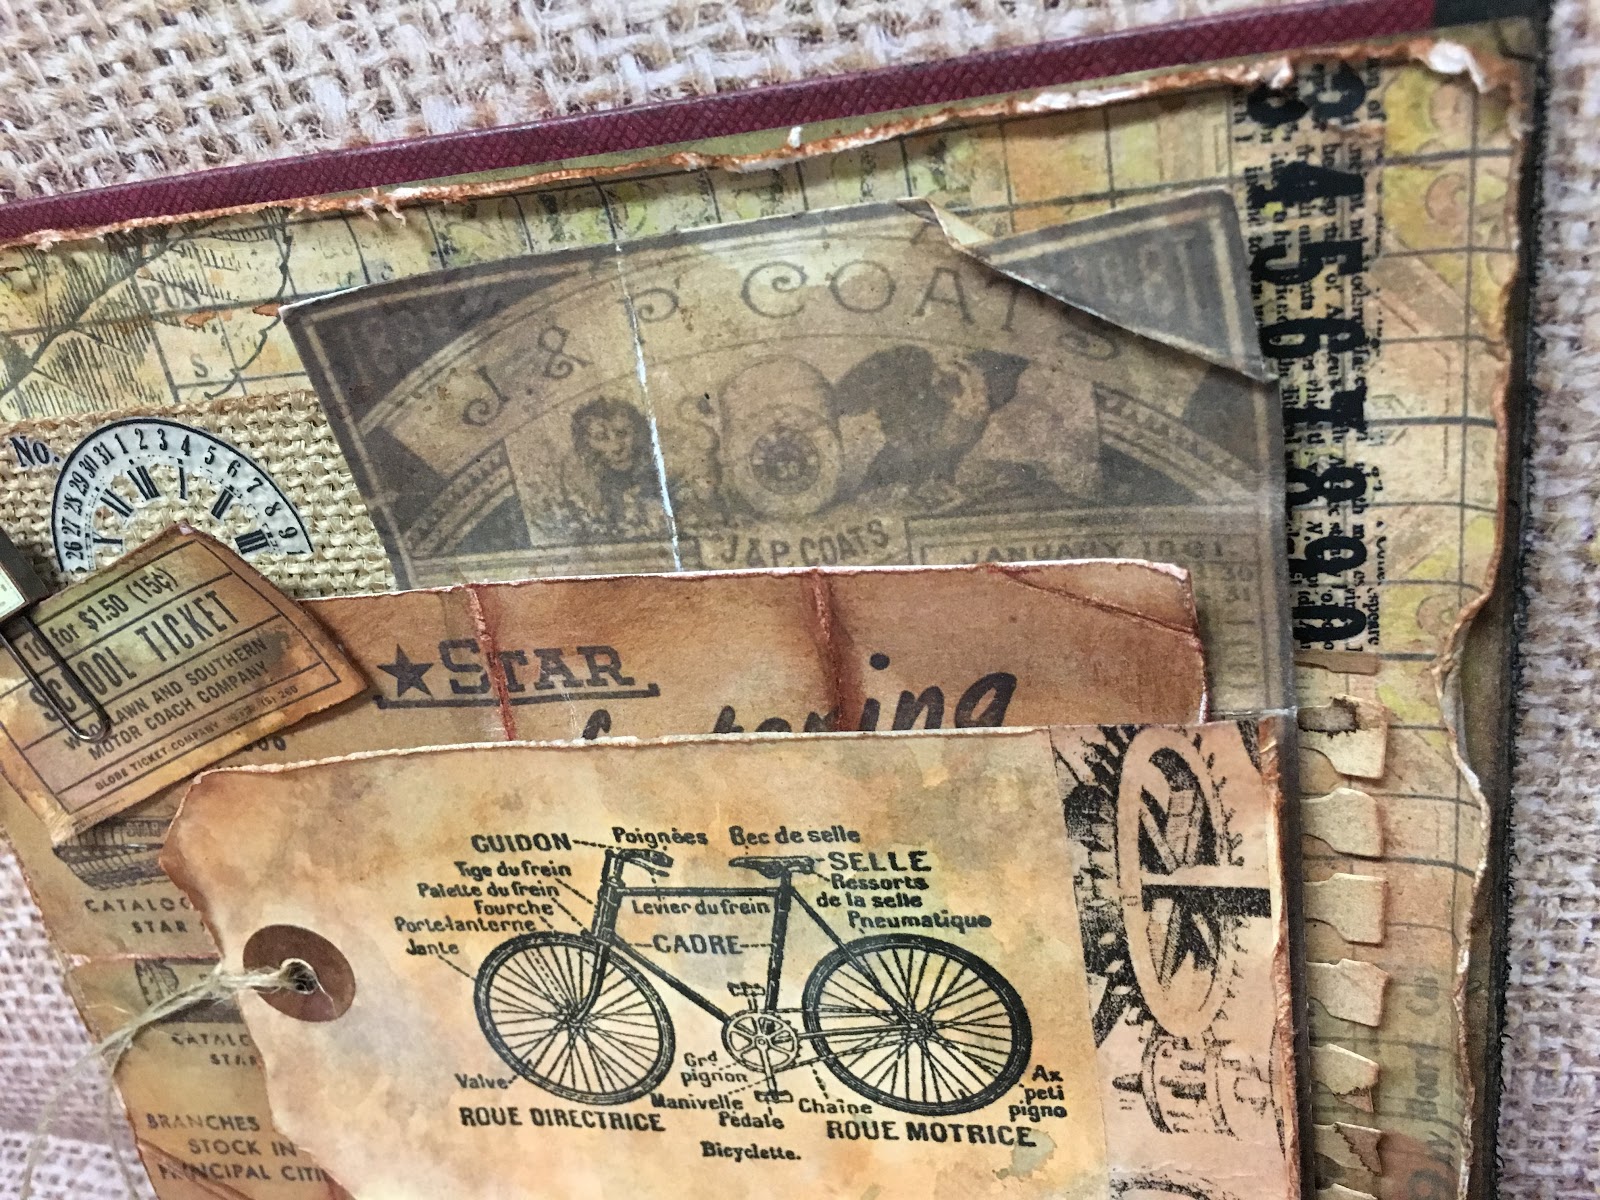
I used one of my DIY paper flowers (tutorial HERE) as an embellishment.   The clock face is a Tim Holtz Rub-on.  This page reminds me that my best friend and I were two pretty little girls, but loved our grand adventures.  Bikes played such an important part in our childhood.  I know that's not the case nowadays, but I am thankful that it was for us.  Oh the fun we had.  How time flies...

book 7

For my vintage travel page I followed pretty much the same process.  This stamp is an unmounted stamp and I don't have the maker, but I have always loved it.

book 8

My friend Bonnie loaned me this cool Tim Holtz torn paper edge die, love it!

book 9

I was pretty happy with using a rub-on over the burlap panel.  It only looks whitish when you zoom in.  I really wanted to incorporate the feeling of passing time.


So there you have it, my combination of two very amazing challenge themes and a pretty cool mini album concept.  I will probably bind it with rings, but am going to get more pages completed before making that decision.

book 11

I'm playing with:
SSS Monday: Best Friends
A Vintage Journey: Vintage Travel and Luggage
The Mixed Media Monthly Challenge: Time Flies (I used clocks and a general feel of nostalgia towards my childhood)
Creative Artiste Challenge: Chipboard (my book is made from chipboard)
MMMC

You are invited to the Inlinkz link party!
Click here to enter

Nov 9, 2015

Nostalgic Christmas Tree Mixed Media Tag

tag 1

Hello friends, today I am sharing my 6th 12 Tags of Christmas with The Funkie Junkie.  I was inspired by Linda's beautiful tree and the corrugated cardboard in her tag.  I embossed a Paperbag Studios tree stamp for my focal image, but so wish I had the stamps Linda used, which you can find in her shop, The Funkie Junkie Boutique.  She has everything you'll need for your mixed media projects!

tag 2

I layered my tree onto a second die cut panel to make it sturdier and add a little shadow.  I've noticed this is how they do the Jolee's dimensional stickers.  I cut two Tim Holtz holly boughs to create the symmetry I loved in Linda's design and mounted it all over a burlap doily, my sweet friend Carol gave to me.   I decided I would make my entire tag from cardboard.  I peeled and peeled away the top layer, then inked it with ochre chalk ink and a little brown Memories ink.  Next I colored it with a white Distress Paint dauber.  I wanted to try the snow technique that Pamellia Johnson of My Little Craft Things uses - so beautiful!  Pamellia uses molding paste, but I wanted to use this huge jar of puff paint that I bought for another technique that didn't quite work out for me.  I applied it and then sprinkled Distress Rock Candy glitter over the wet paint.  So beautiful!  The great thing about using the puff paint is that it dries super fast with a heat tool and the fine tip applicator allowed me to easily create the "icicles" with perfect precision.  YAY!  Getting my $3 worth!  I think this bottle will last a lifetime.  The only caution I'd advise is that it absorbs any Distress Ink underneath - green snow on the holly...

tag 3

I loved the gingham bow Linda added to her tag and had one little strip of this gorgeous zig zag ribbon.  I made a double bow, adding the perfect bit of nostalgia for my country Christmas tag.

tag 4

For the bottom I stamped this awesome sentiment by Stampa Rosa and cut it by hand in this shape.  See the icicles!  I added some jute braid to the bottom and it made the tag have a scalloped like edge.  The Tattered Poinsettia is layered over a Tattered Floral die cut lace flower with some berries glued in behind.

If you'd like to see all of my 12 Tags of Christmas, click HERE

tag 5

I'm linking up to the Funkie Junkie's 12 Tags of Christmas HERE, to Stamping with Loll for her 12 Tags of Christmas HERE, to Happy Little Stampers for their November Mixed Media challenge HERE, and to SSS HERE for their Letter "N" challenge, for which I made this Nostalgic Christmas tag. 

Oct 30, 2015

12 Tags of Christmas Snowy Night Altered Tag

tag 1

My week 4 tag for Linda's twelve tags of Christmas, inspired by her stamping the black trees on an Evergreen Bough Distress ink background.  The tree is by Paperbag Studios and has a frame around it, but I carefully inked each tree only and stamped repeatedly.  My mom has the best tree stamp for this, but I couldn't get over to borrow it.  :(  Anyway, this worked well.  I went back and added puff paint to each branch.  It is supposed to air dry, but yeah right!  Three hours later... NO!  I heat set it and it did alter the texture, but I still liked it for this application.

tag 2

The text is a Hero Arts stamp.  The music is Penny Black and stamped in Frayed Burlap.  At the bottom I tore a strip and used it as a mask to sponge rolling hills.  I ended up not wanting to throw away the mask with all the pretty ink on it, so I used it to emboss the sentiment over.  :)  Too bad I ended up covering the sponged rolling hills!

tag 3

To recreate the metallic elements from Linda's tag, I tore glittered sticker ribbon.  Then I drew stars on the backside of the scrap and cut them out free hand and adhered them randomly along the top of my tag.

tag 4

I love how Linda ties a bow and adds a charm - cute!  The Funkie Junkie Boutique has the perfect tree stamps and charms.  <3

tag 5

To see all of my tags in this series click HERE.  

I'm adding my tag to the 12 Tags of Christmas at The Funkie Junkie Blog HERE and to SSS for their Anything Goes challenge HERE.

card 1

Lastly, I made this card for the Verve VLV October Week 4 sketch challenge and am linking it up HERE, and to Winter Wonderland for their Anything Goes challenge HERE..  I had such a hard time with all these circles!  I almost didn't share it, but have challenged myself to enter a card for each VLV sketch.  Oye!  You guys, I am already listening to Christmas music!  Crazy, huh!  I'm usually a humbug!  Ha!

sketch

Oct 28, 2015

Nordic Christmas Sweater & Sleigh Silhouette Altered Tag

tag 1

 I had such a great time making with my first nordic background tag HERE.  Linda's Christmas knit was such an inspiration to me.  I came across this awesome stamp on clearance for $4 and just had to get it!  Later that week I saw this lady in a grey and cream sweater and I just knew I had to recreate it into a tag!  I decided this adorable sleigh silhouette would be the perfect focal point.

tag 2

I used Weathered Wood, Frayed Burlap, and Pumice Stone Distress inks to create my background.  The focal image and text was stamped with Vivid Cobblestone.  I layered an industrious sticker over the bottom seam and tore the top.

tag 3

I stamped this JOY sentiment by Paperbag Studios and embossed it twice with grey UTEE.  I sponged a bit of black around the edges to make it look like metal.

tag 4

 For the topper, I layered with some Tim Holtz Sizzix greenery, some charcoal twine, and a jingle bell.  I was inspired by THIS pin.

tag 5

 I used some mini alphas to stamp the text onto a scrap.  I added some pom pom fringe and then stitched around the edges.  I'd have to say this is my favorite tag so far, even though it is not bright or traditional.  I just love the wintry feel of it!  Linda has such an amazing selection of Christmas items and is running a flash sale on Tim Holtz products at her shop, The Funkie Junkie Boutique, now through the 10/31!

To see all the posts in this series, click HERE.

tag 6

I'm linking my tag to The Funkie Junkie 12 Days of Christmas tag challenge HERE, to Fashionable Stamping for their Changing Seasons challenge HERE, to Craft Stamper for their 'Take A Technique' Ink Stitch Paint Collage Print Paper challenge HERE, to WOW! Embossing Powder for their October embossing challenge HERE, and to Winter Wonderland for their Jingle Bells challenge HERE.

Popular Posts