Showing posts with label Verve Stamps. Show all posts

Oct 16, 2018

Tim Holtz Skeleton Leaves Sympathy Card


Sympathy cards are the hardest to make, but this one was made with so much love and many prayers as I worked bit by bit...  From death comes life, just as the fading leaves bring forth fresh soil for new growth.  There is hope, my friends.  From the ashes of this life God can bring beauty and wholeness.  If you would like to talk about the promises of God and how He can bring you from death into life, please email me through the link in my sidebar. 


For this card I wanted to use spring green, with a bit of fall hue.  I pulled a plaid background I had shared earlier in THIS post.  Here is the video I made for two-toned plaid background stamping.


I used 5.5 x 4.25" mixed media cardstock that was precut in a pack.  I wanted to elongate my design, so I ran the Tim Holtz Stitched Rectangle die through my machine until I got to the end and stopped. 


I lined up the opposite end with the die and put it upside down in my machine for a second run, this time just barely going over the top end.  


Here you can see where the die cut pattern meets.  I knew I was going to add a strip across this section, so it works just fine and gave me the elongated shape I needed.


I have many beautiful scripture stamps by Verve, but none so encouraging as this verse.  I cut it freehand like a scroll and sponged the edges, then curved it with a paintbrush handle.  I tucked it beneath my Skeleton Leaf die, which I had stained with Twisted Citron, Frayed Burlap and Vintage Photo Distress Inks.  I used the 3D Scallop Impresslit to cover the gap on my background. 


The leaves rest on a die cut Stitched Oval, stained with Antique Linen Distress Oxide.   The panel behind the plaid was stamped with the Entomology stamp set script.  On the inside of the card I added another sponged die cut.


I finished it off with a wrap of bakers twine and a Tim Holtz brad.  With love and condolences to the Thomason family...

Apr 29, 2018

3 for 1 Verve Stamps and Darkroom Door Cards


Happy Sunday!  My fam wanted to sleep in today so we are going to late service and I had a moment to pop these cards in a post.  I took some time just to play and make some cards for some of my favorite challenges.  I woke up yesterday morning with this shaker card in my brain and got straight to work.  This fun sentiment is from the Kindness Matters stamp set.


This time I made my shaker with fun foam and glue.  They never turn out perfect, but it's fun and I'm happy with it.  :)


I layered over a Prima doily and added a 49 and Market flower.  The paper is forever old and is by Glittz.


I realized this was my last yellow paper in my stash, then I happened to find a pad for $5 at Tuesday Morning and I felt I just had to make a second card with it.  I totally love the "Use Yellow" Diva Inspiration challenge this month!  This stamp is from Scripture Medley 4.  The butterfly is from a Tim Holtz die, and the ribbon is by him too.  For the life of me I can't remember buying the label die, but it was in my stash and I was happy to find it!  LOL!


Friday I spent some time playing with a new Darkroom Door stamp for the April Facebook Challenge, Mother's Day/Feminine.  I'm not totally thrilled with this card.  It was the first thing I've made in weeks, so I guess I was feeling rusty.  Anyway, I love the stamp (Henry and Harriet) and need to use it on a smooth paper next time.


I got these fabric doilies on clearance at Michael's when I was in Columbia with Sara Emily.  I loooooove them!


I embossed this dainty sentiment by Penny Black in gold and paired with Tim's word stickers.


The flower is handmade with a center of Art Stones and the leaves are Tim's too.  And I happily found this pack of vintage seam binding for 10 cents when I went to NC to buy my daughter's prom dress.  There's an awesome thrift shop along the way!  Score!  :)  Well, that's it for me.  Have a great Sunday friends!


I'm sharing with:

Apr 16, 2018

Yellow Authentique and Verve Stamps Mother's Day Card


Happy Monday friends.  Today I'm sharing a sweet and simple Mother's Day card  made for the latest Verve Stamps Inspiration Challenge.


I was happy to settle in and make a Mother's Day card with this gorgeous Verve Stamps sentiment.  I have tons of 6x6 paper pads in my stash and pulled out this older Authentique paper and did some simple layering with a Stampin' Up die cut gifted to me by the sweet Debbie Mageed of Secrets to Stamping.  I finished with a Prima flower, twine bow and little ribbon bow made from the freebie in a Funkie Junkie Boutique package.  :)  I hope this burst of yellow brightens your day!


I'm sharing with:

Feb 3, 2018

Simon Says Stamp Valentine Card & Verve Stamps January Sketch


Hi friends!  Happy Saturday!  I'm enjoying some free time in the studio today and pulled together a quickie for the current Simon Says Stamp Flickr challenge.  The challenge this round is to create a Valentine.  I have had the idea for a while to use the Fractile Leaves set as the pattern inside of a heart die cut and finally gave that a whirl.  It worked perfectly with the smallest Tutti Designs Stitched Hearts die.  For my background I did an embossing resist with the SSS Abstract Triangles stamp, turned sideways to mimic the lines in my hearts.  I spritzed my embossed panel with water and then dipped the edges only into watery Picked Raspberry DI, letting the colors bleed inward.  I really liked this look!  :)


After a splash of black gesso, I added a few sequins, a Tim Holtz sentiment sticker and a bundle of silver thread.

I'm also sharing my Valentine with:


I shared this card on Instagram already so I wouldn't miss the deadline, but also wanted to blog my entry for the January Viva la Verve Sketches Challenge.  I just loved Julee's sketch and needed a sympathy card.


I tried Tim Holtz's new technique for using Distress Oxides on alcohol ink cardstock, then applying Distress Glaze with the blending tool.  I have to say, I liked the panel before adding the DG and it was also hard to stamp on, even with Archival ink.


The blue was completely lost and I got camouflage!  YIKES!


But I was committed and finished it up, using Tim's Stitched Rectangles for my matting.  I decided the lower layer needed something, so after matting I ran the entire thing through the sunburst EF - ha!  It actually looked good, so there.  I'm not giving up on this technique, just need to branch out of my monochromatic tenancies.  Wish me luck!!!

Jan 30, 2018

Distress Ink and Oxide Techniques with PaperArtsy and Simon Says Stamp


What an incredibly busy holiday season/New Year it has been for me!  Adding our little anniversary adventure and basketball season and well, quite frankly I've been spinning!  :)  I have been so anxious to sit in my studio and make some projects just for fun, with no DT commitment in mind.  The current challenge at Simon Says Stamp was just the prompt I needed, as the embossing resist technique is one of my all time favorites.  I simply cannot get enough of the new PaperArtsy E³ {Scrapcosy} stamp sets.  I've used images from all three sets (ESC010), (ESC011) and (ESC012) as well as stencil 093 and 095 for this nautical / sea inspired tag.


I embossed two of the fishes and did a good dipping of with my watercolor tag in Twisted Citron, Cracked Pistachio and Blueprint Sketch to get the color variations.  I went back in and sponged the same colors for a more vibrant effect.  I used the circles from stencil 095 and spritzed water over the openings, let the water sit for about 30 seconds, then lifted the color with a baby wipe.  This created a beautiful light pattern on my tag.


Next I layered stencil 093 onto my tag and sponged heavily with Blueprint Sketch.  The embossed fish resisted the ink and this made such great depth.


I embossed my stamped Blueprint Sketch octopus with clear EP over a second inky panel, then fussy cut.


I layered him over a Tim Holtz Mixed Media thinlet die, some gauzy cheesecloth and a bundle of thread.  I gave everything a splash of watery gesso.


I used these amazing Verve Stamps dies to make some foliage along the bottom of the tag then mixed Art Stones with Mod Podge and to complete my ocean floor.


I hope you like this tag, made just for fun, for the sheer love of stamping!  :)


Next stop was to play with my Distress Oxides for a quickie make for the current Simon Says Stamp Flickr challenge, Friendship.  The background panel was a mop up from another project using Fossilized Amber DOX.  I stamped the SSS Emma Background stamp in Fired Brick DO over it and spritzed with water both before stamping and after to maximize the oxidization.  I die cut Tim Holtz Friendship dies and layered with Metallic Kraft Core.


I added a few sequins that I won from the sweet Esther of Shoregirl's Creations.  Thanks Esther!  I think I will become addicted to this background stamp too!  It's a 6x6 circle and here I only stamped half of it.  So many alternative uses, including embossing resist.  :)  I'm sure you will be seeing that soon as well.  Thanks for visiting today!


I'm sharing my tag with:

I'm sharing my card with:

Dec 1, 2017

Tim Holtz Christmas Eileen Hull Mini Album Tutorial


Today our final challenge for 2017 begins at Mini Album Makers.  For all of you Eileen Hull fans, this very special challenge is not only being sponsored by Eileen herself, but most of our team have used her dies for our projects this month.  Each and every tutorial will be a worthy read!  I hope you'll hop on over and pay the DT some love and choose to play along yourself for a chance to win.  I chose to work with the Mini Album die for my album, and my tutorial below will show you how to convert your books from travelers journal style, with removable inserts, to a full-on mini album with fixed pages, flaps and pockets.  But first, let me show you the finished result... (grab a cuppa)


My favorite spread with sentiments from Verve Stamps and Tim's old 3 Wise Men stamped image, which I made into a little "snowglobe".


This cute little fella and the white sled are dies from Memory Box, all of the others are by Tim Holtz for Sizzix, with links below.


I hope you like my merry little album.  Measuring just over 5" square, it's truly a little book of joy.  :)  If you have any questions about the page designs/elements please ask in the comments.  Now onto the how to...


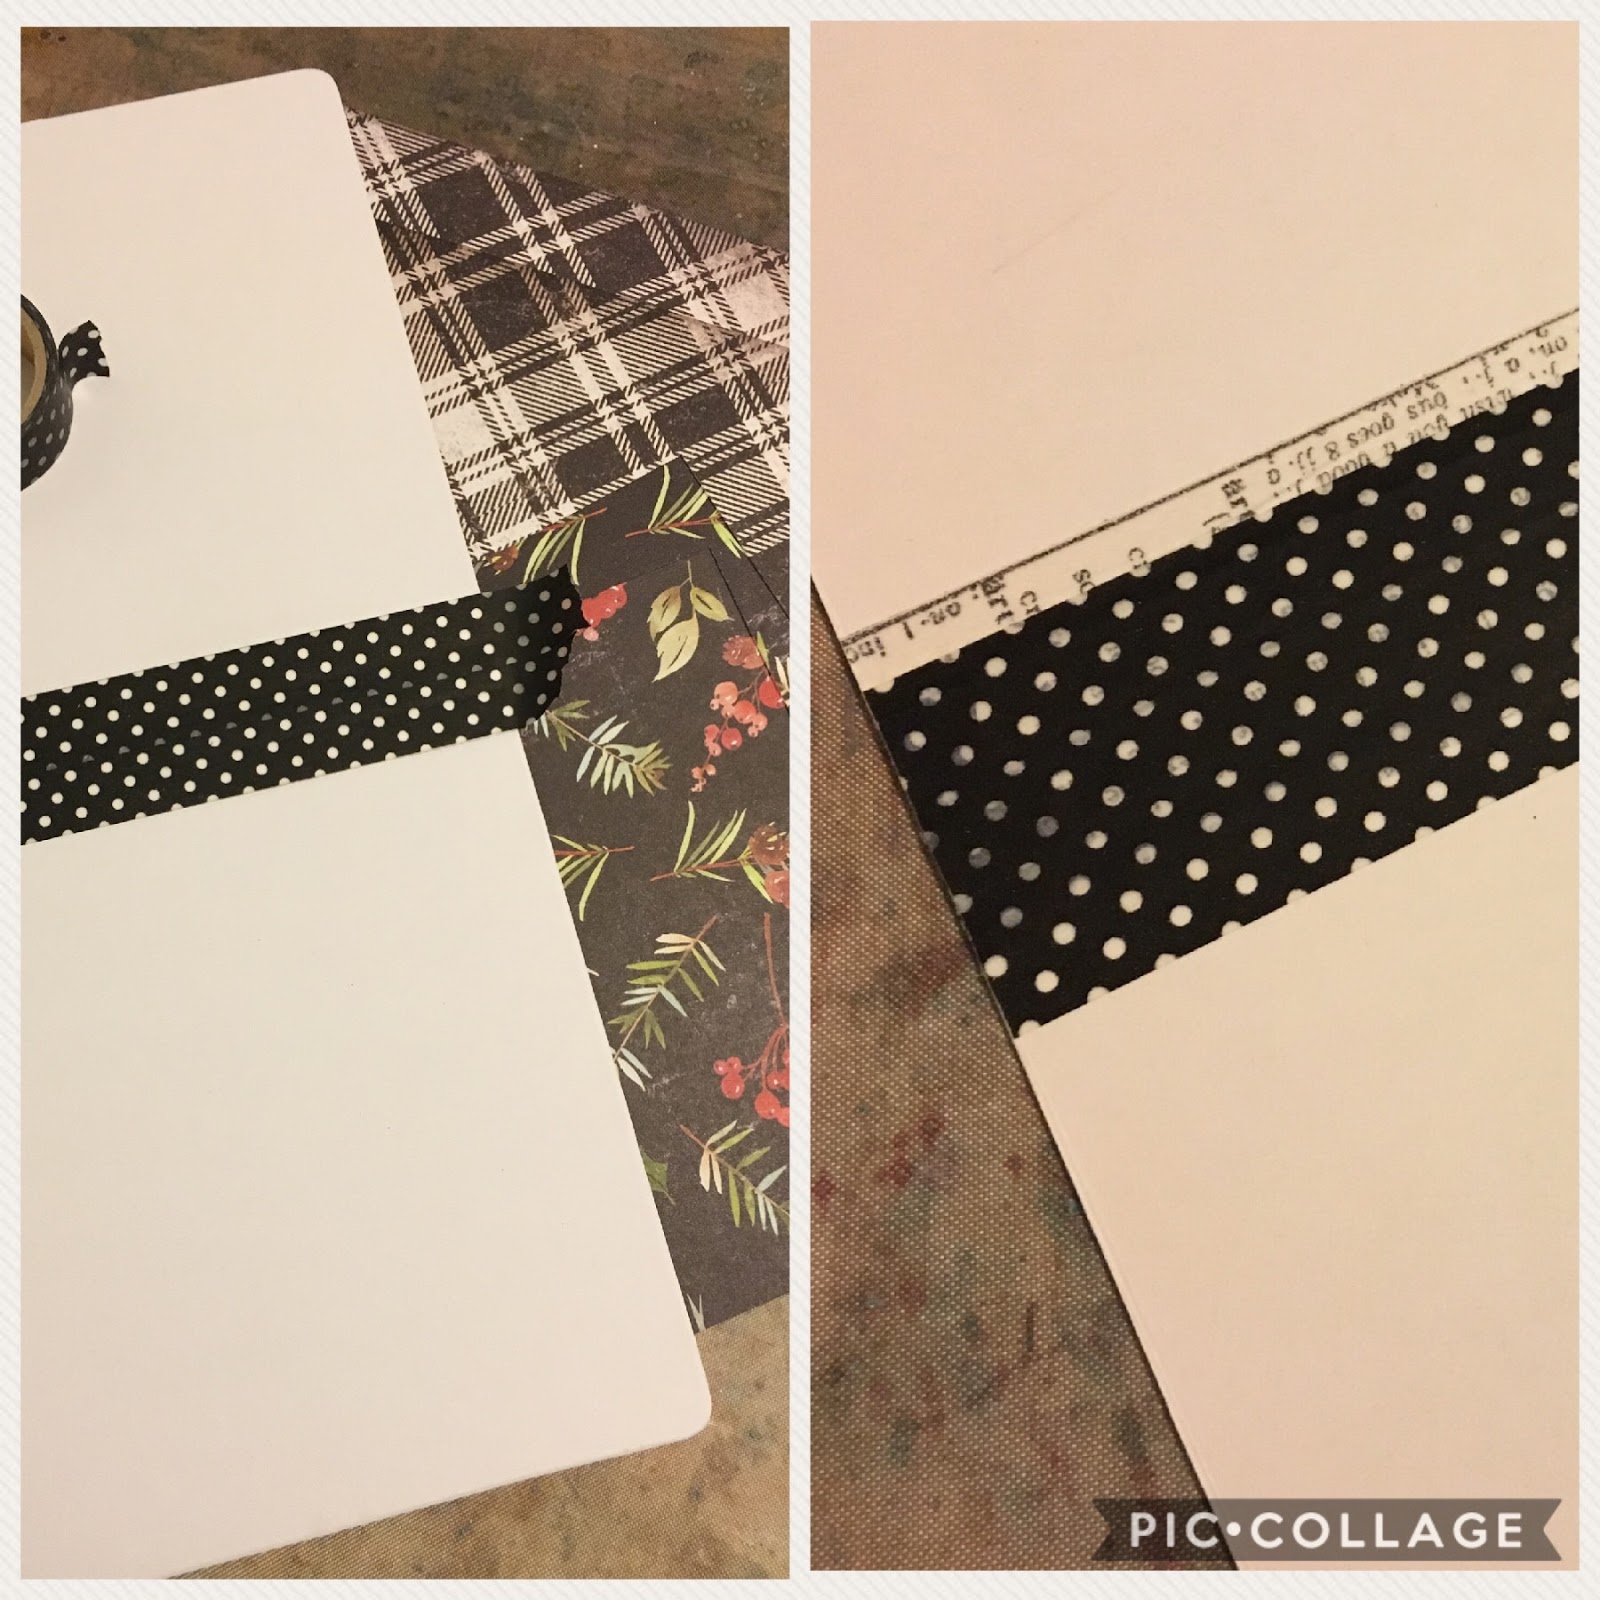
I cut four pieces from my paper pad to 5 1/8" square to decorate my covers.  For my spine, I carefully lined up washi tape on the outside of my album die cut along the spine only, not exceeding the score marks.  I wrapped the tape to the back for maximum strength, then burnished well.  Next I flipped my cover over and applied more washi tape over the spine, this time overlapping the creases to further strengthen them.  I sanded the edges and burnished well.  Then I adhered my front and back cover papers, sanding the edges to smooth.


I wanted to make a cover wrap similar to the image below of the die cut Eileen is giving away to one lucky participant in our challenge this month.  To do that I cut a piece of burlap to size, then taped it in place and punched holes to secure my eyelets.  Make sure to tape your wrap with your covers closed (folded) and not open (flat) so that there is a little give.  You see the after picture on the right, how there is a little excess in the middle.


I punched my eyelets before lining the inside of my covers.  I didn't want the eyelets to show like they are on the photo on the left.  Instead, I poked a hole and sanded away my paper to make a smooth hole, because this will show when the book is open.  The choice is up to you there...


Now, I didn't want to make removable pages for my album.  I mean, this is coveted Tim Holtz Christmas stash!  You would have to pry it away from me to remove it from this album!  Instead, I opted to make fixed pages using my favorite style of stacked binding.  You can see how those will fit together on the top left photo.  Cut two pieces of cardstock:
#1 - 4 7/8 x 10"
Score at 4 7/8" and 5 1/8"
#2 - 4 7/8 x 10 1/2"
Score at 4 7/8" and 5 5/8"
Crease and burnish your folds, then nestle the smaller pages into the larger, adhering in the middle.  The group will then be adhered to the spine of your album.


I decided to go all out with flaps and pockets.  I made the pocket on the first page by cutting a piece of coordinating cardstock to 4 7/8 x 4 7/8" and scoring the bottom and left side at 1/2".  Cut off the diagonal section and miter the corners like shown, then adhere the flaps to the page, as shown in the top right photo.


For the two flaps I cut two cardstock pieces to 4 3/4 x 2 7/8" then scored both at 1/2" from one end.  I then used the scalloped borders from Tim's Stitched Oval dies to cut the edges, making the pattern alternate on top and bottom.  You simply adhere the scored section to your pages before lining with your patterned paper, like shown on the bottom right photo in the grid.

I hope you've enjoyed seeing this mini album and reading about my process.  The Eileen Hull Mini Album ScoreBoard XL is truly a delight to work with!  Thanks so much Eileen for supporting our challenge.  <3  We hope you will play along for a chance to win this incredible die.  Hugs, Autumn


Visit the Funkie Junkie Boutique today to find these and many other beautiful mini album supplies:


I'm also sharing with:

Popular Posts