
Showing posts with label Basic Grey. Show all posts

Dec 12, 2017

12 Tags of Christmas Tattered Poinsettia and Tim Holtz Paper Stash


Today I'm sharing two more tags made for the Funkie Junkie 12 Tags of Christmas.  This first tag was inspired by Linda's Tag 8.  I loved it so much, the layout was perfect for using a large bloom.


I created an inky background with Weathered Wood DI, then repeat stamped the snowflakes from an older Tim Holtz set (thanks Madelyn!) and embossed it with Stampendous Frantage EP.  The sentiment is from PaperArtsy: Ink & the Dog Collection (A6) {Noel Plate 3}.


I made several of these flowers last year and never used them.  They were cut with the Tattered Poinsettia die from Basic Grey paper and crinoline.  The centers were an experiment.  I dabbed a brush in my Mod Podge to get a nice glop of glue, then dipped in my Art Stones and moved around on my mat to make sort of a ball.  I carefully added these to the centers of my flowers, then when they were dry came back in and painted with Distress Ink.  Fun!  Lots of splashes and painted gesso finished the tag.


I was proud of myself here for moving outside of my monochromatic tendencies.  :)  The ribbon was hand died and gifted to me from my sweet friend Carol.


My next card was taken from Linda's Tag 7.  I was inspired by her plaid background, use of the oval frame and sentiment focus.  I chose to use plaid paper from Tim's new Christmas pad as my background.


I embossed my frame in red, then tried to add Stampendous Frantage to it while it was hot, but it didn't stick, only the glitter did.  So I heat set again to make the glitter melt into the frame.  I made an inky panel from VP DI, then stamped one of my favorite Christmas sentiment stamps in Versafine and quickly embossed with clear EP.


I finished with a seam binding bow, some metallic kraft core greenery and a beautiful bells charm from the shop.  I added an eyelet to the top and twine, so not to compete with the bow below.

Click HERE to see all of my 12 Tags of Christmas.


I hope these inspire you to play along for a chance to win a $50 or $25 gift certificate to the sponsor the Funkie Junkie Boutique.  You can find many of the products below.


I'm sharing with:
Jul 19, 2017

Stephanie Barnard Flip-its Christmas Card


It's time for a new challenge at Scrapy Land.  Our challenge is Always Anything Goes with a die cut brand that Scrapy Land sells.  I decided to use my Sizzix Regal Flip-its dies to create a Christmas card with some oldie but goodie Basic Grey papers.  The funny thing is that this die is the reason I bought my Big Shot.  I had a Cuttlebug and one set of circle dies and a few embossing folders, but wanted a Big Shot to be able to cut this larger sized die (as well as Bigz).  And in these two years, I had never used it!  Shame!  When I saw the Stephanie Barnard makers challenge on the Sizzix blog I just knew it was time to get in gear!


I used a beautiful stamp from my mom's collection for the sentiment inside.  The joy die on the front is also by Sizzix from the Hello Doily set.  A loopy red seam binding bow and purchased poinsettia complete this simple card.  I hope you like it and are inspired to play along with our challenge at Scrapy Land for a chance to win one of TWO $10 giftcards!


I'm sharing with:

You are invited to the Inlinkz link party!

Click here to enter

Jun 28, 2017

Teaspoons and Teacups Birthday Card


Wow!  These Summer Coffee Lovers Blog Hop days are passing fast!  I've tried to come up with new ideas for my same old stamps.  It had been ages since I inked up my mom's Stampington teaspoons stamp.  I played around with a paper palette (vintage Basic Grey) and decided to stamp the spoon handles onto vellum.  I only inked the handles, not the labels and stamped twice.


I layered over a panel cut with my new Sizzix borders and doilies set my friend Madelyn gave me for Christmas - thanks Mad!  You're the best!  I thought this Tim Holtz chipboard sentiment was perfect and added some staples for a touch of grunge.  ;0  I used the doily from the same set to layer with my stamped teacup.  I've told you before, this stamp is by Prima and I cut the words off of the stamp and glued them to the side of my wood block to make the image more versatile.  I hope you like my design!

To see my other coffee creations click HERE.


In other news, I am working on a new mini album and was going through some of the albums I have made and was delighted to flip through this album first blogged HERE.  The video can be found HERE, just in case it doesn't load for you.  The entire album is tea party themed and uses the same collection of stamps I've used in my card today.  I hope to upload some other flip through videos for you of my albums soon, so let me know if you'd like that.  Thanks!!!  <3


I'm sharing with:

You are invited to the Inlinkz link party!

Click here to enter

Dec 23, 2016

Tim Holtz Die Cut Deer Card


I can hardly believe Christmas is upon us!  I've attempted a couple of Valentines, but still feel like we should have a few more weeks of Christmas.  Recently I found this lovely Basic Grey embossing folder for $2 at Tuesday morning and decided it was high time to do some dry embossing.  I have several folders, but have never used them much.  I layered with my handsome new deer.


Some simple sponging to highlight the pretty forest like embossing.  I made my own paper background by using a DIY Tim Holtz stencil cut from a die.  I sponged with cranberry ink and distressed the edges.  I cut the deer from chipboard and used Walnut Stain to color him.  I embossed the antlers for interest.


A simple bow and some embossed pine needles for embellishment.  So simple!  In fact, I made a pair.  Maybe this is my last card to share before the holidays, but at least I can use the design through the winter.


Jun 24, 2016

Basic Grey Summer Coffee Card

card 1

A bittersweet day today - ha ha get it bitter & sweet - with the end of the Summer Coffee Lovers Blog Hop...  Ah summer, ah coffee.  How I love you both.  Anyway!  For my final card I broke out some treasured (aka hoarded) Basic Grey patterned paper.  Remember when Basic Grey was the coolest kid on the block?  Oh I miss those days.  Paper just isn't the same...  As you see, I've used the Stamplorations free digi stamp again.  I dipped it into watery Distress Inks.  The flower is a Prima oldie.  The faux stitching stamp so many of you have commented on is by BoBunny.

card 2

I really love coloring this way.  I used watery Distress Inks to outline the stickers too.  White Distress Stain details the edge of the burlap paper. Such a simple card, but I just love the paper and color combo.

card 3

Today you get two for the price of one.  I made this CAS card to mail my friend who has been at the beach.  Gilmore Girls reference - anybody?  Can you tell I love my new Verve die?  ;0

Linda-Standart

I wanted to share a couple more class projects from the amazing ladies in my art group.  Remember, the tutorial can be found HERE.  This breathtaking pink beauty was created by Linda Standart.  The fantastic 3D nest and gorgeous bark and sentiment blew me away!  Linda glued beautiful patterned paper inside the canvas and I just love the result!

Pam-Holombe

This natural wonder was created by Pam Holcombe.  I wish you could see this one in person, it is so dynamic and detailed.  The texture and interest in the background alone is phenomenal!  I love the moss tucked into the layers and the beautiful charms hanging from the bottom of the canvas.  Gorgeous Pam!

13130832_10209657747231052_7266796962897251339_o
Sharing these with:

You are invited to the Inlinkz link party!

Click here to enter

Mar 13, 2016

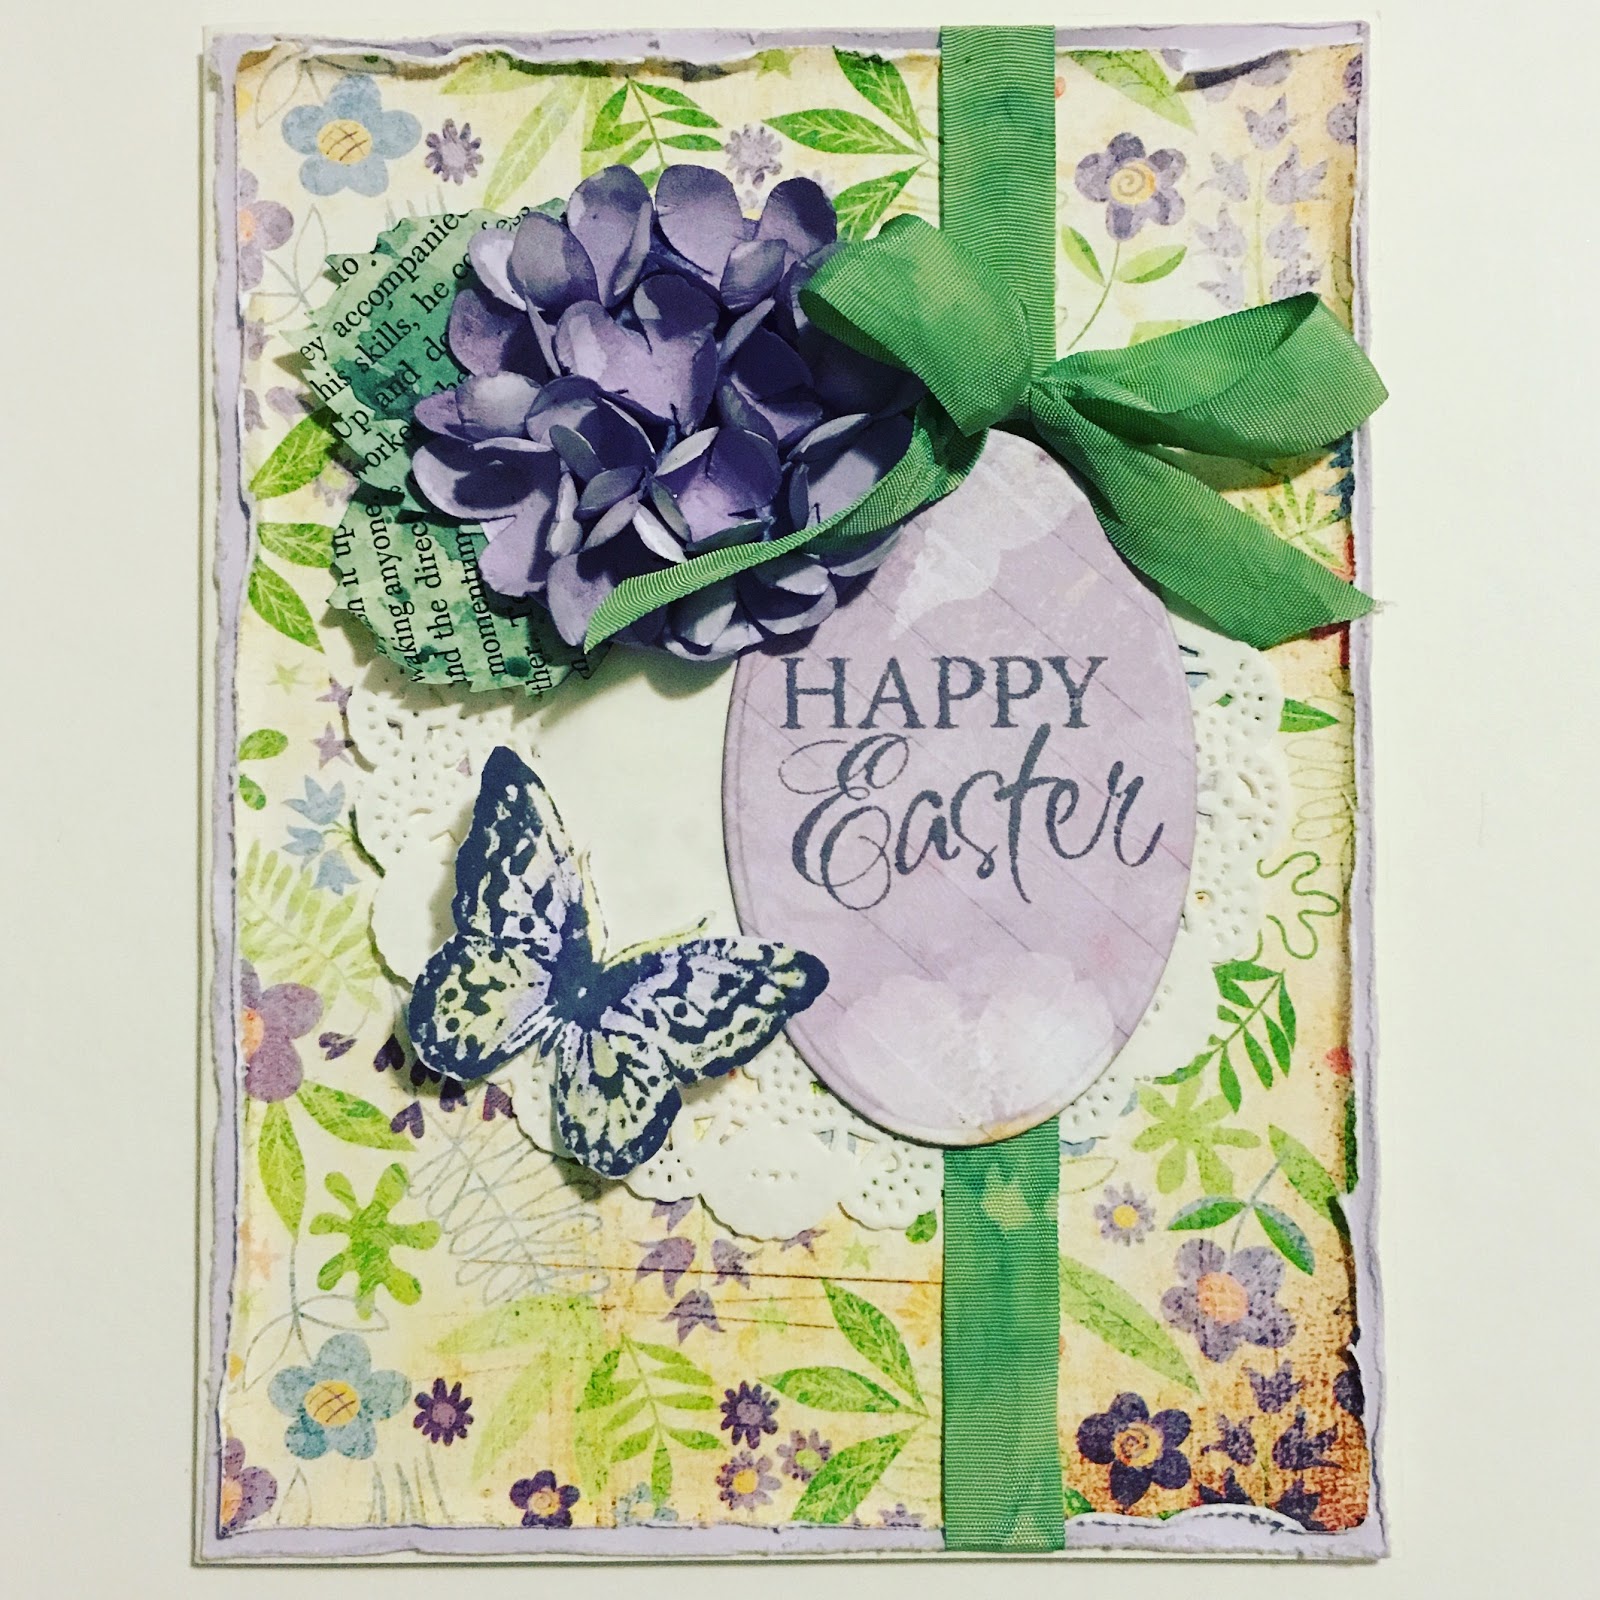
DIY Hydrangea Easter Card

card 1
 Just a quickie to share this card I made tonight for the Mojo Monday challenge.  I picked up this Martha Steward hydrangea punch on clearance yesterday for $4 and just had to play with it!  I colored the front and back of each petal, then curled them with the end of a pen and glued them to a circle.  FUN!
Now I know I just said I was done with butterflies for a while, but this card seemed to need more than an egg and a flower so I used this new Tim Holtz butterfly to finish it off.  The gorgeous sentiment is Verve and I have been waiting about six months to use it!  Lovely!  I pulled out some ten year old throwback Basic Grey paper for my background.  Awe, I think I used this to make birth announcements forever ago!  SWEET!  Thanks for looking again tonight.  Hugs to all!
card 2
Sharing the fun with:

Feb 27, 2016

Waiting for Spring Dimensional Cards One Two and Three

card 1
 I recently found Elena Morgun through YouTube and immediately fell in love with her awesome style.  I started following her instantly and have watched countless videos of hers.  But I just just discovered her amazing blog and am about 6 weeks late to this awesome card party "Waiting for Spring" she's throwing. Nevertheless, I just had to jump in head first and play along.  My first card, much inspired by Elana's work, featuring vellum.
card 2
 I went crazy embossing on blue vellum, including flowers, butterflies, and my sentiment.  This quirky focal point is a Hero Arts stamp that I fell in love with as soon as I saw it and have been dying to use it, but couldn't figure out what to do with it.  I just knew it would be the perfect focal point for a spring card.  The flowers are Stampendous and butterflies and sentiment are Unity.  Many thanks to Stampendous and Heather from Houses Built of Cards for these awesome giveaways that I won.  <3
card 4
The dies are Tim Holtz and background is Basic Grey hoarded paper that I stamped and embossed with this awesome unmounted I have had for years and years, and a XL dry embossing plate I scored from Tuesday Morning.
card 5
 My second card features a stencil.  This card is my favorite of the three.  I made my background with a Prima stencil and watercolors, layering the two colors after heatsetting in between.  The butterfly is Stampin' Up! and vellum flower and sentiment another Unity, and leaves Stampendous.  The awesome corner in the top is Tim Holtz and the honeycomb is Stampers Anonymous.  The text in the background is Catslife Press, an old favorite.
card 6
 You can barely see the dots I stenciled in white over my Prima stencil, but it's a great contrast IRL.
card 7
 I so love this background and have to do more of this, as they always turn out to be my favorites.
card 8
 I just love the white vellum, which I carried from theme one.  The doily is a coffee filter by MFT.
card 9
For my third card I have used three kinds of flowers.  This was hard for me because I don't buy a lot of premade flowers.  I am such a cheapskate!  I can hardly bare to use $5 worth of flowers on one card!!!  But I am trying to let myself go and quit worrying about those things when I create.
card 10
 My main flower is by Prima, the wooden flower I have had for years and years, and the third type of flower is cut from scrapbook paper.

card 11
 I layered a Hero Arts butterfly over this Stampers Anonymous label stamp and then over a pretty piece of paper.  I love the pom pom fringe, the coffee dyed leaves, and the coffee filter doily here.
card 12
 I'm sharing my cards with Elena Morgun's challenges:
Waiting-For-Spring
To find out about all of the challenges in this series and to see Elana's awesome video inspiration click HERE.  Trust me, you will be so inspired by Elana and the artists in the linkup!  

Popular Posts