It's November! WHAT!? As you may have noticed by now, I am knee deep into holiday crafting, so when thinking of what to create for our
November Mini Album Makers Challenge, I decided to use my hoarded
12 Days of Christmas paper stash by our sponsor, Graphic 45 and created a very traditional 8x6" Christmas album, perfect for storing 4x6" photos. Now I have held onto this paper for years, but it has just been re-released as a Deluxe Collector's Edition set this year, so make sure to grab your pad
HERE.
I'll share the steps below, but first a look at the spreads inside. Grab a cuppa, it's gonna be a doozy of a post! LOL! For the opening layout, I used the exquisite
Flourished Frame Connie by our sponsor
Gypsy Soul Laser Cuts. I embossed it with Evergreen Tapestry EP by PSX.
All of the white photo mats allow a 4x6" photo to be slid inside for display. Lots of flaps and folds for more photo storage.
I blended in a couple of sheets of Graphic 45 Winter Wonderland paper
and a pack of Christmas embellishments I picked up at Tuesday Morning
for a buck.
The deer page features another gorgeous Gypsy Soul Laser Cuts:
Flourished Frame Karen. I embossed it with Tinsel Red EP. Oh I love it so!
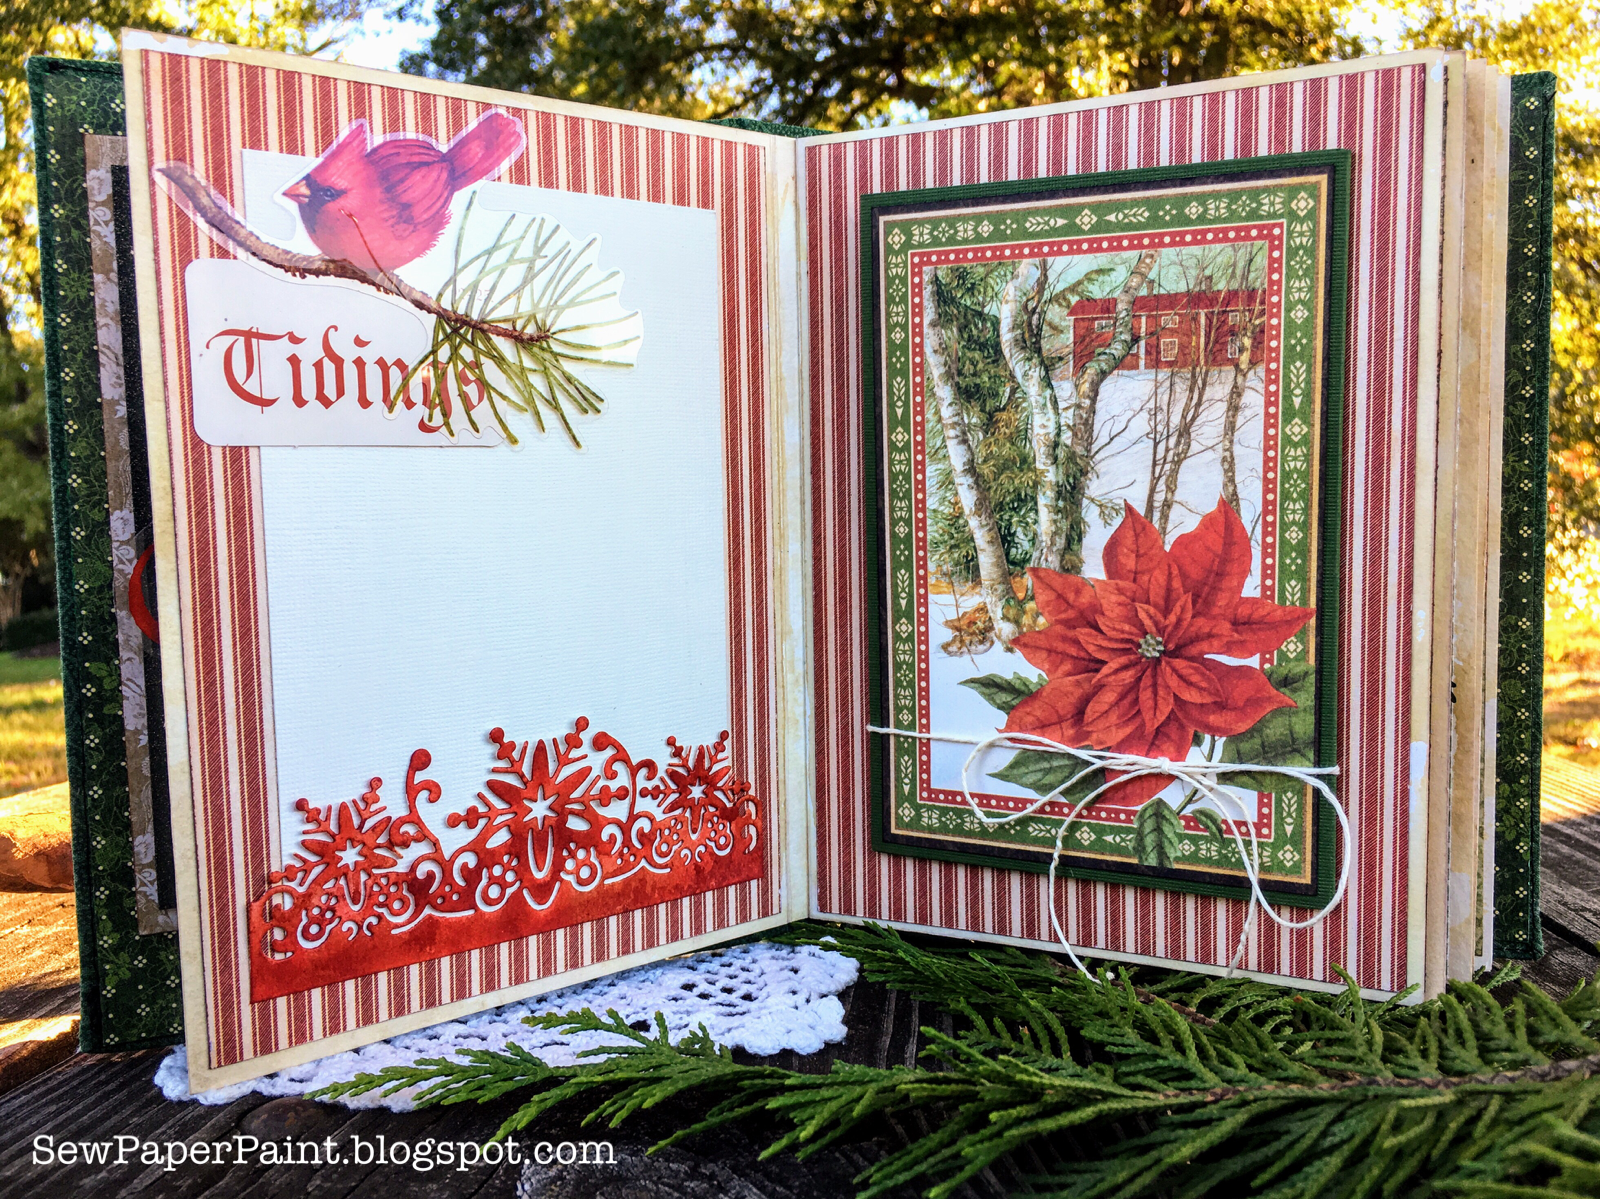
For my last spread, I used the T
ammy Tutterow Waterfall die set to create the little tag flipper. It made the process so easy!
I modeled this album after my Prima Amber Moon album I shared
HERE. Perhaps the combination of these two posts will give you some great ideas to get started.
Following the same principles, I cut my three heavy watercolor pages as shown above. I used a 12x18" pad for the larger size required.
I wanted to really age the bases to blend in with the Christmas paper, so I tapped
Antique Linen and
Frayed Burlap Distress Inks onto my kraft mat and sprayed with water, then dipped my paper edges into the puddles. I used a brush to paint the centers.
I picked out a coordinating piece of quilters cotton and tore it to the size of my covers. I used very thin chipboard and cut the front and back to 6x8" and the spine to 1 3/4 x 8". I left a gap between the spine and front and back covers, then wrapped the cotton around and glued on the inside, mitering the corners. I did not use a batting this time. I machine sewed around the front and back covers, close to the edges. Honestly, I'm not sure I will do this again. I would recommend following the tutorial I mentioned above for your covers and skip the stitching... It did work out for me, but was difficult. The bonus was being able to stitch down my fabric doilies and focal image on the cover before assembly. :)

On the inside I glued the edges of a strip of the same cloth inward to make nice seams, then glued this piece extending over the inside spine. I strengthened the process by adding athletic tape to cover the raw edges, then glued my designer paper (these and the lighter pieces are from the G45 Portrait of a Lady paper line) to the inside covers. They were cut to 5 3/4 x 7 3/4". Last, I glued the signatures to one another and from smallest to largest, then glued the largest to the inside of my spine.
Here are some closeups of the pages. The designer paper was cut to 5 1/2 x 7 1/2" for each page.
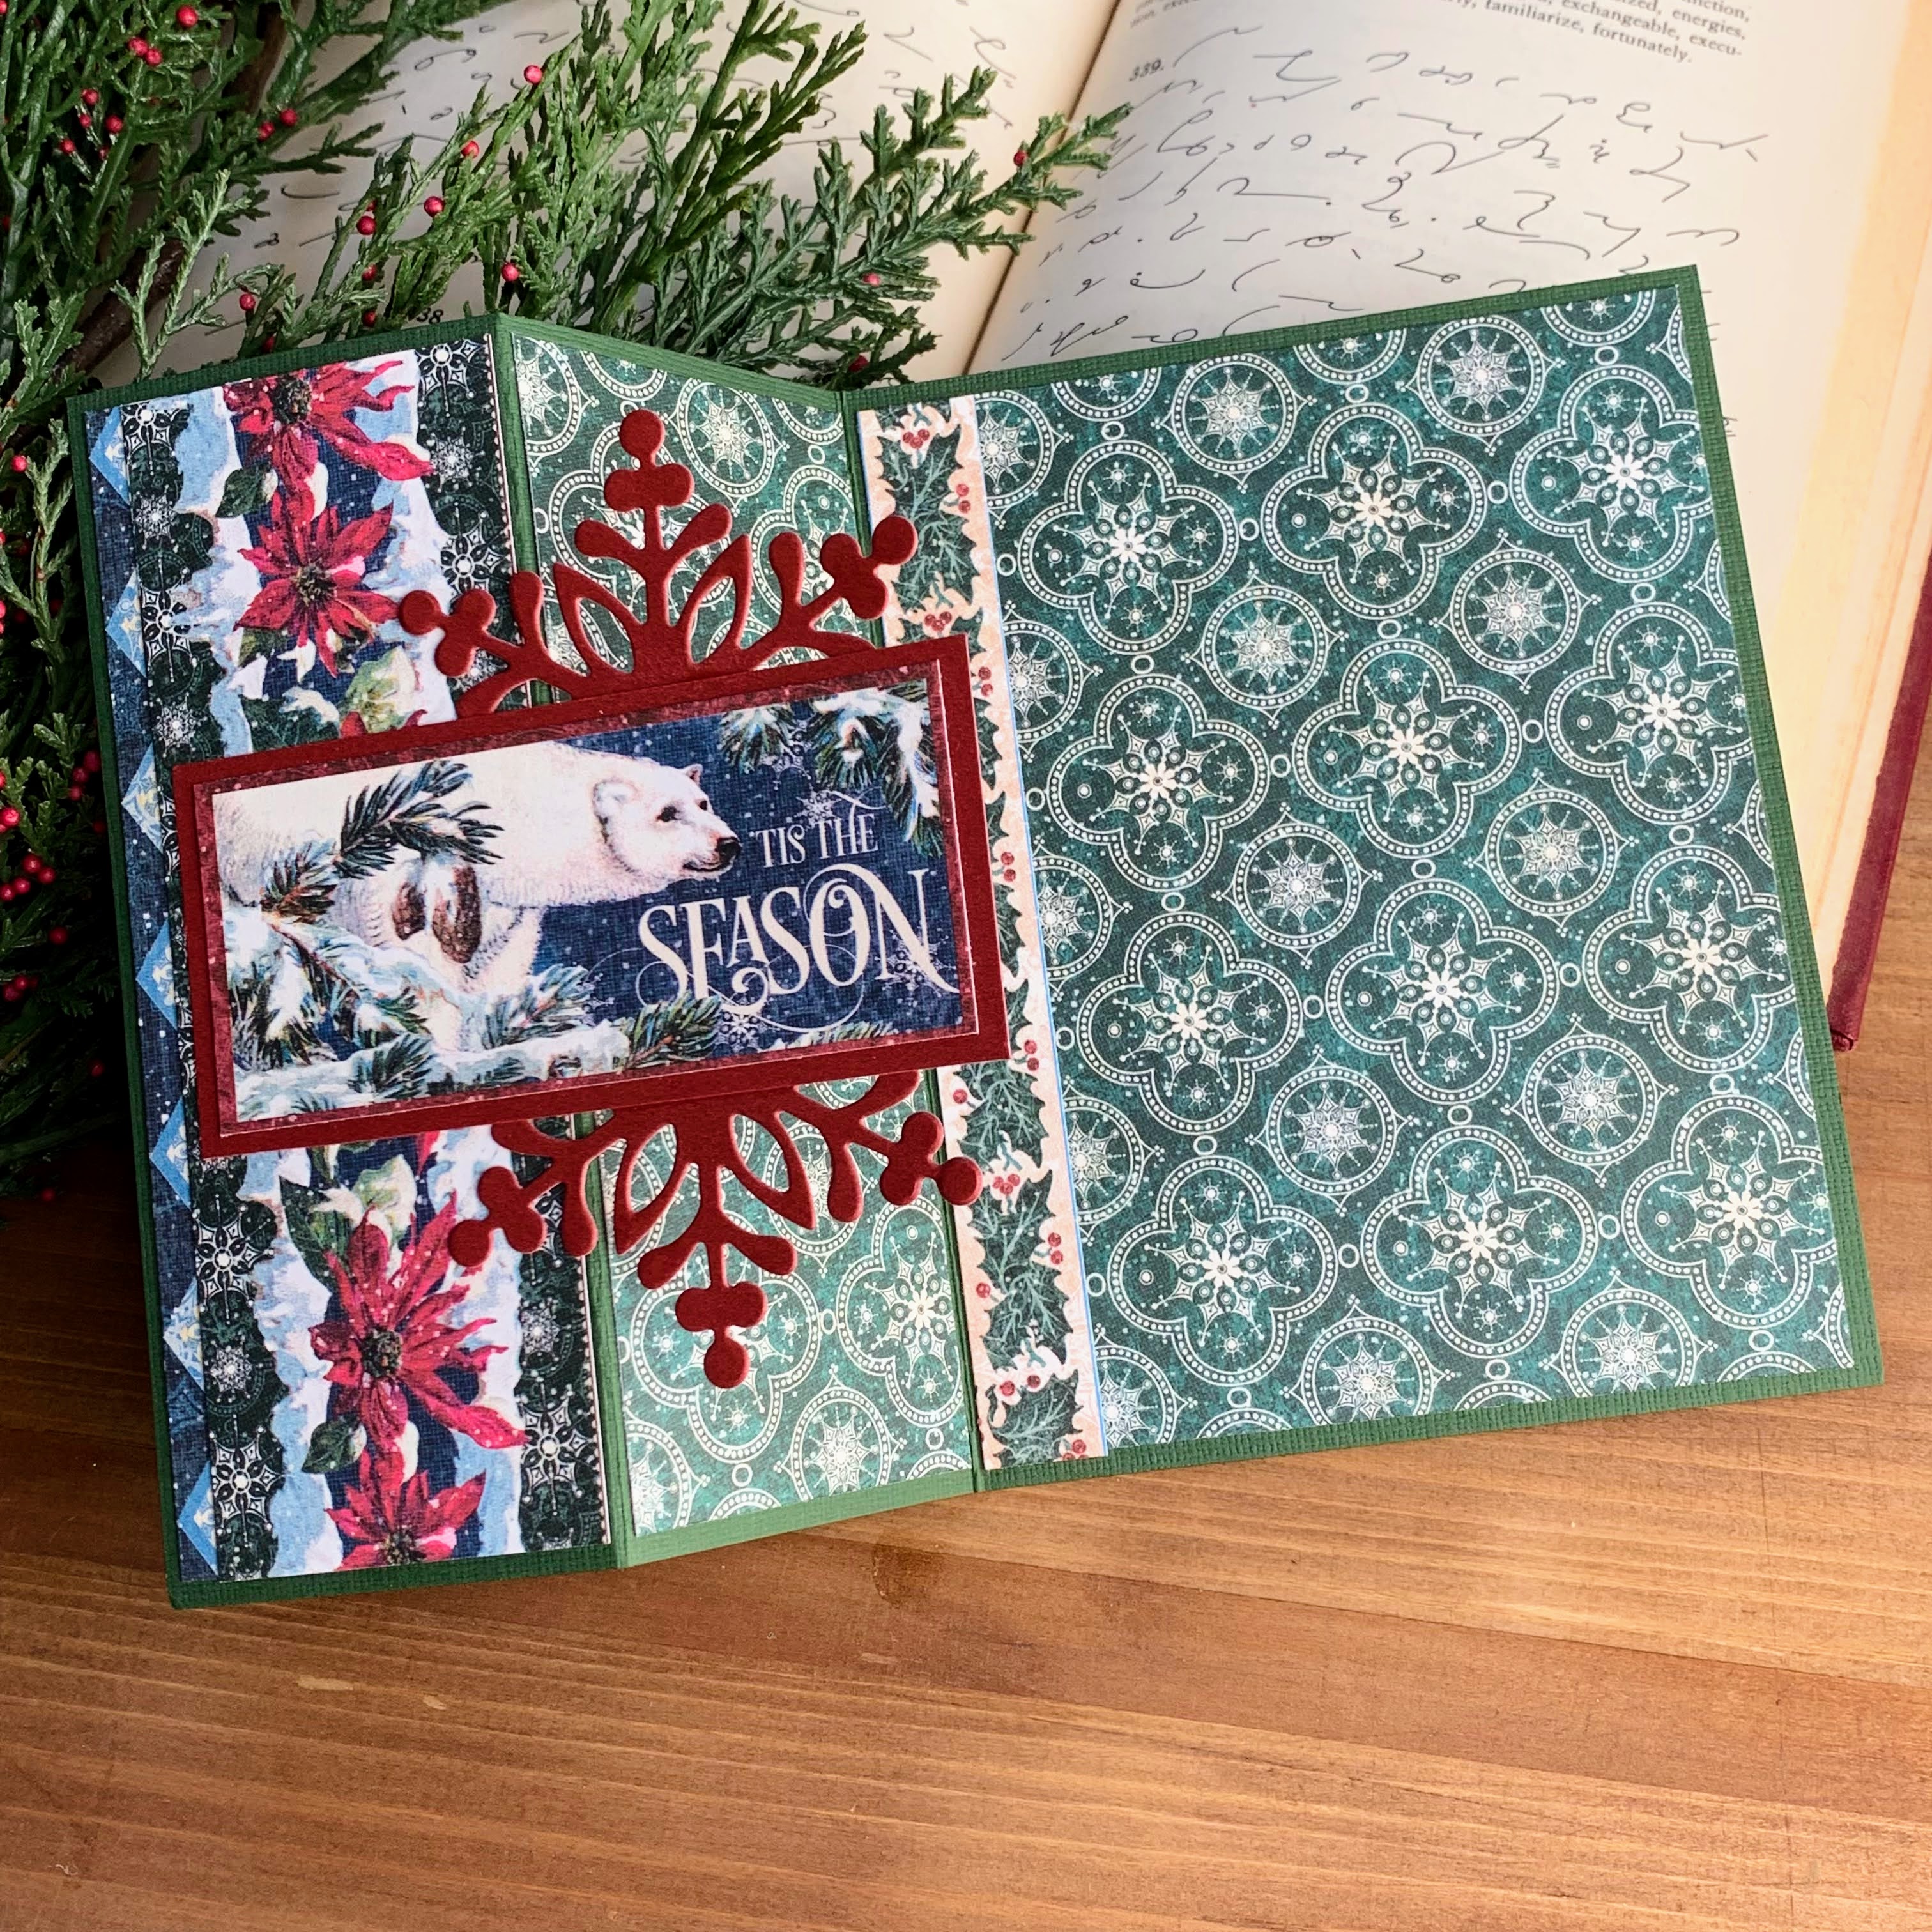
This panel unties to a tri-fold folio for more photo storage.
This one lifts to conceal more photos.
This one folds out.
Like this.
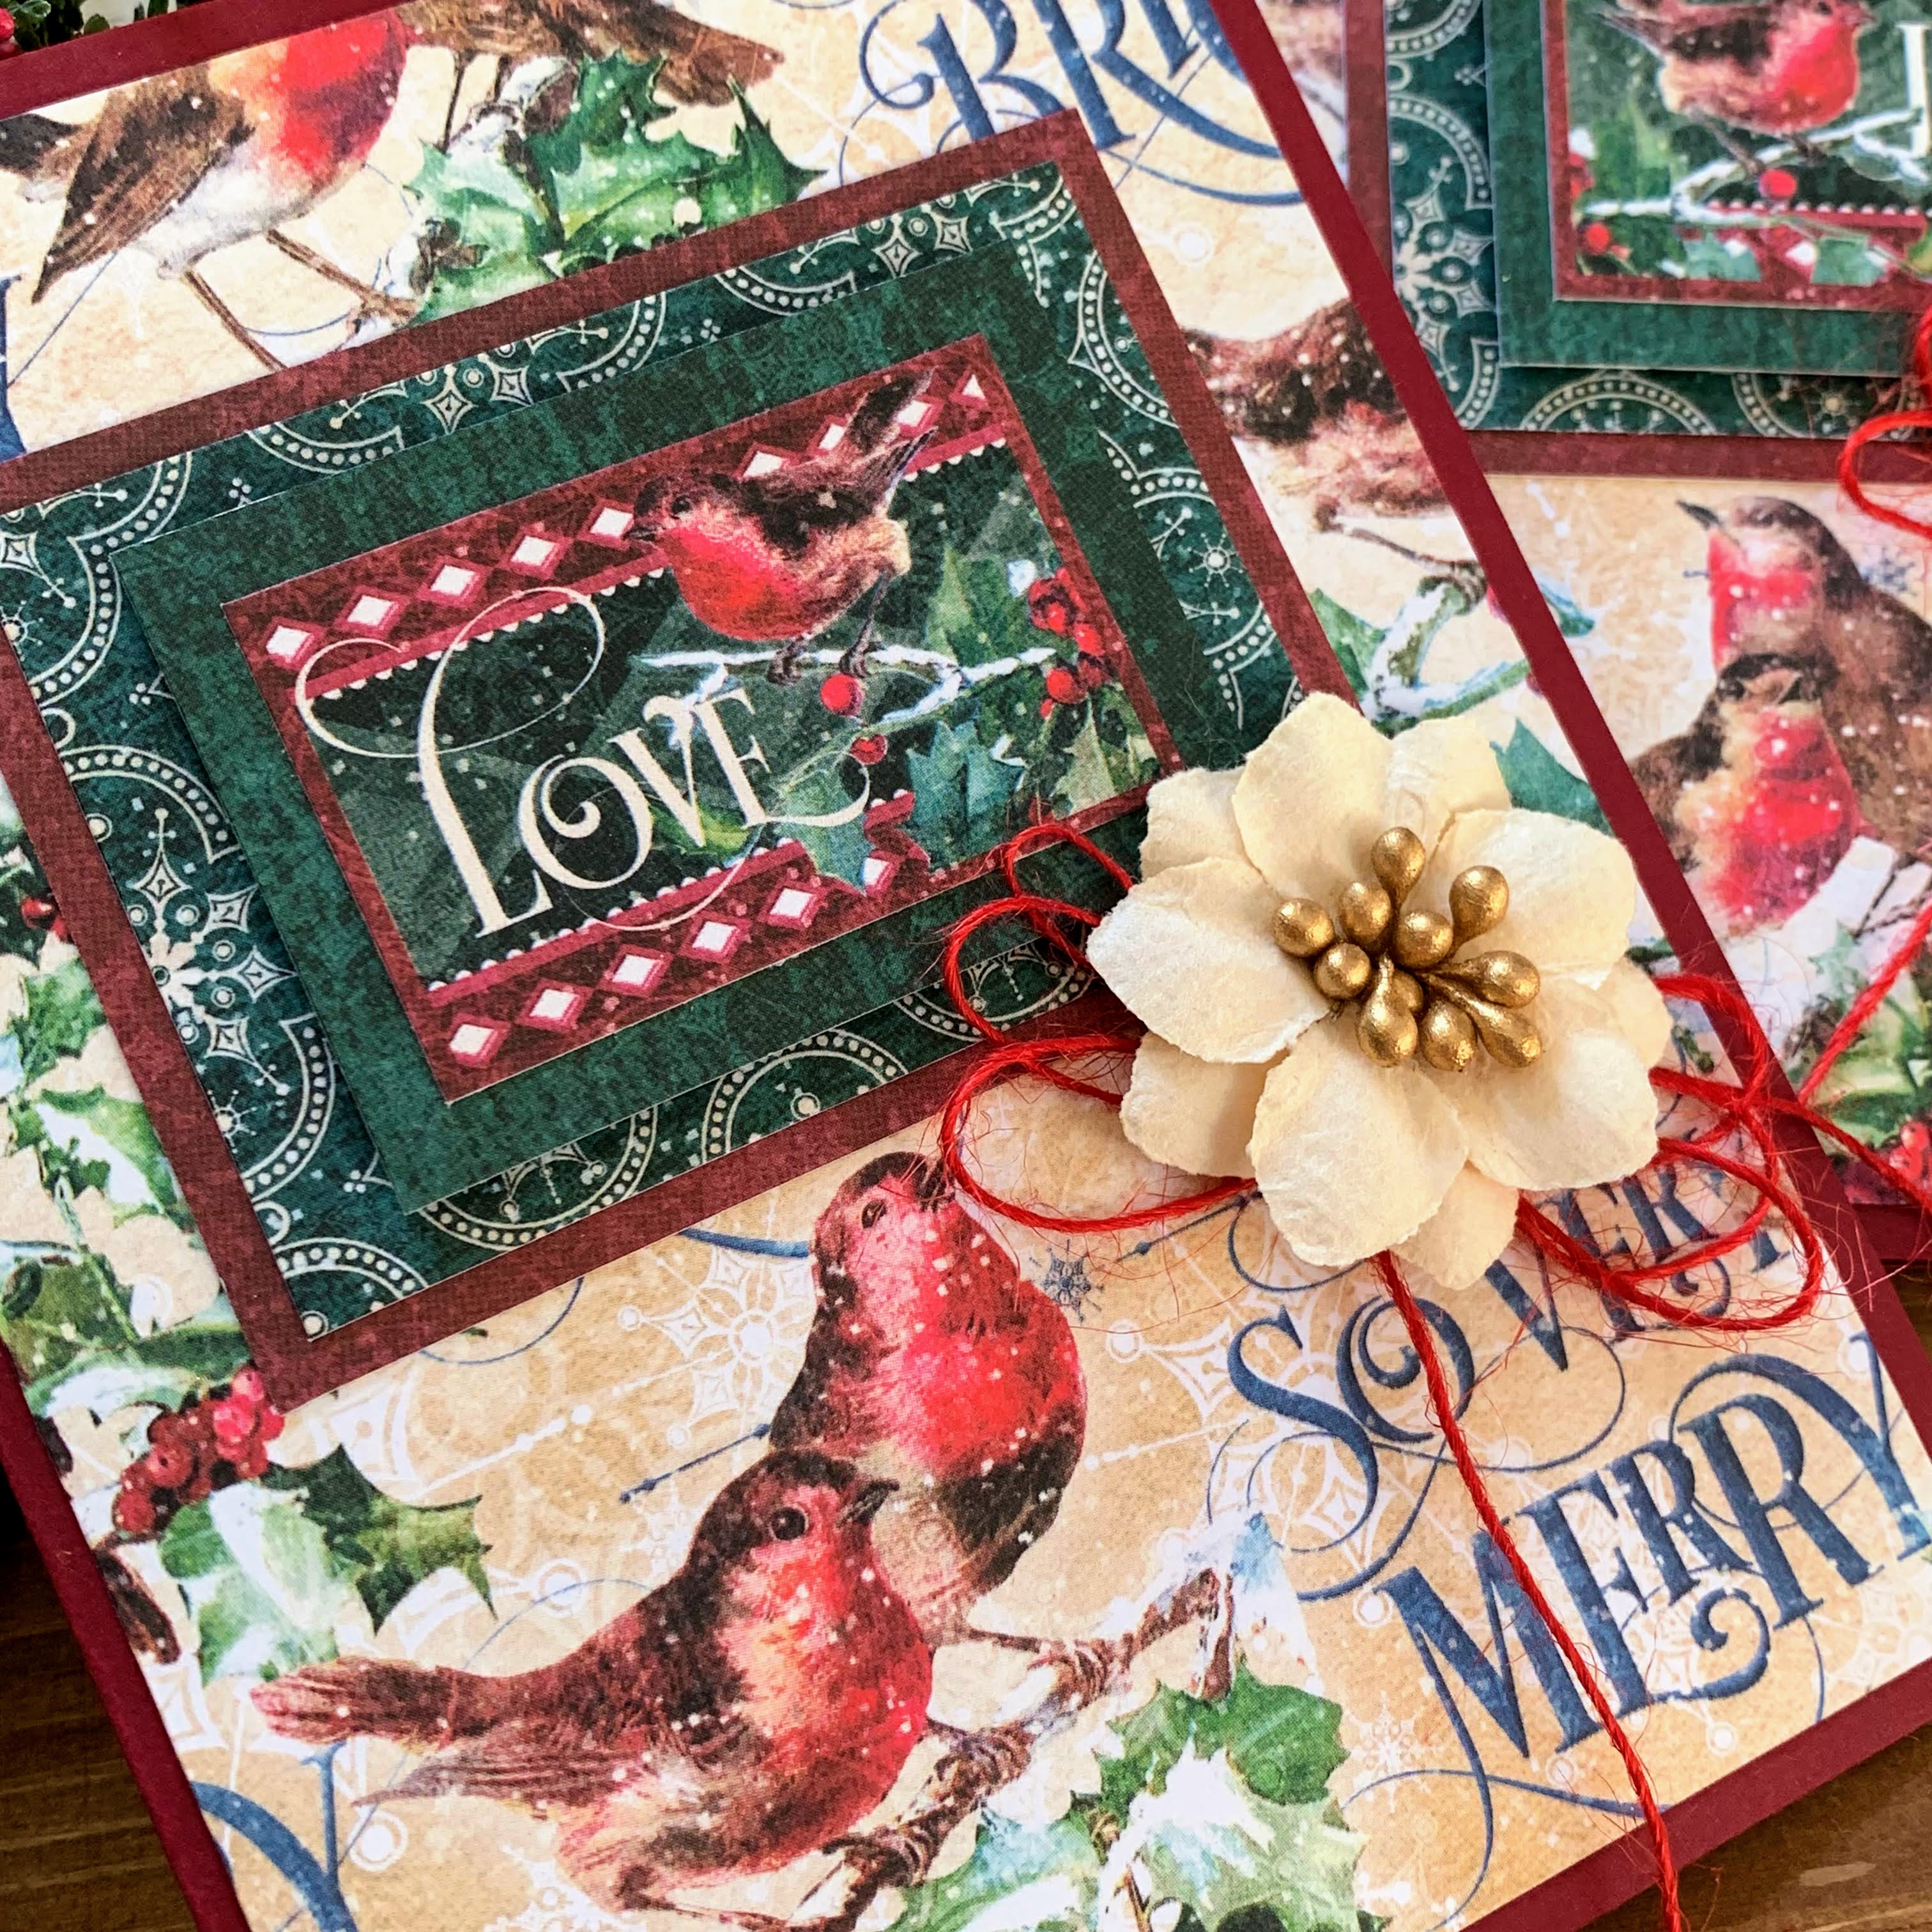
Here I tucked a red envelope flap beneath the paper before adhering it to the base.
It opens to reveal a pocket for photos and ephemera.
I hope this album warms your heart and makes you think of the special photos you'd love to put inside. Why not make your own? Or another beautiful album for our
current challenge? We'd love to have you join us. This month's random winner will receive a generous prize package from
Gypsy Soul Laser Cuts! As an added bonus, our DT is taking a break in December, so you will have two full months to link up your project! Come and play along. Thanks and hugs, Autumn