Showing posts with label PaperArtsy. Show all posts

Mar 24, 2026

PaperArtsy Stamps Kate Crane Party Animals Cards


It's Topflight Stamps 9th birthday and to celebrate, I’ve teamed up with some great designers to showcase celebratory projects using the unique products available at Topflight Stamps. Please hop along with us and see all the inspiring talent from this group of amazing designers! There is a master list of Hop stops on the Topflight Stamps blog! We are also Hopping on Instagram! You can start at the Topflight Stamps account @topflightstamps.  Did we mention there will be prizes?

GIVEAWAY DETAILS

Of course, it wouldn’t be a birthday celebration without prizes! Topflight Stamps is giving four lucky winners $50 Gift Certificates to the store. Two winners will be chosen from commenters on the blog hop and two will be chosen from commenters on the IG hop. For a chance to win, make sure to visit the stops on the hop and leave a comment by March 31st. Winners will be announced on the Topflight Stamps blog on Thursday, April 2nd. U.S.A winners only due to shipping issues. Good Luck!

I made one large master sheet by patting Elements Inks in Sundance and Confetti on my kraft mat and spritzing with water, then dipping the panel into the inks and moving around with more spritzed water.  Once dry, I sponged through Kate's PaperArtsy stencil PS426 with Elements Ink in Mermaid and then through Jofy stencil PS396 in Lime Punch.  I spritzed in some places with more water to mottle the sponging.  Then I filled in the sheet with stamping using Kate's Mini Stamps KCM021 and KCM003 and Sundance and Confetti inks.  

I'm absolutely thrilled that the Elements ink pads now have reinkers!  Donna at Topflight Stamps has stocked them all HERE!


On a smaller piece of Bristol, I white embossed KCM021 repeatedly in a long row and inked over it.  I used these strips plus some of my cast offs from cutting down my main piece into cards for the little strippy layers.  

For my focal images, I chose another couple of Kate's Mini Stamps, KCM023 and KCM022.  I love how these two creatures look at one another when combined!  I colored them with Prism markers and a water brush.  I stamped out "YAY" with mini alphabet stamps, such as Tracy Scott's mini stamp TSM40, onto inky scraps and cut them into triangles, then drew around the edge with a pen to make the fun banner.For my smaller cards, I layered with the sentiment from PaperArtsy Mini Stamp MN107.

Check out the entire Kate Crane collection available at Topflight Stamps!  And take advantage of this special birthday sale with 20% off your entire order through March 31!

HOP STOPS:

Dec 8, 2025

Kate Crane and Kay Carley Christmas Cards


Hey friends!  I'm sharing a few fun Christmas cards I made with my mom using gel prints.  These feature some lovely Kate Crane and Kay Carley Christmas stamps.


The deer and tree stamps are discontinued now, but the houses come from Kay's stamp set by PaperArtsy, EKC63.  I love this stamp set so much!  I layered with gel prints and used a variety of snowflake stencils from my stash and hand drawn hills, which I added shading with light grey ink and glittery accents.


This year Kate has released a gnome stamp set that would be just as cute here!


Inspired by Kay's product packaging, I made another card with a gel printed background and a row of houses.  I loved using the pencil trees between each house.  


I drew a little welcoming path.  I embossed the background with white snowflake stamps from the set.  Such fun!  I hope these cards brighten your day and give you some ideas for using your prints this Christmas.  xx, Autumn


Jun 24, 2025

Ten Years and PaperArtsy Bird Stamps Accordion Book Tutorial


Hi friends!  I know it's been far too long.  I have taken a sabbatical for the past year to both care for my mom and recharge my creative batteries.  

My calendar popped up a reminder for June 3 that it was my blogaversary and I looked and saw that it had been ten years since I started SewPaperPaint!  WOW!  

I wanted to share a fun tutorial with you based on inspiration by Karen Stamper and Traci Bautista from this year's Sketchbook Revival Binge Fest.  What fun!  

My friend had spent the weekend with me for some creative fun and we decided to work in our accordion books following Karen Stamper's process of adhering various paper elements and masking/washi tapes to a long accordion paper, then adding inks or watercolor, spraying and letting the drips run free.  Oh my this was fun!  We both made two panels and I could have made ten.  Ha ha!

I really wanted to turn mine into a completed work.  Karen uses her pieces as a base for future architectural drawings, but that wasn't traveling - I've become such a homebody!  

Meanwhile, I was so inspired by Traci's use of a dagger brush and the way she held it upwards to produce beautiful, fluent leaves.  We had used a bottle of liquid watercolor in black by Blick and had a lot left in our little jars days later.  I thought it would be beautiful to add some of the leaves and happily reactivated the dried color with my wet brush.  It worked beautifully, though the black does turn quite blue when very wet.  

I fussy cut my practice pieces I had done on book pages and adhered them for a variety.  


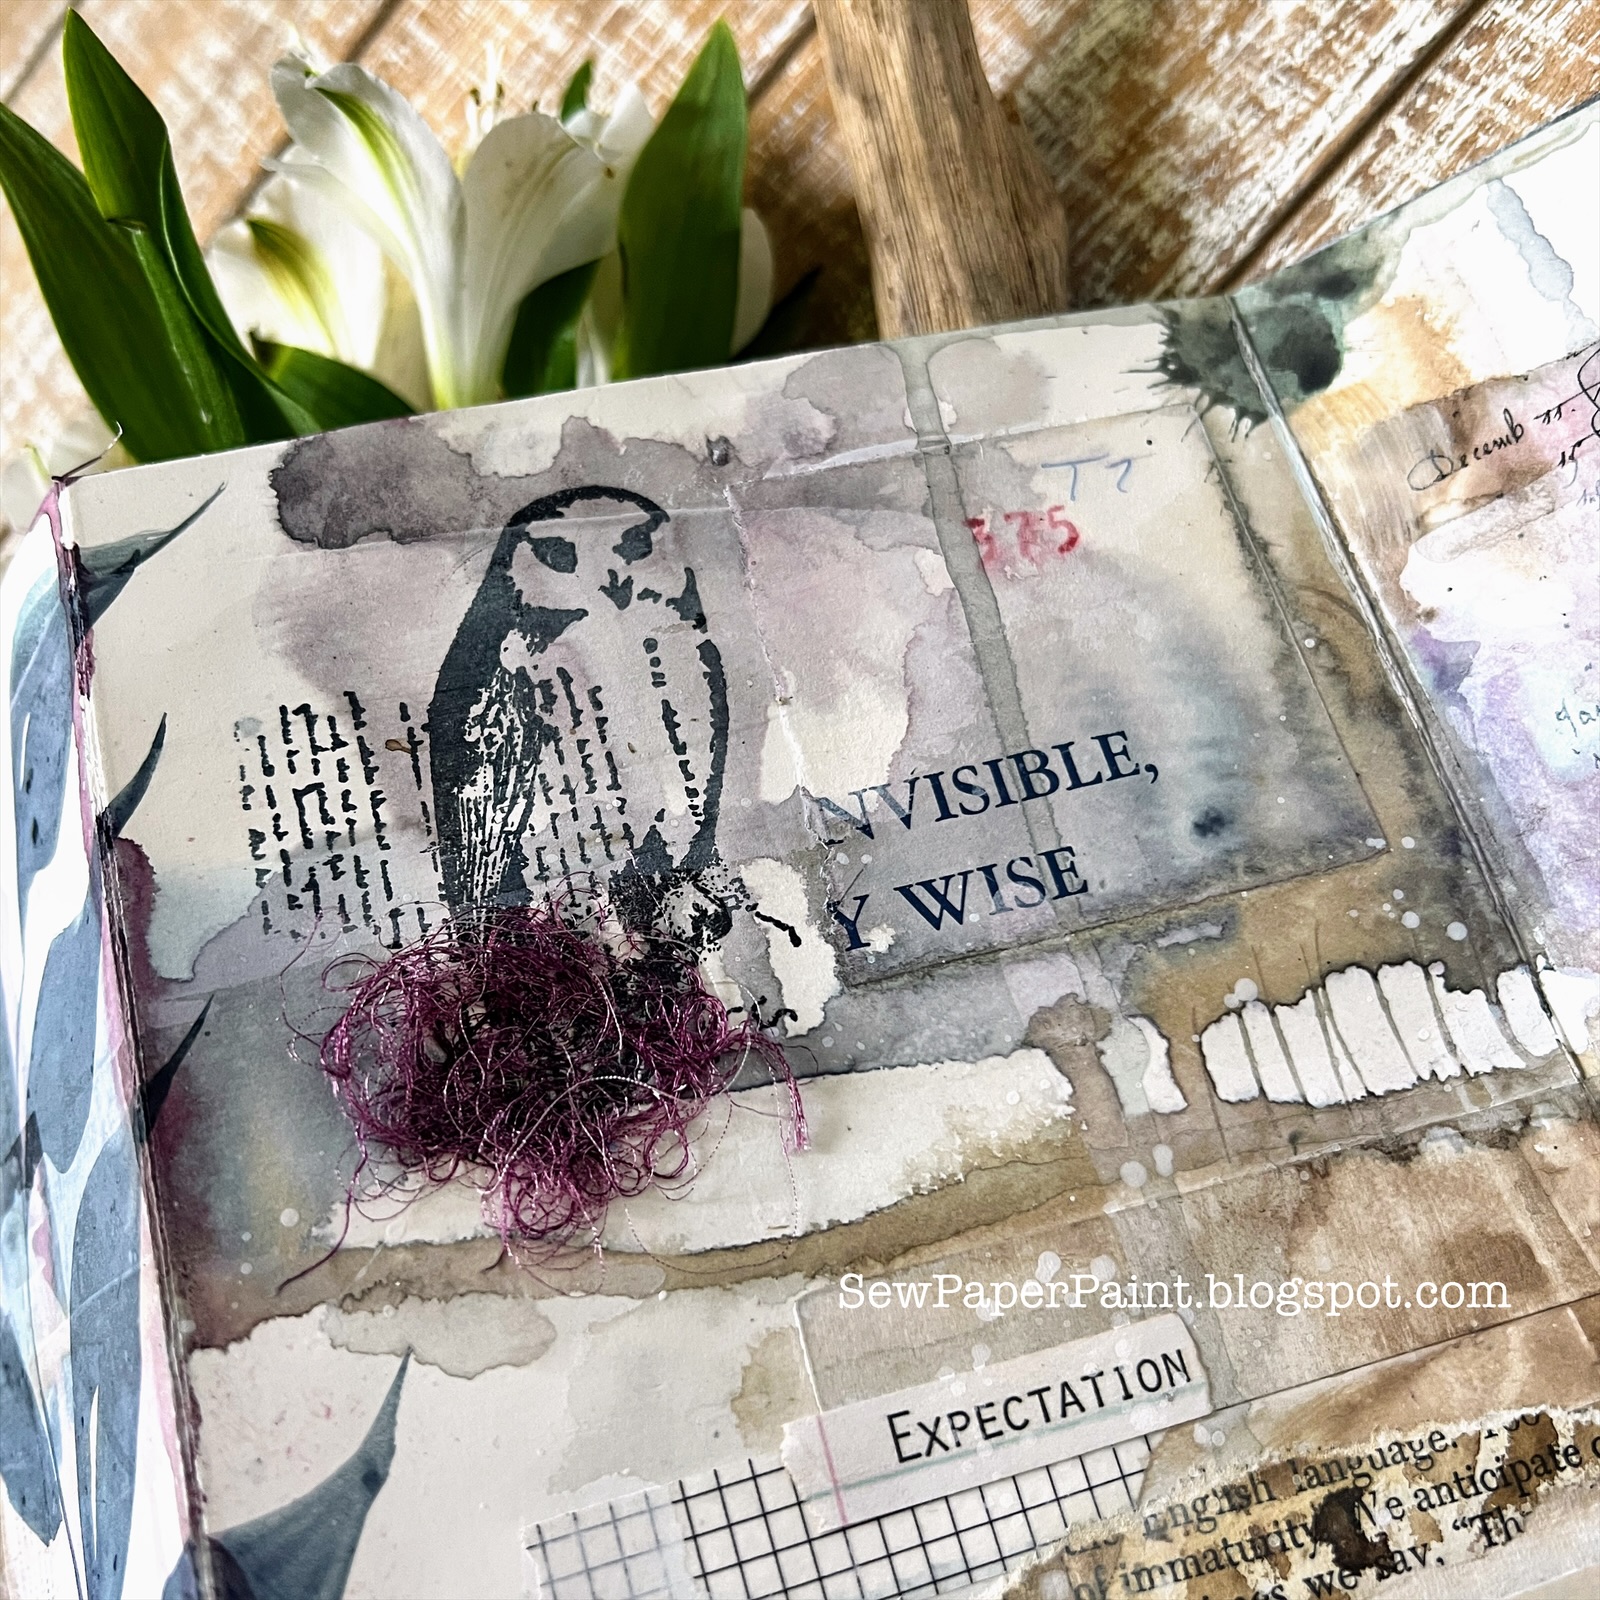
I wanted to add some other imagery, so I picked out a set of Sara Naumann bird stamps by PaperArtsy, ESN66.  I stamped them in Versafine Clair Morning Mist (deep grey).  


This awesome quote is from a Dina Wakely Typed Ledger Sentiment Stack.  


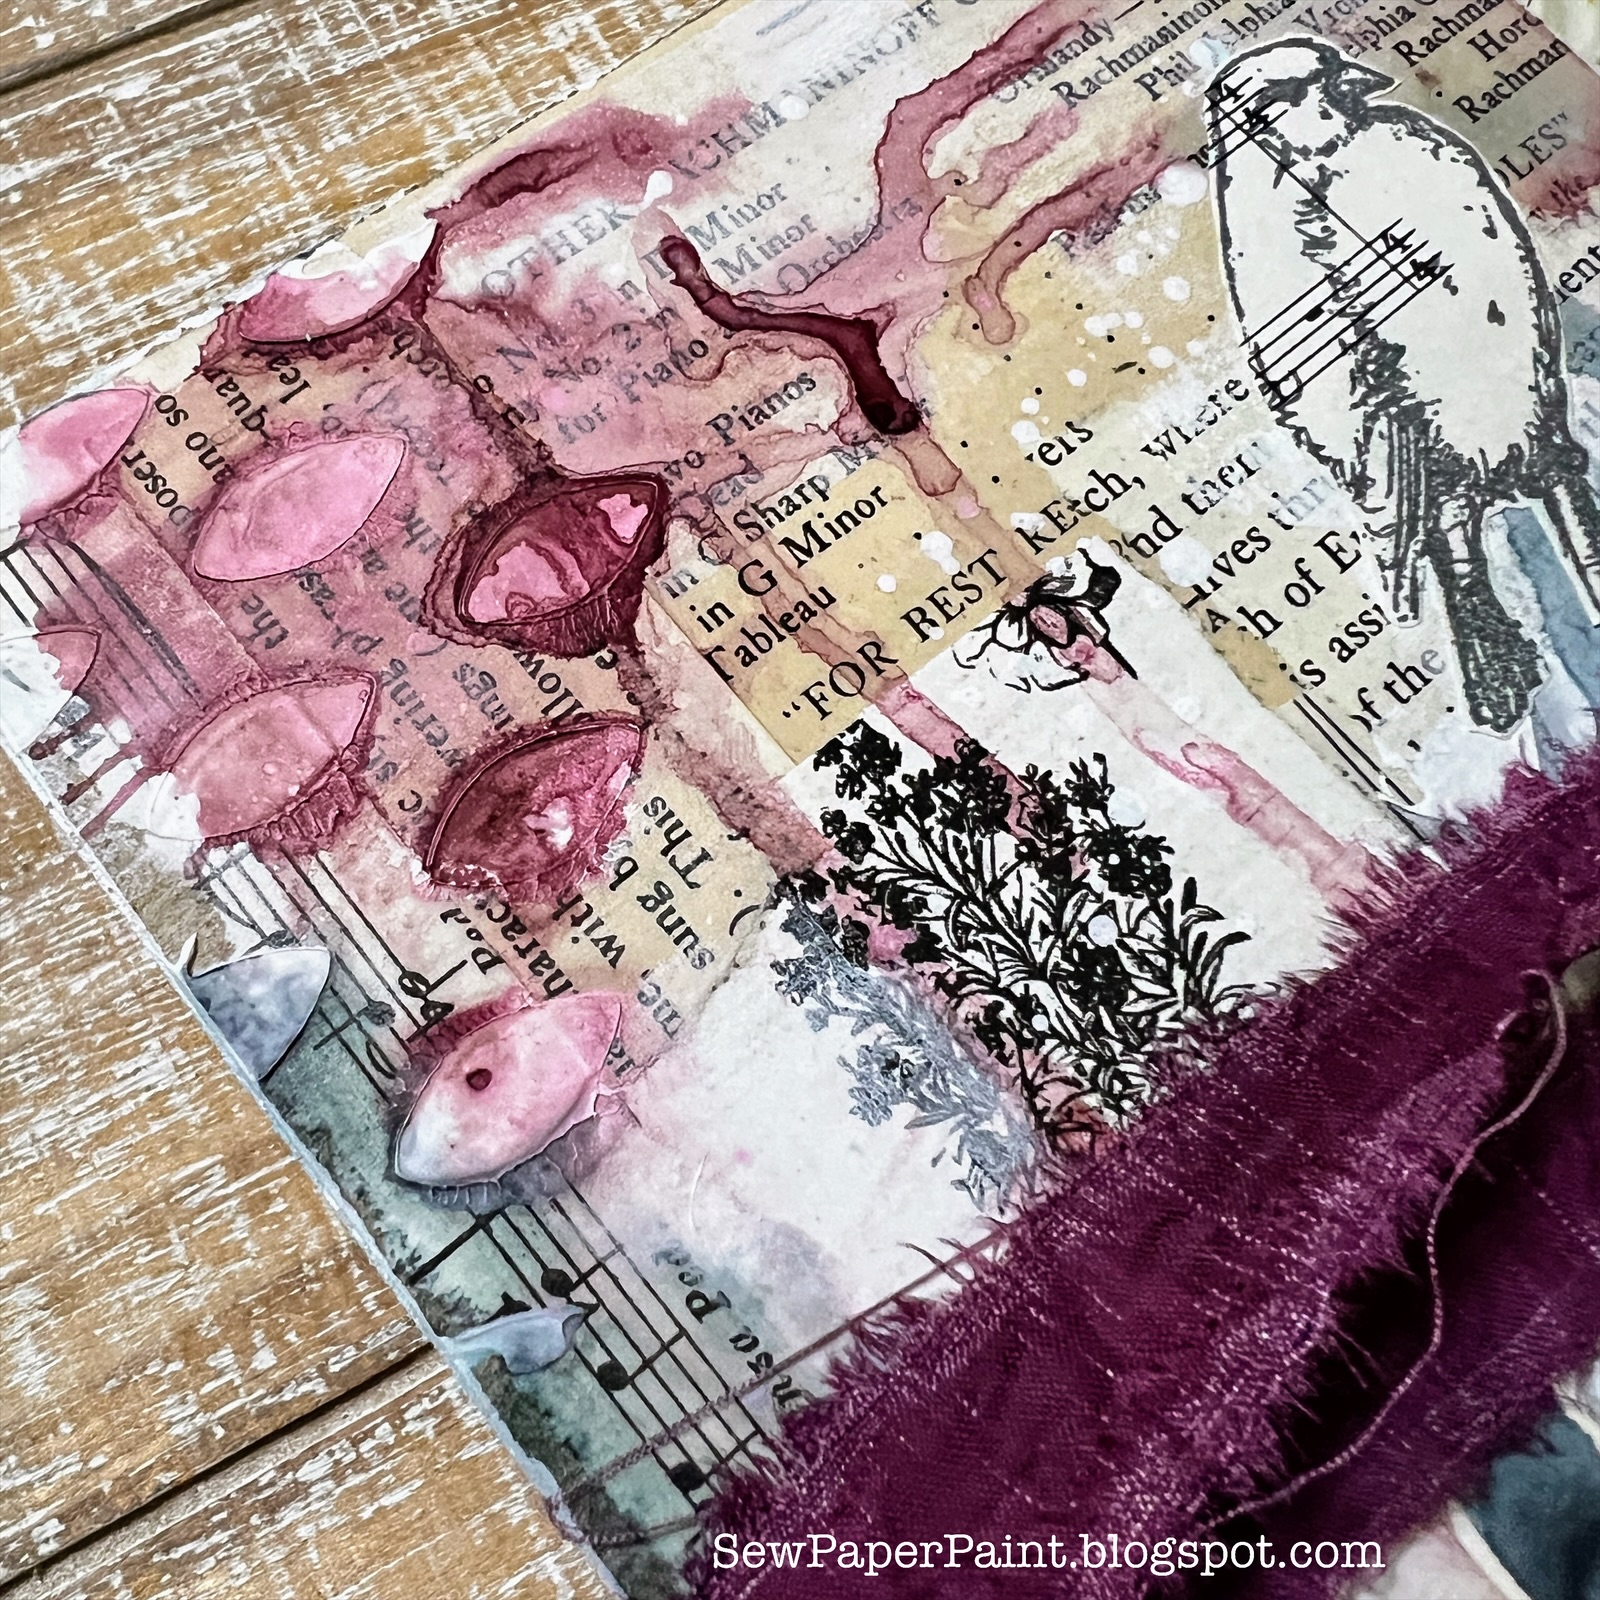
I decided to make covers for my accordion.  I cut chipboard to size and adhered more book pages & even a die cut castoff with Liquitex matte medium.  I braywered white gesso lightly onto each panel.  


Then I mixed a bit of white gesso with modeling paste and spread through two Scrapcosy stencils by PaperArtsy, PS108 and PS319 randomly for added texture.  


I used my very old Fiber Scraps e-z Walnut Ink Tintz (shown at the top of this post) and more of the liquid watercolor in black by Blick to add more drips.  


I cut out another leaf practice piece and stamped another bird to finish my cover.  


I painted the edges of the chipboard with my white gesso, then glued the accordion panel in place and left heavy books on it overnight.  I adhered the Sari ribbon I get from Felt Better on Etsy between the layers.  I am so pleased with the finished result.  I am very thankful to the entire team at Sketchbook Revival, especially Karen Abend for this wonderful journey.  I hope you enjoyed seeing this grungy little art book.  xx, Autumn

Mar 25, 2025

Kate Crane for PaperArtsy Colorful Bird Celebration Cards


Hi friends!  I'm delighted to be participating in the Topflight Stamps 8th Birthday Blog Hop today.  
I’ve teamed up with some great designers to showcase celebratory projects using the unique products available at Topflight Stamps.  Please hop along with us and see all the beautiful talent from this group of amazing designers!  There is a master list of Hop stops on the Topflight Stamps Blog.  We are also Hopping on Instagram! You can start at the Topflight Stamps account @topflightstamps.

Did we mention there will be prizes?

I had a blast getting inky again and thought I'd share some simple steps for you to create your own colorful creation using the new Kate Crane stamps & stencils by PaperArtsy, available at TopflightStamps.com.  

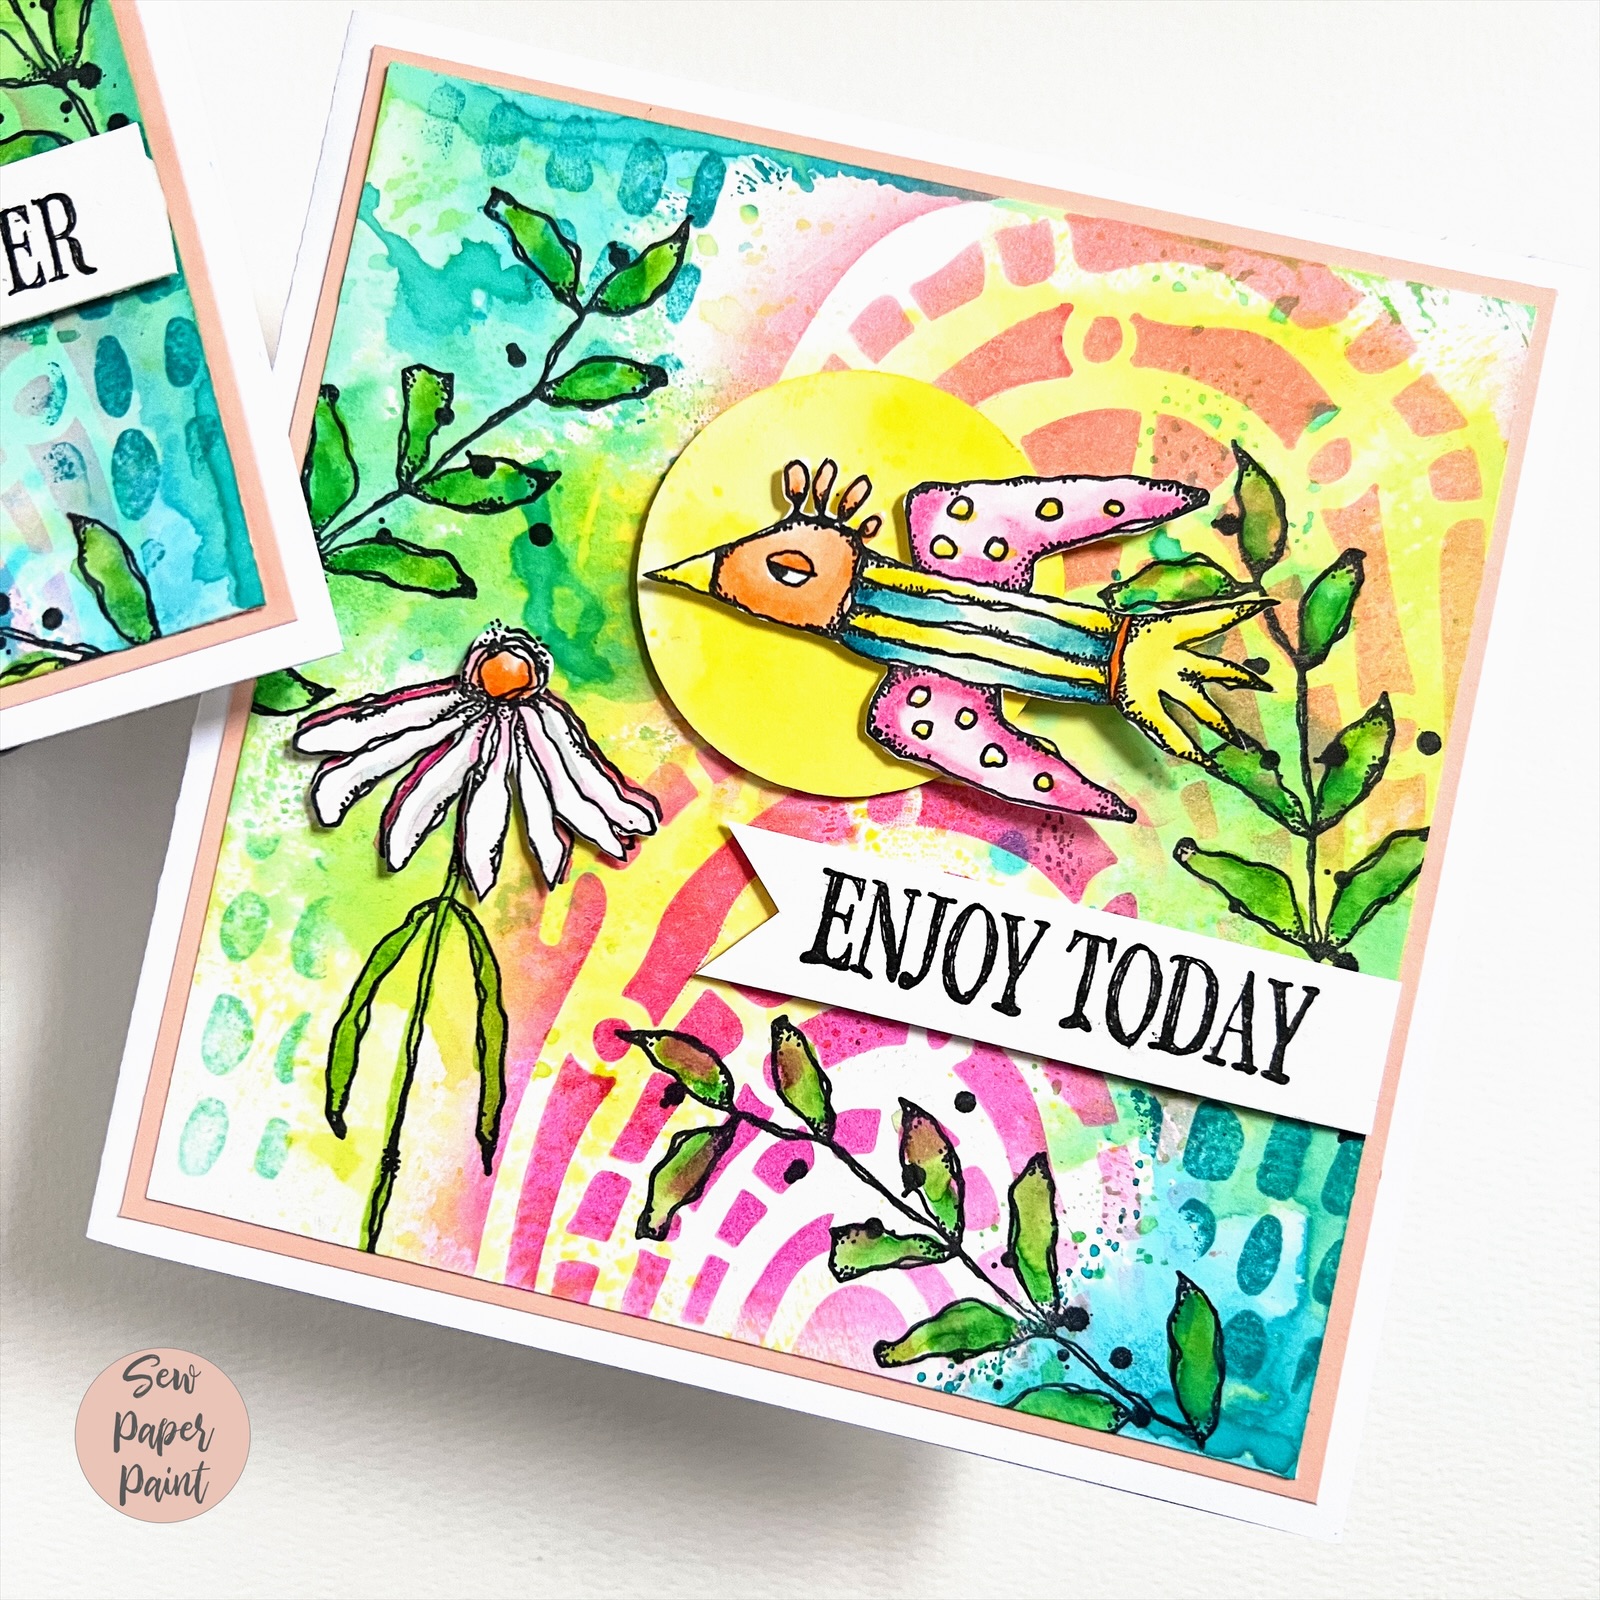
I started by cutting a pair of 5.5" square panels from Bristol card.  Next, starting from lightest to darkest, I tapped my Distress Ink on my kraft mat, gave it a spritz of water and dipped lightly.  I used Squeezed Lemonade, Twisted Citron, Cracked Pistachio, then Peacock Feathers.  I dried the panels thoroughly between each color.  


Next I took the darling rainbow PaperArtsy Mini Stencil (PM035) and sponged it with Saltwater Taffy and Picked Raspberry Distress Inks using my Blender Brushes.  I tried to overlap the rainbow, sponging it twice with the two colors to create one harmonious rainbow design.  

Next I started stamping, first adding one of my focal images, Kate's Mini Floral Stamp 012 (KCM012), in Versafine Onyx Black.  I stamped an extra pair of flower heads to fussy cut & color.  Then I did some partial stamping onto the panels with Kate's Mini Dots Stamp 016 (KCM016) using Peacock Feathers.  


I stamped Kate's Leafy Mini Stamp 013 (KCM013) around the panels in black and used my brush markers to watercolor within the leaves and on the second flowerheads.  I stamped Kate's lovely Heart Bird Mini Stamp 009 (KCM009) in black as well and colored them, but cut the hearts away when fussy cutting.  I wanted to add a little dimension, so I punched a couple of 2" circles and dipped them in Squeezed Lemonade to create little sunshines.  

Finally, I added stamped sentiments using the Darkroom Door Enjoy Today Quote Stamp.  I hope you've enjoyed these whimsical creations and are inspired to get inky today!  

GIVEAWAY DETAILS
Of course, it wouldn’t be a birthday celebration without prizes! Topflight Stamps is giving four lucky winners $50 Gift Certificates to the store. Two winners will be chosen from commenters on the blog hop and two will be chosen from commenters on the IG hop. For a chance to win, make sure to visit the stops on the hop and leave a comment by April 1st. Winners will be announced on the Topflight Stamps blog on Thursday, April 3rd. U.S.A winners only due to shipping issues. Good luck everyone!

May 14, 2024

Free Printable Promises Digi Stamp for Rainbow Inspirational Cards


Hi friends!  Today I have a fun project to share with you.  I've been gifted some beautiful inspiration card stacks over the past couple of years and have noticed that them for sale in stores a lot too.  I came across a neat 4x6" wooden recipe storage box at the thrift store and snatched it up.  I finally decided to get busy creating some inspirational art to fill my box.  

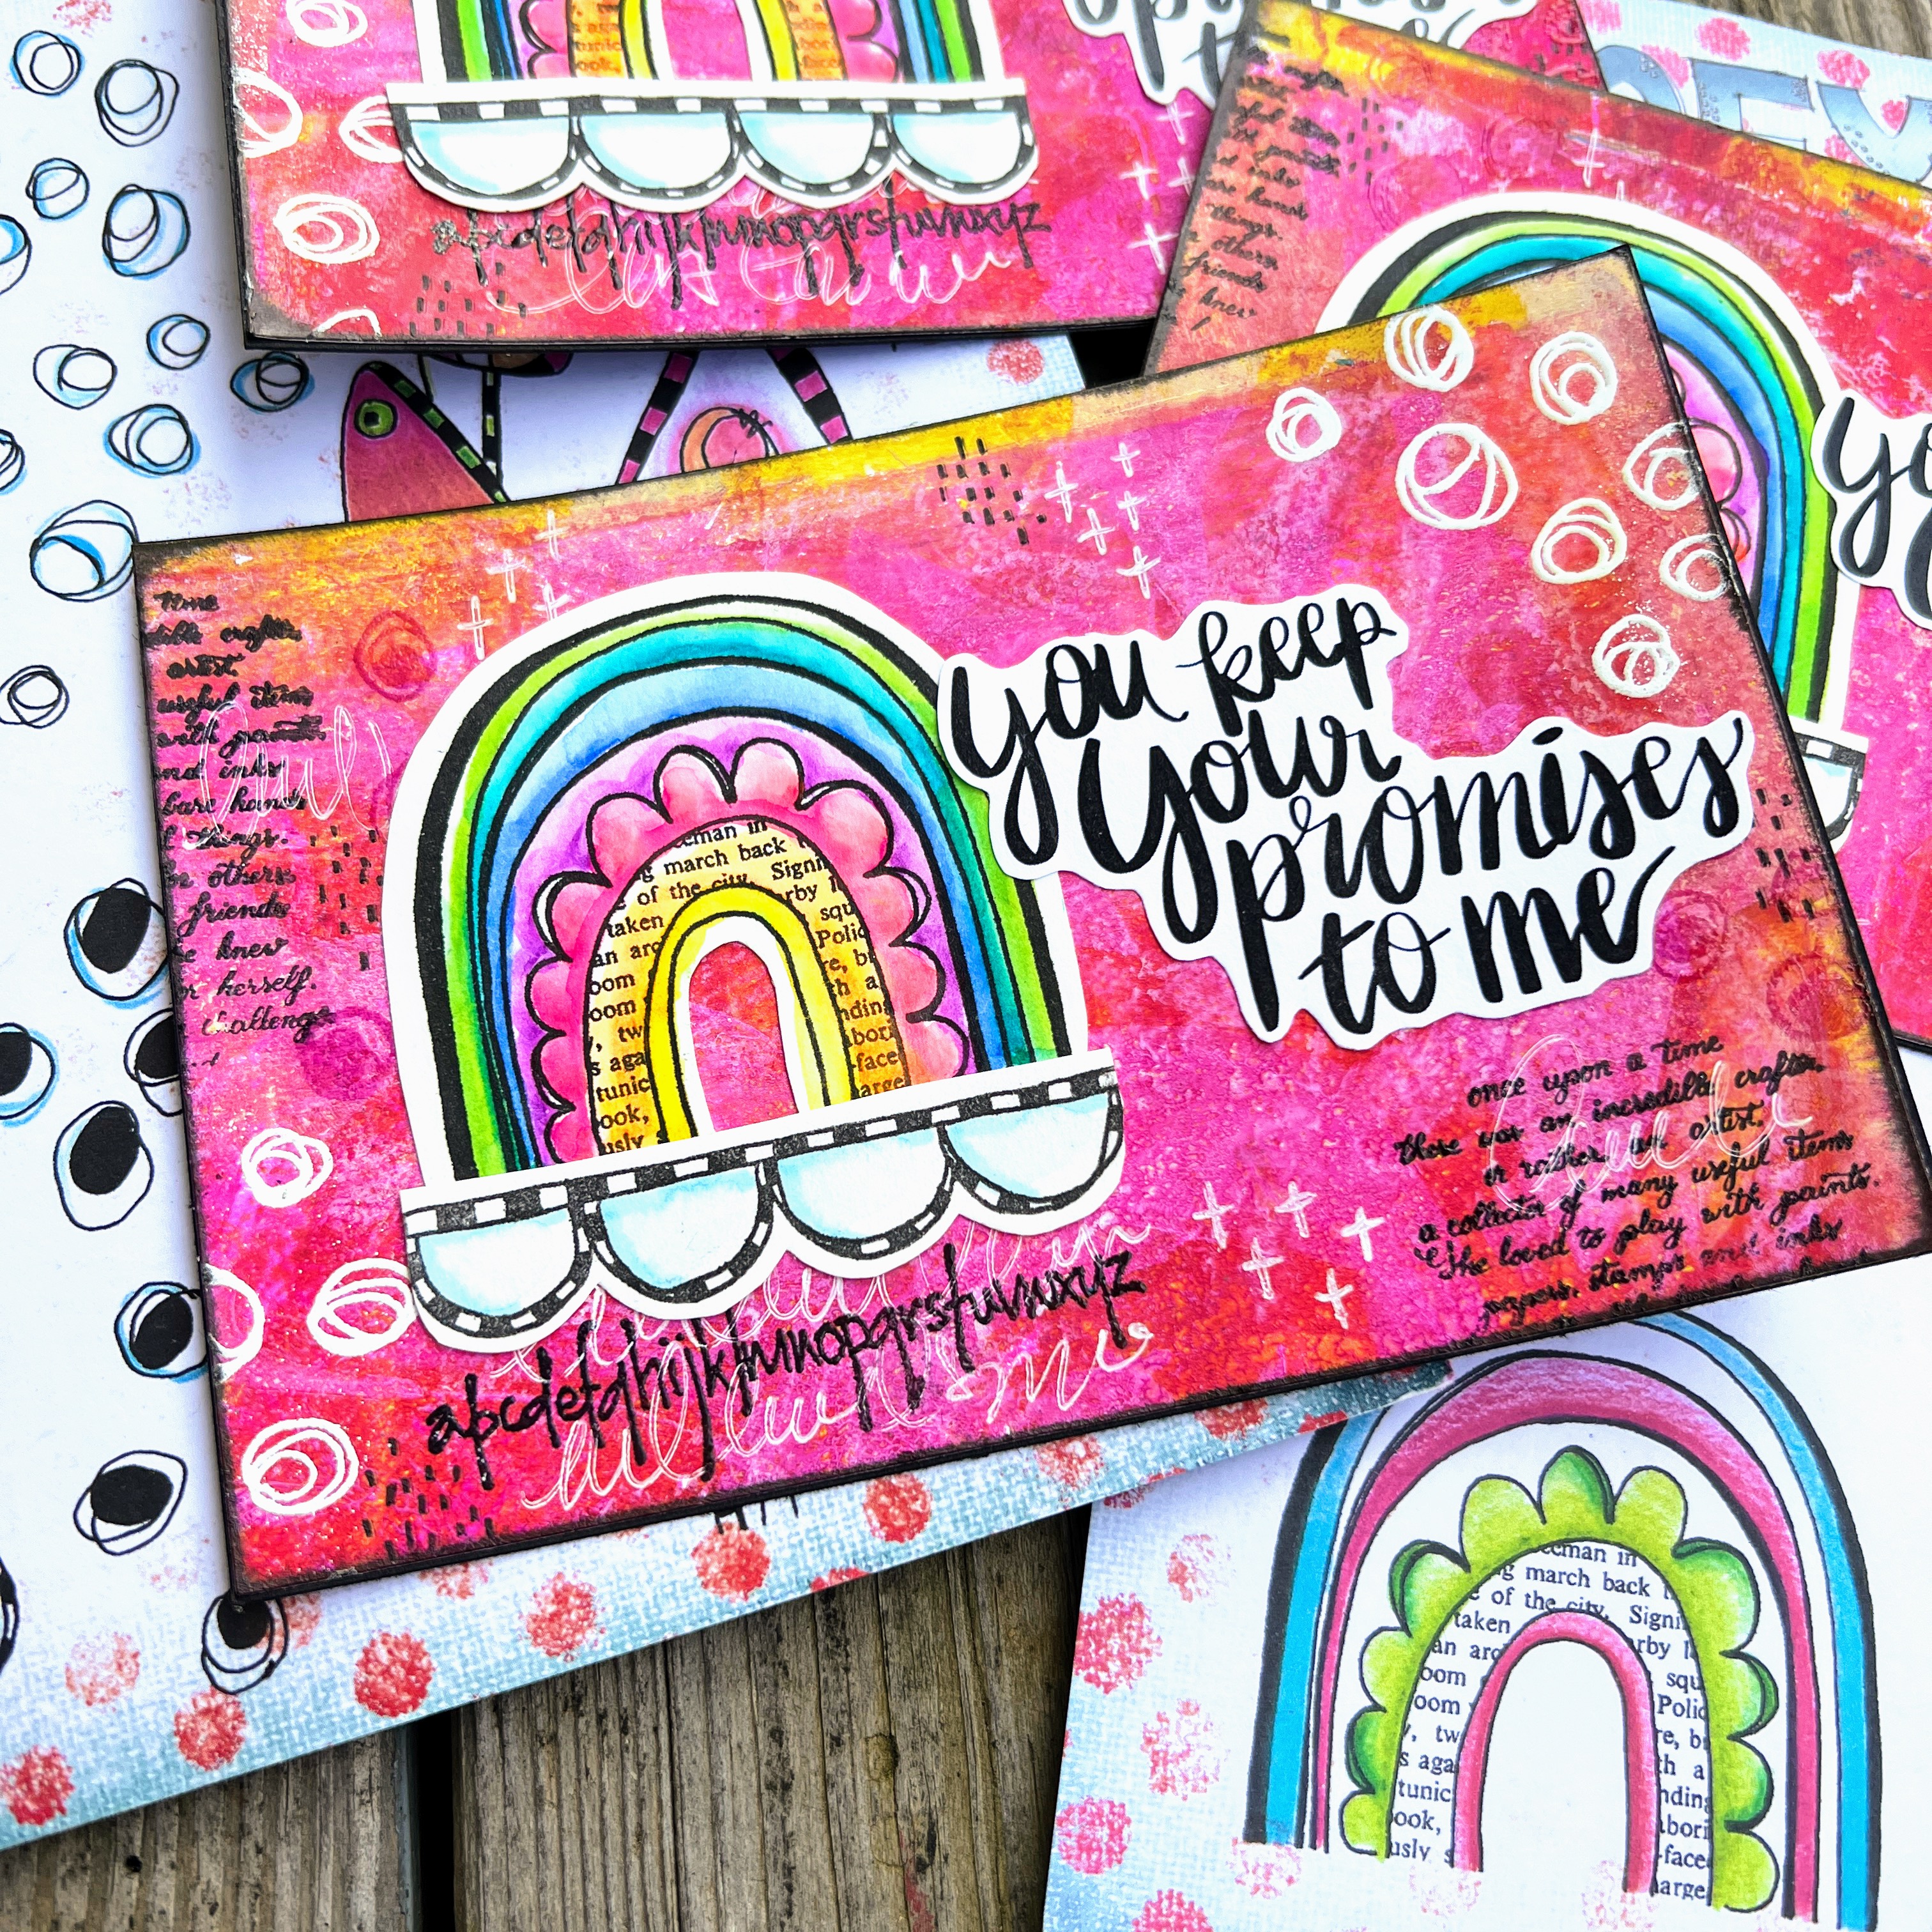
For these cards I used some favorite Jofy stamps by PaperArtsy and hand lettered sentiments.  I've uploaded these Promises Sentiment to share with you.  You can download and print your own HERE.  (Note: it will look all black because there is no background, which will allow you to overlay the text onto an image if you so choose.  But on white paper it will show as black text.  :) )

You may remember my first two cards I created for Sweet 'N Sassy Stamps HERE.  Scripture stamps make it so much easier of course, but this time I wanted to do some hand lettering and really enjoyed the personal touch.  I used ProCreate on my iPad.


I made some layered bright gel prints for the bases and added stamping from JOFY92, including the scallops as "clouds."  The rainbow is from JOFY110 and I colored it with brush markers and water.  The tiny text is from Eclectica Mini 88 by Scrapcosy.  Now the fun part will be to trade these with friends and fill up my box!  I look forward to sharing more soon.  


For more inspo on these fab rainbow stamps see my last post HERE. xx, Autumn


Mar 29, 2024

PaperArtsy Scrapcosy Spring Tulip Cards


Hi friends and happy Easter weekend!  I’m so thankful that He is risen indeed!  I had a little crafty time with some friends and we had a good play with Raquel’s/aka Scrapcosy stamps by PaperArtsy. 


I picked out some pages from Raquel’s Art Journal Volume 1 collage book and lightly brayered first a darker color of PaperArtsy Fresco Chalk Acrylics. Then lightly brayered a lighter color. For the green page I used Granny Smith and Peppermint. Sadly, I didn’t note the other colorways. :(


I overstamped the tulips from ESC31. 


I then stamped images from ESC30 in the background using coordinating colors of Distress Oxides. 


I colored each flower with colored pencils, using white as a blender and to make the colors pop against the background. 


I finished each card with stitching and crocheted lace. And added a stamped sentiment from ESC29. I hope you are inspired by these grungy spring makes and have a wonderful Easter weekend. xx, Autumn 


Popular Posts