Showing posts with label stencil. Show all posts

Jan 12, 2026

My First Stamp Illustration: Snowdrops!


Dear friends, I'm so excited today to share some samples with you using my first ever stamp illustration.  You may recall I've recently released a stencil and another definition stamp set with Creative Worship Stamps, but this release is extra special to me because it's my first hand drawn illustration.  I chose a snowdrop bunch because they are perfect for wintertime crafting and so symbolic.

I have a few cards I created with the Snowdrop set to share with you today.  First is a a grungy design with lots of inking and background stamping.  I had a background making party with some friends and used Distress Oxide Spray in Tumbled Glass, then added some Vintage Photo and stamping with the Texture Tiles 1 stamp set (music and splatters) and sponged through the Lots of Dots stencil.  


I watercolored the gorgeous Snowdrops stamp set and cut them with the coordinating dies.  I used a combination of Bundled Sage, Weathered Wood and Vintage Photo for the coloring.  I finished by stamping the gorgeous Psalm 30:5 sentiment in Chipped Sapphire across the bottom.  


My husband and I celebrate our 26th wedding anniversary this month, so I used the Snowdrops stamp set to make him a lovey/Valentine/anniversary card.  I made a pink background with Spun Sugar Distress Oxide and sponged Worn Lipstick through the Blotchy Dots & Hearts Stencil, which I sprayed with water and dabbed for a more subtle effect.  


I stamped the Snowdrops in Cobblestone grey inks and watercolored the with the same pinks plus Bundled Sage then cut them with the coordinating dies.  I made a tag layer by stamping the 1 Corinthians 13:4 sentiment from the With Love stamp set in Cobblestone and spritzing with water repeatedly to dab away and make it more subtle.  I finished by stamping the anniversary sentiment from the same set and layering with a piece of lace & crinkle bow.  


My final card today was made by stamping the Large Snowflake Background stamp with Peacock Feathers Distress Oxide onto a teal panel.  I spritzed the ink with water to activate the oxidization.  


I watercolored the Snowdrops with the same ink, plus Mowed Lawn.  Next I sponged through the Peppermint Stripe stencil onto a torn panel.  I finished with the sweet words from the Snowdrop set.  I hope you've enjoyed these projects and will take a look at my new designs.  Thanks so much for your support!  xx, Autumn

Dec 8, 2025

Kate Crane and Kay Carley Christmas Cards


Hey friends!  I'm sharing a few fun Christmas cards I made with my mom using gel prints.  These feature some lovely Kate Crane and Kay Carley Christmas stamps.


The deer and tree stamps are discontinued now, but the houses come from Kay's stamp set by PaperArtsy, EKC63.  I love this stamp set so much!  I layered with gel prints and used a variety of snowflake stencils from my stash and hand drawn hills, which I added shading with light grey ink and glittery accents.


This year Kate has released a gnome stamp set that would be just as cute here!


Inspired by Kay's product packaging, I made another card with a gel printed background and a row of houses.  I loved using the pencil trees between each house.  


I drew a little welcoming path.  I embossed the background with white snowflake stamps from the set.  Such fun!  I hope these cards brighten your day and give you some ideas for using your prints this Christmas.  xx, Autumn


Nov 4, 2025

Handmade Christmas Gifts with Stamps and Stencils


Hi friends!  I have two more cards to share with you from the October new releases at Creative Worship Stamps.  For my last couple of projects I wanted to use my stamps for handmade gifts.  This first one really makes me happy and I hope to make a few more.  I purchased some wood slices on sale at Hobby Lobby and stamped the nativity scene from O Holy Night onto one with black gesso.  

The stamping wasn't perfect due to the texture of the wood and paint, so I used a small brush to touch up areas.


I attached a jute twine hanger and added a sari ribbon bow, then attached the ornament to a card base with a jumbo glue dot, so it can easily be removed.  For the card base, I used more green Distress Mica sprays to make a background along with the Star Pattern Stencil I designed for CWS.  I layered with some gold music score.  I cut a green tag from a piece of clean up paper and sponged it with the Star Pattern Stencil.  I love how impactful the pattern is on the small tag!  I overstamped with a sentiment from the O Holy Night set and looped more twine from the tag around the ornament hanger.

For my second handmade gift idea, I made a rainbow of tags using Distress Inks.   

I stamped the beautiful Nature Silhouettes 3 set onto each panel, then cut them into tags.  I sponged through the Lots of Dots stencil and layered with the new Happy & Hugs die set.  

I hope to attach the tags to goody bags, stuffed with sweets.  I hope each recipient will feel the love that went into them!  Make sure to check out all of the new releases at Creative Worship Stamps today!

Find more Creative Worship Stamps inspiration

HERE!

Oct 29, 2025

Faith Filled Handmade Christmas Cards


I was visiting with a friend and we had a play with Distress Mica Sprays.  I used a couple of greens and water to create a green background, which I spritzed through the Circle Pattern Stencil using a deep red.  

I stamped the Lantern Light stamp with Vintage Photo Distress Ink and watercolored with the same, mixed with Hickory Smoke.  I stamped the candle in Lumberjack Plaid and the flame in Fossilized Amber and watercolored with the same.  I stamped the bow in black for a pop and watercolored with Rustic Wilderness and Peeled Paint.  I finished by stamping a sentiment from the Best Gift Ever stamp set onto a scrap and curled the edges.

My next card features the Stars stencil I designed for Creative Worship Stamps.  It's my first product design and I'm a little giddy!  :)  

I made an inky background using Fired Brick and Peeled Paint Distress Inks.  The second background was made with green Distress Mica Spray, then monoprinted with the Stars stencil.

I tore the stenciled piece and layered, then stamped with the We Three Kings stamp set.  I added an embossed sentiment from the Christmas Wordfetti set.  


My final card also uses my new Stars stencil.  I made an inky background with Faded Jeans Distress Ink and sponged through the Stars stencil in the same color. 

Then made a little “snow globe” using a circle die and stamped it with the distressed music stamp from the Texture Tiles 1 set. I stamped the nativity from O Holy Night over that. 

I finished with a sentiment from the We Three Kings set.  I hope these Christmas card ideas inspire you today!  Check out all of the beautiful new releases at Creative Worship Stamps today!

Find more Creative Worship Stamps inspiration

HERE!

Jun 24, 2025

Ten Years and PaperArtsy Bird Stamps Accordion Book Tutorial


Hi friends!  I know it's been far too long.  I have taken a sabbatical for the past year to both care for my mom and recharge my creative batteries.  

My calendar popped up a reminder for June 3 that it was my blogaversary and I looked and saw that it had been ten years since I started SewPaperPaint!  WOW!  

I wanted to share a fun tutorial with you based on inspiration by Karen Stamper and Traci Bautista from this year's Sketchbook Revival Binge Fest.  What fun!  

My friend had spent the weekend with me for some creative fun and we decided to work in our accordion books following Karen Stamper's process of adhering various paper elements and masking/washi tapes to a long accordion paper, then adding inks or watercolor, spraying and letting the drips run free.  Oh my this was fun!  We both made two panels and I could have made ten.  Ha ha!

I really wanted to turn mine into a completed work.  Karen uses her pieces as a base for future architectural drawings, but that wasn't traveling - I've become such a homebody!  

Meanwhile, I was so inspired by Traci's use of a dagger brush and the way she held it upwards to produce beautiful, fluent leaves.  We had used a bottle of liquid watercolor in black by Blick and had a lot left in our little jars days later.  I thought it would be beautiful to add some of the leaves and happily reactivated the dried color with my wet brush.  It worked beautifully, though the black does turn quite blue when very wet.  

I fussy cut my practice pieces I had done on book pages and adhered them for a variety.  


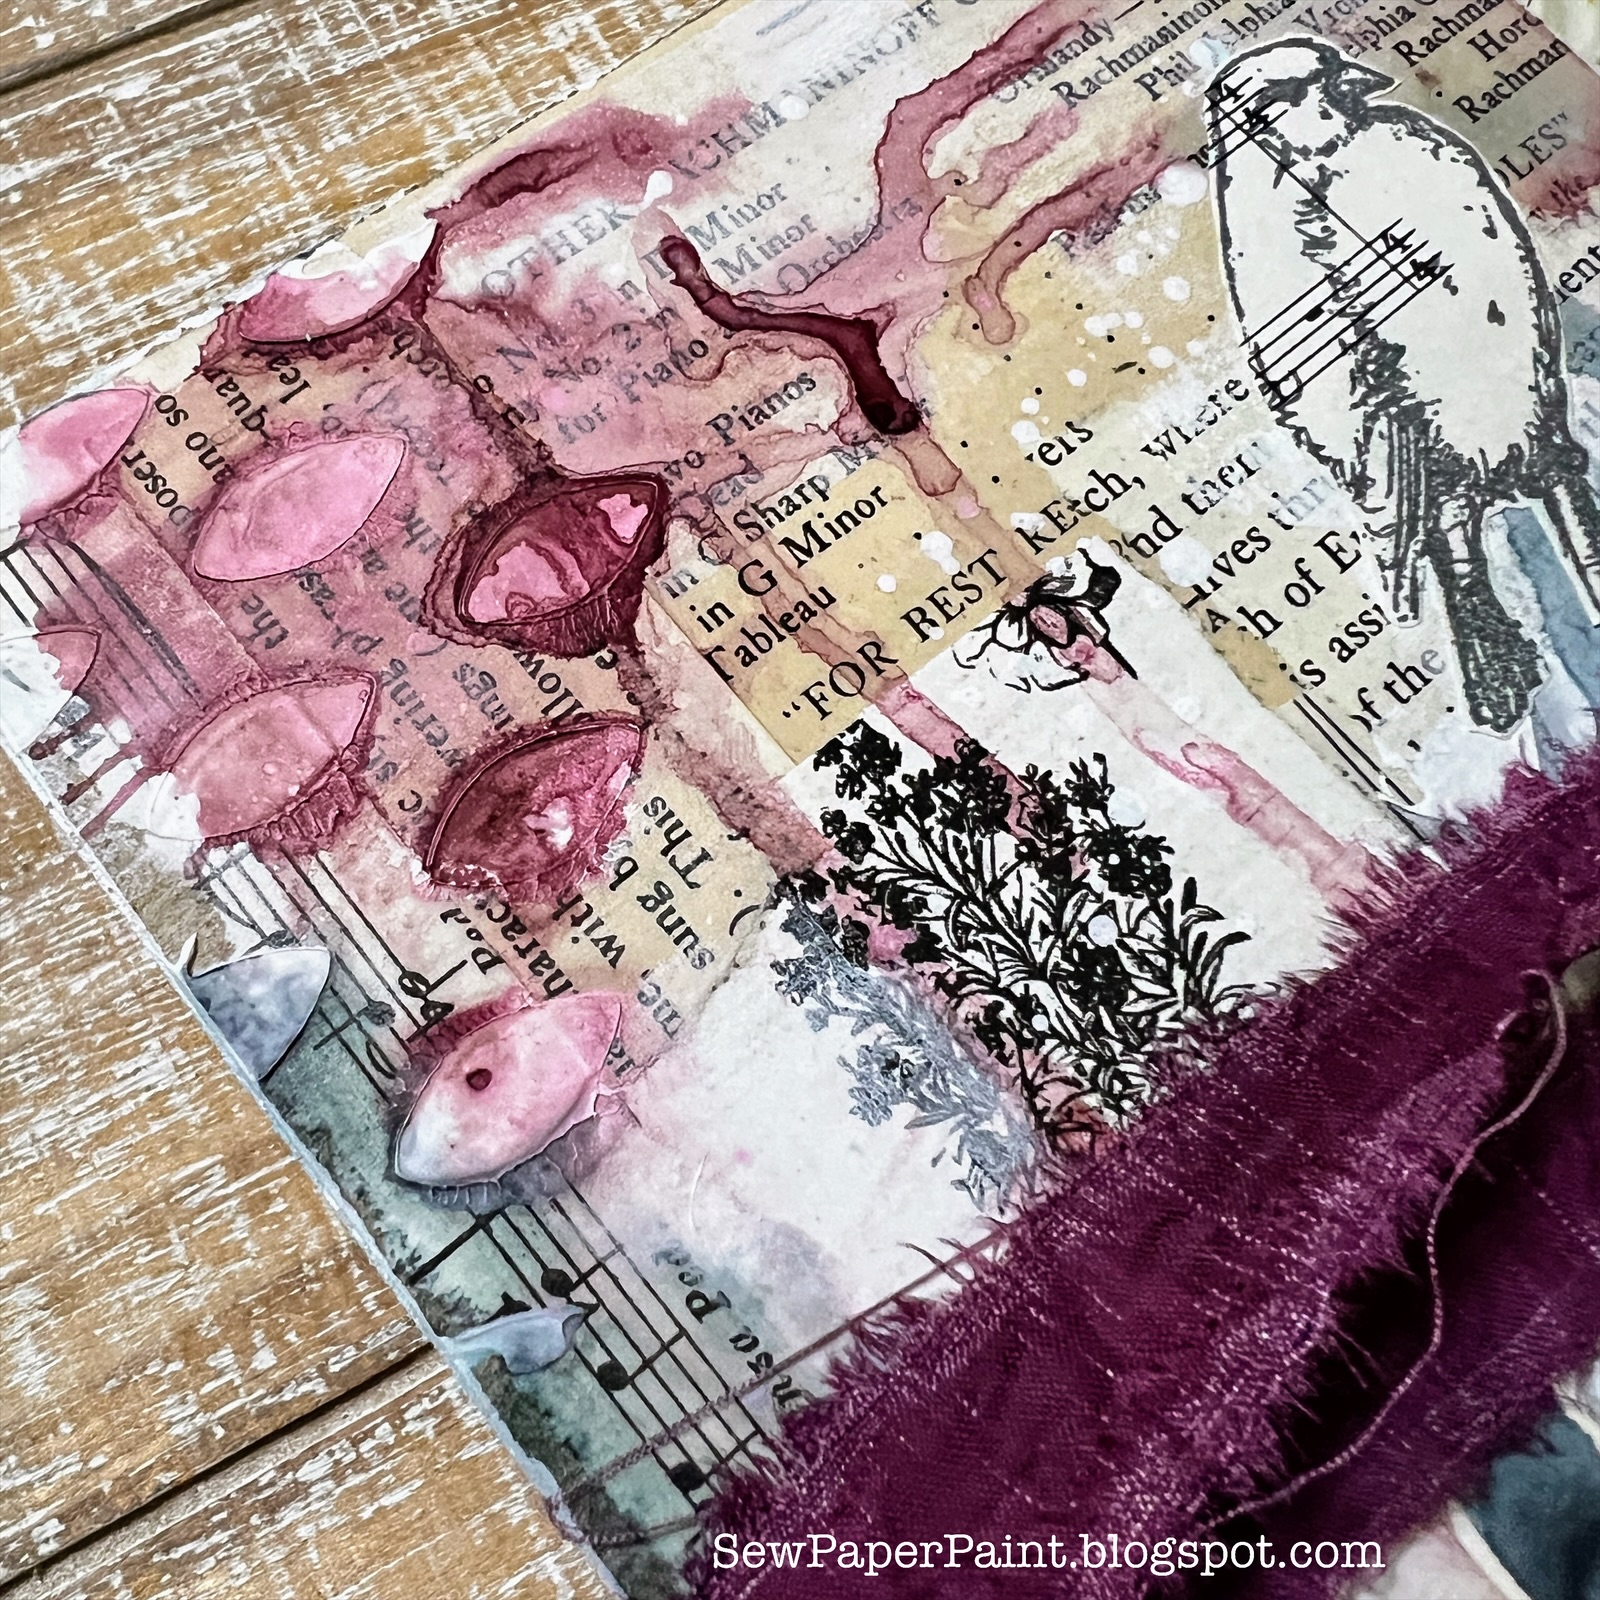
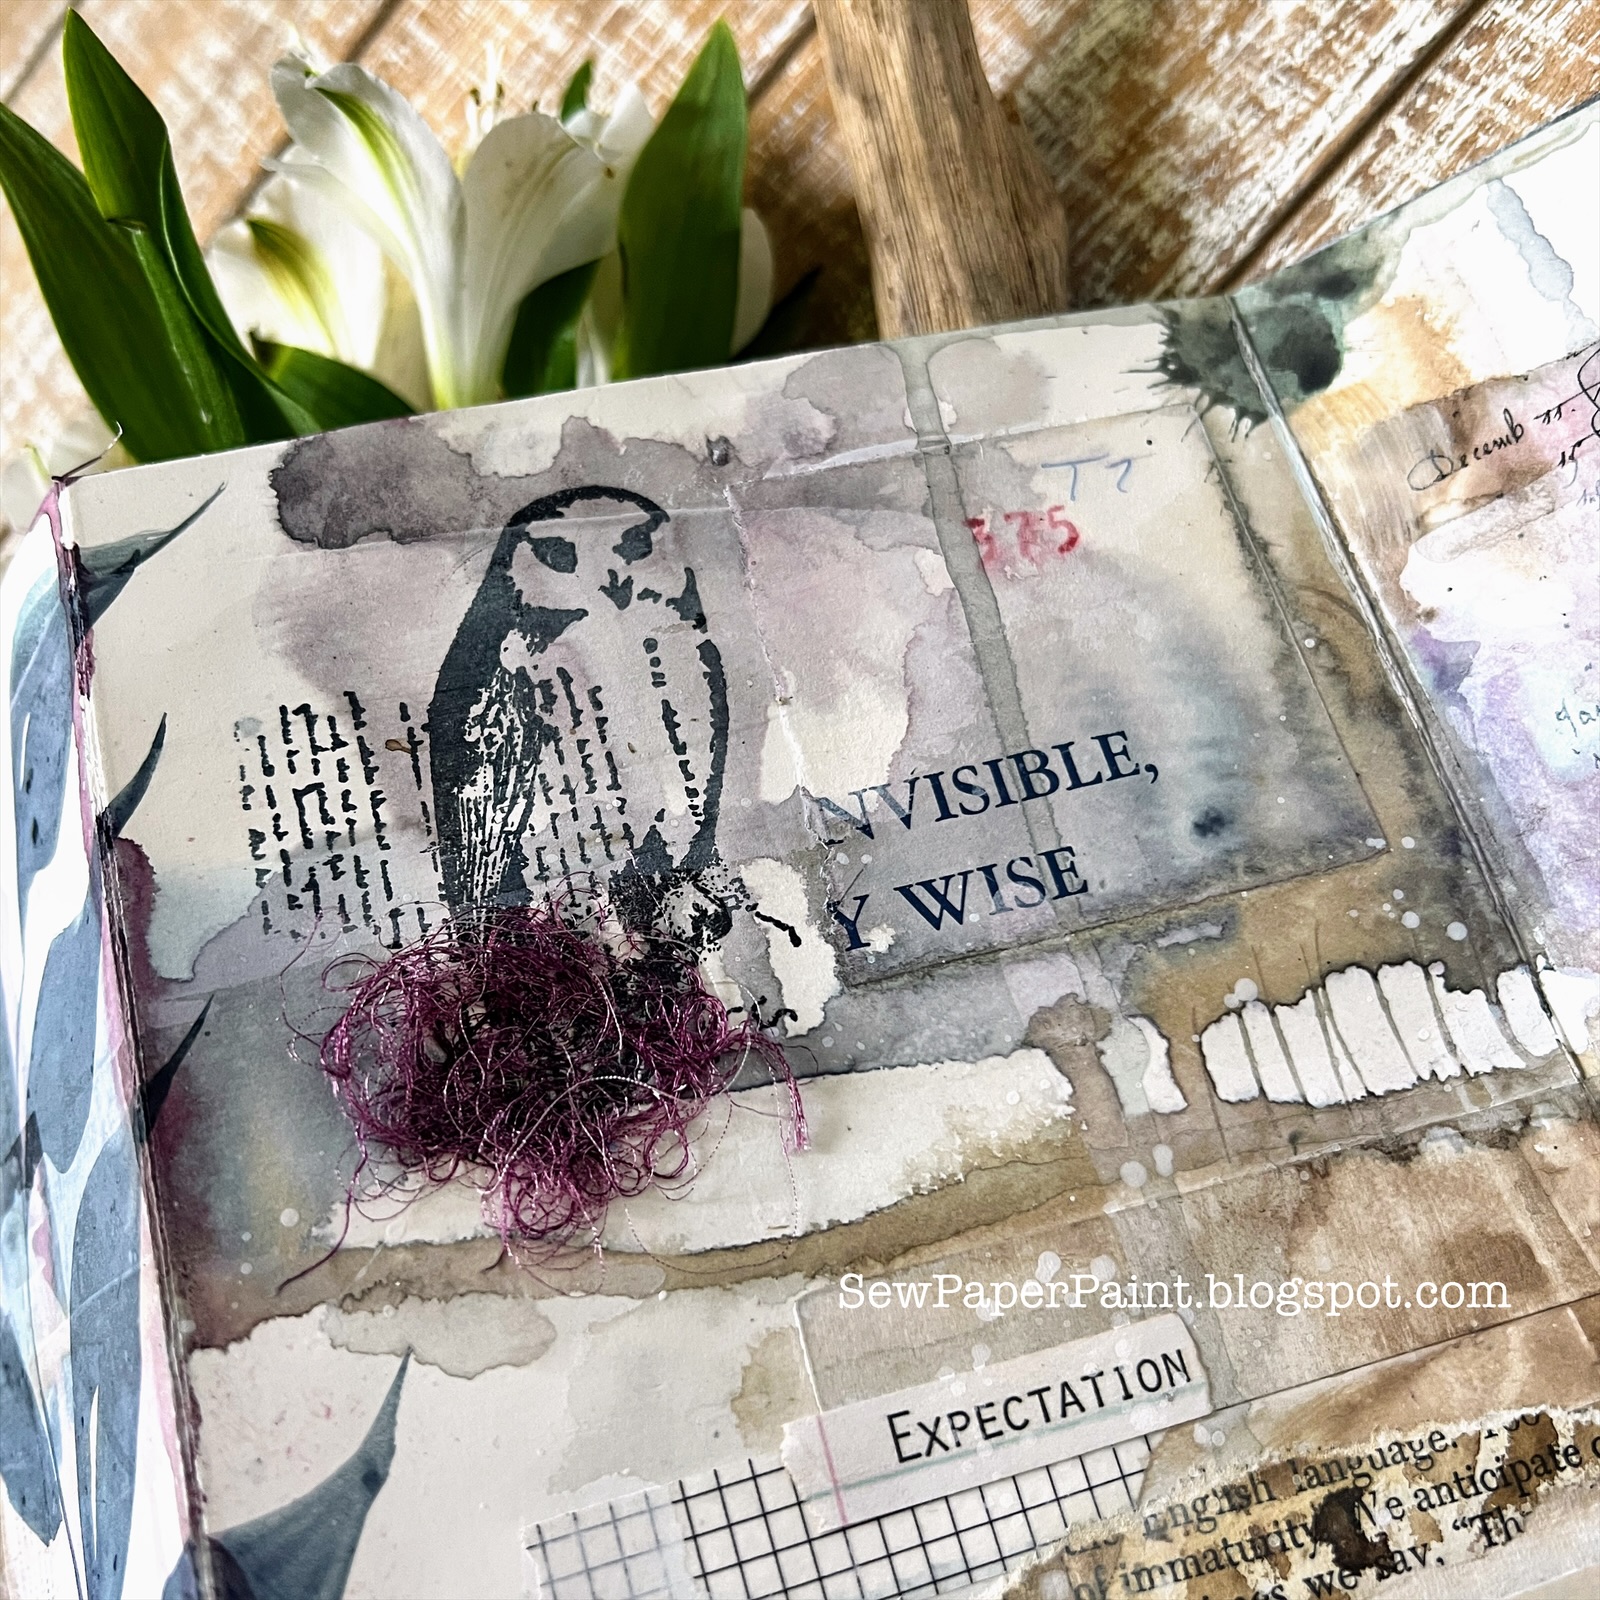
I wanted to add some other imagery, so I picked out a set of Sara Naumann bird stamps by PaperArtsy, ESN66.  I stamped them in Versafine Clair Morning Mist (deep grey).  


This awesome quote is from a Dina Wakely Typed Ledger Sentiment Stack.  


I decided to make covers for my accordion.  I cut chipboard to size and adhered more book pages & even a die cut castoff with Liquitex matte medium.  I braywered white gesso lightly onto each panel.  


Then I mixed a bit of white gesso with modeling paste and spread through two Scrapcosy stencils by PaperArtsy, PS108 and PS319 randomly for added texture.  


I used my very old Fiber Scraps e-z Walnut Ink Tintz (shown at the top of this post) and more of the liquid watercolor in black by Blick to add more drips.  


I cut out another leaf practice piece and stamped another bird to finish my cover.  


I painted the edges of the chipboard with my white gesso, then glued the accordion panel in place and left heavy books on it overnight.  I adhered the Sari ribbon I get from Felt Better on Etsy between the layers.  I am so pleased with the finished result.  I am very thankful to the entire team at Sketchbook Revival, especially Karen Abend for this wonderful journey.  I hope you enjoyed seeing this grungy little art book.  xx, Autumn

Popular Posts