May 28, 2016

Redeem the Moments Mixed Media Canvas

canvas

This post is gonna be a doozy so bear with me.  Grab a cuppa...  When I first saw the Berry71bleu moodboard this month my heart skipped a beat!  How utterly beautiful and inspiring.  I really wanted to use a door images as my focal and only came up with this turquoise one - so unbelievably cool.  I did add some purple into my project though, which is my visual representation of this verse, this powerful question posed by Mordecai.

"And who knows whether you have not attained royalty for such a time as this?”  Esther 4:14b NASB.  I believe every moment should count for the kingdom, every choice weighs in.  I hope this canvas reminds me of such frequently.

moodboard 1

You won't believe the transformation of my altered canvas.  I wanted a specific size of canvas that would work well with my printed image and the only thing I had in my stash was this painted mess from my experiments with Flora Bowley's class.  HA HA!  Oh boy!

canvas 2

gesso

So I lightly gessoed it, thinking it would be fun if tiny bits of the painted background showed through.  Another fun reminder of the power of Christ to transform.   The brown is a stripe of Ranger's Distress Embossing Powder in mushroom, added for texture.

canvas 2

And here is my painted canvas.   I used layers of alcohol inks and Glimmer Mists with a little real walnut stain, not the Distress Ink color.

canvas 3

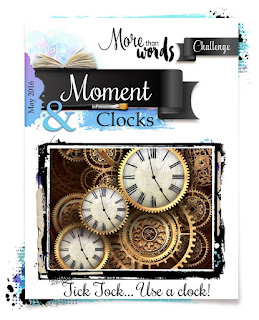
Because my collage was based on the beautiful scripture, I wanted to add subtle references of time and "Moment."  I used a watch that belonged to my Grandmother, perfectly aged.  She taught me so much about serving God.  Her time on earth was well spent.  <3
moodboard 2
"Awake, sleeper, And arise from the dead, And Christ will shine on you.  Therefore be careful how you walk, not as unwise men but as wise, making the most of your time, because the days are evil. So then do not be foolish, but understand what the will of the Lord is."  Ephesians 5:14-17 NASB

canvas 4

I inked the Tim Holtz sentiment to coordinate.  The flower is a new Prima watercolor blossom - love!  A few extra splashes (got carried away).

canvas 5

For extra interest, and to bring in some more copper highlights, I embossed a Prima text stamp in copper.  The jar is filled with Art Stones and was splashed with alcohol ink.  Copper glitter puddles about.

canvas 6

For the embellishments, I painted them with black gesso, then highlighted them Radiant Pearls before gluing to my canvas.  This made them all coordinate, well sorta.

canvas 7

Here you can see the dimension, lots of cardboard layers tucked beneath the papers for depth.  I really love the sheen mixed with the old world vintage, rustic feel.  I hope you are inspired today!

canvas 8

I'm sharing my canvas with:
moodboard 3
You are invited to the Inlinkz link party!
Click here to enter

May 26, 2016

CAS Embossed Poppy Stamp Card

 For Mother's Day weekend I took a set of supplies for my mom and I to have a Pinterest party.  Well, between boxing supplies and getting interested in a series called Dig, we didn't get much stamping done!  Since I'm sick to death of unpacking, I thought it was such a shame to pack these supplies back up without giving the project a go.  I've needed something simple to do lately, so inspired by THIS pin, I created this Asian gate fold card.  I had found this lovely ancient PSX poppy stamp (10-15 years old) in my mom's stash.  I colored it with Inktense pencils.

 I used this beautiful stamp that reminded me of a sweet coworker that always gives me the most amazing handmade cards, those little things mean so much.  Love you Bonnie!  <3  To emboss the front of a gate fold card, first cut and score your card.  Score 2 1/8 from each side.  Then put one side into the EF up to the score line and run through, and repeat with the other side.  Fun!  I added a strip of punched black for extra interest.  Here's a little video, but I don't know if it will load.  Not too techy with that stuff, but my fingers are crossed.  Update: I don't know how to embed this video, but click HERE to view.

Sharing the stamping with these sweet linky's:
RRCB 39

May 23, 2016

Finnabair Inspired Canvas With Die Cuts

canvas 1

Last Saturday at my monthly art group meeting, Linda led is in creating a Finnabair style canvas.  I was inspired by THIS YouTube video to use a black background.

canvas gesso

At the class I was only able to get my items glued down and painted with black gesso.  Yesterday I finally had a chance to finish the project.  I wanted to use my  mom's stash of Radiant Pearls for the highlights.  To make them show up on the black, you must first brush white gesso to create highlights.  Then when you apply the Radiant Pearls they really pop!

canvas 2

I have never attempted such a piece because, quite frankly, it tears my nerves up to put so many embellishments on one project.  I guess that comes from my frugal nature, but Finnabair herself always says she doesn't like to limit herself with embellishments.  I gathered many practically free items for this first test run.  Some clearance flowers, wooden tokens, buttons, bottle caps and some filigree flowers I found 3/$1 at Tuesday Morning.

canvas 3

The inspiration video sparked the idea of using die cuts.  Can you believe these butterflies are Stampin' Up! dies?!  The Tim Holtz Ornate Frame was the perfect backdrop for them.  I cut two of each from thin chipboard and glued them together for stability.

canvas 4

One of the prettiest elements in my opinion was the addition of this awesome shaker substance by  Suze Weinberg that I found in my  mom's stash.  She had four bottles full, never opened.  I attached them with Mod Podge.  They are like tiny sequins, but a little thicker.  The color was perfect.

canvas 5

May 20, 2016

Art Versus Artist


Hi everybody, just a quick post to let you know why I've not been around this week.  I spent a total of 11 hours this past weekend sorting and organizing my new stash from my mom's craft room.  You could not see the floor for the boxes of goodies!  It has been exhausting and overwhelming.  I thought I would just do a box a day at a slow pace, but my brain doesn't work that way and I had to finish once I started!  YIKES!  Anyway, phase 2 is complete.  Phase 1 was the stamps and that took about 8 hours.  One more phase to go, sorting Stampin' Up! sets and a few misc. supplies that are in one small bookcase tower.  Anyway, here is a pic - showing that my floor is now freed!

I also wanted to share a little Instagram fun with you and my #artvartist post.  It's so much fun to see how many people actually resemble their artwork!  I guess I do too - wild and burly, slightly vintage!


I look forward to sharing a Finnabair style project with you from my art group Saturday morning.  Fun stuff.  Have a great weekend!

May 15, 2016

Graciellie Design Winners and Digital Stamp Tutorial

card 1
I am so pleased to share the winners from the April Graciellie Design blog hop today!  A hearty congratulations goes to:
Shaz in Oz.CalligraphyCards
Gail
K Ritter
Please contact Gracie to claim your prize.

stamps
I have really enjoyed working with the Just Because digital stamp set for this month's release.  Thanks Gracie for inviting me!  You are such a joy to work with and your creativity is contagious!  Gracie has a special sale going on, so don't pass up this opportunity to purchase three sets for $8.50!  Make sure to hop through the designer's blogs for inspiration from all of the newly released sets.

Graciellie Design

Gloria Stengel

Joyce Erb

Karen Letchworth

Autumn

Karen Heins


card 2
I've had several questions about printing digital stamps, so I have created a Google Document that explains how I size and print images in Microsoft Word.  Click HERE to download my Printing Digital Stamps Tips & Tricks Tutorial.

card 3
For today's inspiration, I created a card for you.  I printed the butterfly collage in the center of a square panel (see tutorial for details), then wrinkled it up and inked it with Distress Inks.  Next, I fussy cut layers of the image, which I colored with Inktense watercolor pencils.  Lastly I added a couple of Prima flower dies and some handmade flowers using Tim Holtz dies and punch.  The seams were scrunched to reveal bits of lace I tucked in here and there.  

stamps 2

May 12, 2016

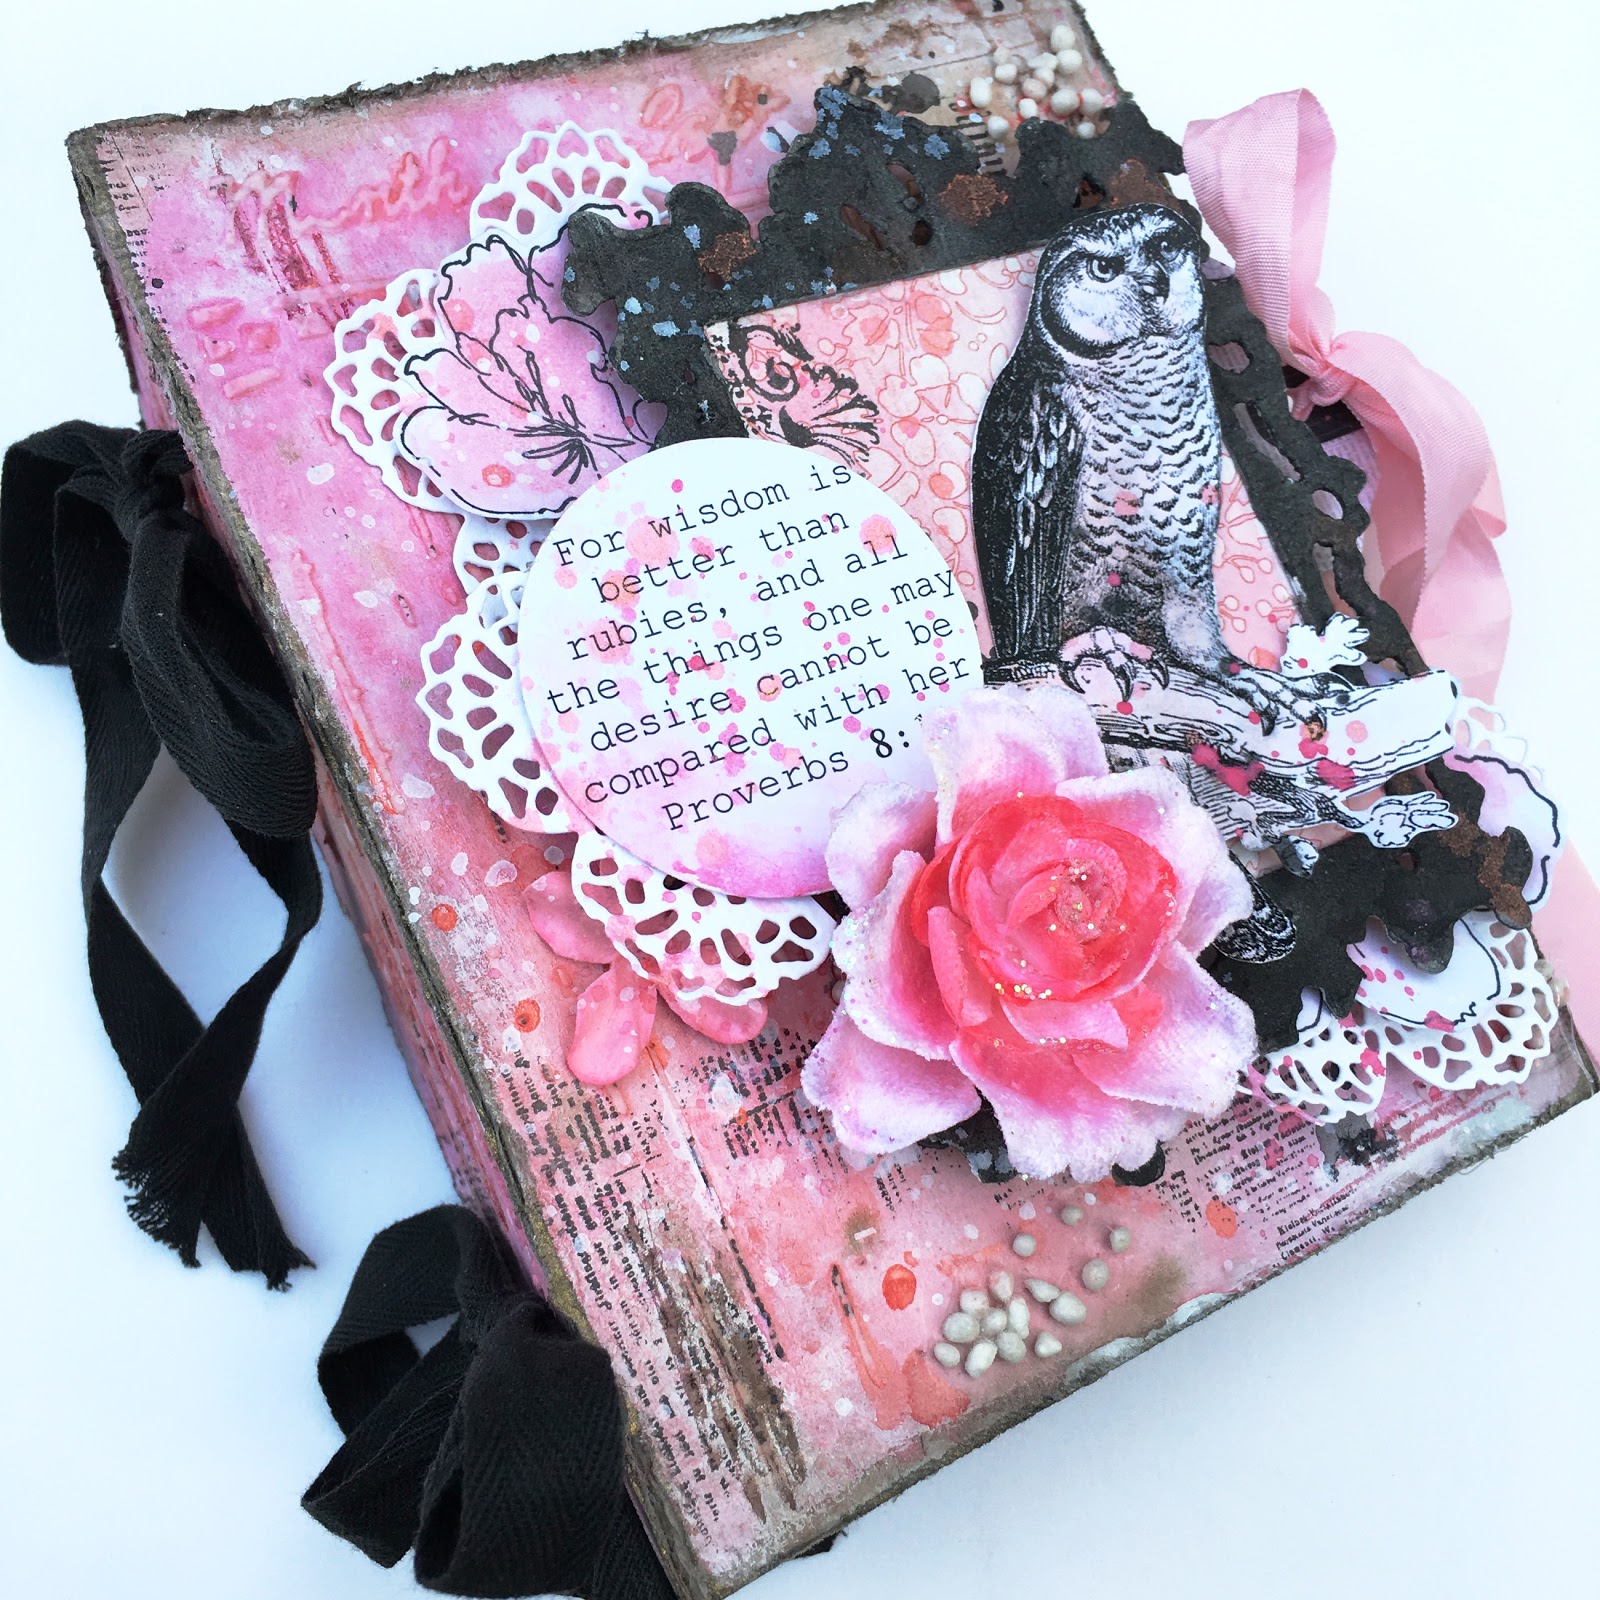
Pink Girly Owl Mini Album for Stamps and Stencils

album 1

 Today I am sharing a tutorial on this chipboard mini album construction on the Stamps & Stencils challenge blog.  I hope you will be inspired to create a mixed media project for our Think Pink challenge.

album 2

 Here are some closeups that I couldn't fit into my post, but of details that I love.  The tiny Prima text stamp adding texture and Art Stones - yummy!

album 3

 This is my absolute favorite stencil, which is by The Crafters Workshop.  I love the texture it adds.

album 4

To see the rest of the pages and learn how I assembled the album, visit my post at Stamps & Stencils.  Thanks so much for your visit today!  <3

I'm entering the following fabulous challenges:
MMP

May 11, 2016

Coin Envelope Mini Album

mini 1

I hope you all had a lovely Mother's Day weekend.  I am knee deep in the art room merger and working on some larger projects that I will share soon.  I unearthed hidden treasure in my mom's room (not just in art supplies), finding this lovely little mini album that I made at a Kristi Steiner class in Saluda, NC.  I just had to share it with you, as it is my favorite class project ever!

mini 2

Each tiny envelope is decorated with a simple collage, such as this acorn stuffed with pearls over a gesso resist.

mini 3

After the class, I made this second book for my mom.  I printed and collaged various scriptures about love.  I'll have to dig out my first piece and share in the future.

mini 4

Here a twig is wrapped with wire and beads.  Kristi teaches how to use everyday items to create such amazing works of art.

mini 5

The coin envelopes and tags are all different sizes.

mini 6

Another wired on collage.  The finished mini album is a little bundle of goodness, so fun and unique.

mini 7

And my favorite page, where I added a "window" from acetate and used a cigar label to create a focal point.  It's funny that all these years later, this is a style that I'm drawn back to.  This looks like I could have made it yesterday.  Timeless art!  Gotta love it!  Have a lovely day, Autumn
You are invited to the Inlinkz link party!
Click here to enter

May 5, 2016

Masculine Accordion Fold Cardboard Mini Album

mini 1

Today is my first official post for Anything But Cute, and it couldn't have come at a more exciting time.  As we celebrate our First Anniversary at Anything But Cute, we want you to celebrate what you do best...mixed media! This month's challenge theme is Celebrate Your Style!  This is your chance to do it your way, in your favorite style...so pull out those inks and paints and show us what you're made of! You can make anything you want, in any theme you want and any style you want, just as long as it has some mixed media products on it and no cute images. HAVE FUN!

Anything-But-Cute

We have some special treats for you this month. Along with our design team projects, we have invited our Favourite Artists from last year to come and celebrate with us. You don't want to miss the incredible line up of inspiration they have provided for you!! We also have a wonderful line up of prizes from some amazing sponsors...lots of chances to win some goodies, so don't miss out!

mini 2

I wanted to create a mini album to celebrate all of the things I love best.  I simply cut four pieces of cardboard to arounf 4x6" and punched holes in the sides, then tied them together with jute twine to fashion an accordion fold.  I gessoed each panel, but love to leave the edges raw to create more color variation in the next steps.

mini 3

I embossed a Stampers Anonymouse background stamp in Walnut Stain Distress Embossing Powder, then stenciled a Prima dots stencil with texture paste.  Rather than using my palette watercolors, I wanted to use up a product that I've had in my stash for ages, Walnut Tintz.  They are similar to Distress Stain.  I simply dabbed and puddled each color.  I purposely left some white spaces.  This is so much fun to do!!!

mini 4

Next, I created some inky background panels to use in my collage, and picked out a few Prima papers that would coordinate.  The lavender doesn't quite show up in the photos, but the mini is predominately lavender.

mini 5

To build my little groupings, I stamped each focal image, distressed the edges, then layered over the inky paper and torn designer paper, mixing in a hilarious book page I found and some extra stamping and ephemera.

mini 6

This is my industrial theme attempt.  I am trying to embrace industrial/steampunk - but doing so with my vintage grunge style.

mini 6

Notice that I stamped the papers tucked in behind.  I love creating my own patterns!  The book page here listed all the don't do's - including no spitting!  LOL!

mini 7

I used a chipboard sticker over this stamped hourglass.  I finally picked up the Tim Holtz honeycomb border die.
mini 8

My sweet friend, Bonnie, shared these cogs with me - thanks Bonnie!  You're the best.  This is my favorite section of the book page.  You'll also notice some Rub-Ons.

mini 9

I decided to leave the black plain, because I just love looking at that yummy watercolor and texture.

mini 10

I'm also playing with these great challenges:
You are invited to the Inlinkz link party!
Click here to enter

Popular Posts