Showing posts with label Mixed Media. Show all posts

Jul 14, 2026

Simon Hurley Timeless Textures 3D Embossing


Hello lovely friends!  I am thrilled today to announce my new collaboration with Spellbinders Paper Arts.  I am so excited to share some new projects with you!  Make sure you follow my blog, because I have so much in store over the coming months!  

First, I upgraded my die cutting system to the New & Improved Platinum Machine with Universal Plate System - 8.5" Platform.  I've had my old machine for so long and really wanted a wider cutting base.  This machine works with EVERY brand and includes all of the plates required for any die cutting, embossing or foiling.  A couple of Christmases back I got an electronic cutting machine by another company and it quit working within the month.  Thankfully I received a refund.  I have been skeptical of trying again, but I am so glad I did!  I've really enjoyed my Platinum so far.  If you don't need the 8.5" cutting option, Spellbinders makes a smaller 6" Platinum Machine as well.  

Today's projects are centered around the new Simon Hurley Timeless Textures 3D embossing folders and dies.  


Recently my friend Carol and I had a playday to create our Flowers Magic Art Fest journals.  I used a combination of vintage linens to create my cover and bound a variety of vintage book pages and tea dyed papers within.  I've shared more detail on my IG Reel HERE.  I hope to share a quick tutorial on my YouTube page soon.  Please leave me a comment if you are interested.  HERE is a flip through of another of my vintage journals.  


We played with some tea stained paper, which was standard copy paper folded in half, then embossed with the Flowing Florals 3D Embossing Folder.  What gorgeous pages!  I used one to wrap around a signature.  I just love how Spellbinders new embossing folders are large enough to use in this way!


Next I was inspired to create an ephemera pocket to share some goodies with a journaling friend.


I embossed a kraft card panel with the Hummingbird Garden 3D Embossing Folder.  I loved the kraft!  I then dipped the panel in Chipped Sapphire and Rusty Hinge Distress Inks.  When that was dried, I used a Versamark ink pad to add some copper embossing powder lightly over the raised textures.  

I tested out the Glimmer Hot Foil System for the first time and foiled the Must Have Sentiments by Simon Hurley onto blue cardstock.  I didn't expect it to work, but I followed the instructions in the box and it worked on my first try.  

I cannot believe I procrastinated in foiling until now!  It was so easy and I am smitten over these copper foiled little sentiments!  I mounted my pocket over a book page onto coordinating blue cardstock onto a kraft square card.  I filled it to the brim with goodies from my stash and finished with an acetate butterfly, which I stapled onto a tag and covered the staple with one of my foiled expressions. 


For my final project I created a sweet little mixed media greeting card using the Rattan Cane 3D Embossing Folder embossed in the same blue card.  I layered with book pages and kraft core copper card I cut from the Essential Stylish Ovals dies.  These are such great dies!  They have sold out multiple times, so make sure to click "Notify Me" and Spellbinders will send you an email when they restock.  


I gave the card base a splash of Rusty Fresco Chalk Acrylic Paint by PaperArtsy and the book page a splash of Rusty Hinge and Chipped Sapphire Distress Ink, then layered with my foiled sentiment and the Hummingbird Garden 3D Embossing Folder & Coordinating Dies.  I really love the ability to use this set with or without the 3D background or cutout hummingbirds.  I hope these projects have inspired you and you'll checkout the Timeless Textures Collection by Simon Hurley on the Spellbinders website.  Hugs, Autumn


Aug 21, 2025

How to Make Handmade Bookmarks with Watercolor and Gel Prints


Hey everyone!  I'm back today to share a couple batches of my handmade bookmarks.  I'm being painfully honest with you by saying I was never much of a reader.  I just never took time to read books and even with art articles I was interested in, I would generally skim them over.  What a pity, I know!  Well, several years back I decided to truly become a REAL READER.  After a while, I decided to start documenting my reads in an Excel spreadsheet.  Long story short, we went to Mall of Georgia to the massive Barnes and Noble for my son's birthday this past weekend and I was perusing the isles, I kept noting, "hey I've read that!"  I was really surprised and happy!  It got me to wondering just how many books I've read these past few years so I did a quick tally and the grand total is 99 books!  <insert happy dance>

It's no surprise that I've also found a small addiction to making handmade bookmarks because I am prone to read about 3 to 5 novels simultaneously and have several art books in process as well, so I need a good many bookmarks, plus I love to give them as gifts.  Yes, that is definitely me showing why I was never a good reader, because I am totally ADD.  But actually reading has helped me a lot with focus and minor memory issues.  

I recently posted on IG my latest watercolor bookmark collection.  I like to take a 9x12 sheet of Canson watercolor paper and use it for practice, you know to get my hand warmed up to fluid motion and control.  

I simply paint one type of flower all over the page, then repeat with another and another, some leaves, berries, etc. until I have a nice full composition.  I then cut the sheet into 2.25x7" strips.  I use a corner rounder for the edges and add tassels.  I love the serendipity of seeing what sections appear in the cut apart pieces and the general looseness of these play pages.  I recommend THESE tassels from Amazon.  They are much nicer than others I've ordered and quite reasonable.  

Well, I also love love love do dabble in gel printing, especially with botanical elements, but also with stencils and my beloved PaperArtsy Fresco chalk acrylic paints.  

I have piles and piles of prints and thought it time to try out Susan McCreevy's technique for transforming them into beautiful artsy bookmarks.  I did not use matboard, as Susan did in her video HERE, but used an Avery permanent glue stick and adhered my pieces to black cardstock instead.  

Actually, these were some of my least favorite prints and maybe just one part of the page was worth using.  This made the process even more rewarding.  I love a good trash to treasure project indeed!  

I hope you like my bookmarks and my little story of overcoming an obstacle in my life, resulting in a truly beneficial pleasure.  Please let me know in the comments what some of your favorite reads are.  xx, Autumn

Jun 24, 2025

Ten Years and PaperArtsy Bird Stamps Accordion Book Tutorial


Hi friends!  I know it's been far too long.  I have taken a sabbatical for the past year to both care for my mom and recharge my creative batteries.  

My calendar popped up a reminder for June 3 that it was my blogaversary and I looked and saw that it had been ten years since I started SewPaperPaint!  WOW!  

I wanted to share a fun tutorial with you based on inspiration by Karen Stamper and Traci Bautista from this year's Sketchbook Revival Binge Fest.  What fun!  

My friend had spent the weekend with me for some creative fun and we decided to work in our accordion books following Karen Stamper's process of adhering various paper elements and masking/washi tapes to a long accordion paper, then adding inks or watercolor, spraying and letting the drips run free.  Oh my this was fun!  We both made two panels and I could have made ten.  Ha ha!

I really wanted to turn mine into a completed work.  Karen uses her pieces as a base for future architectural drawings, but that wasn't traveling - I've become such a homebody!  

Meanwhile, I was so inspired by Traci's use of a dagger brush and the way she held it upwards to produce beautiful, fluent leaves.  We had used a bottle of liquid watercolor in black by Blick and had a lot left in our little jars days later.  I thought it would be beautiful to add some of the leaves and happily reactivated the dried color with my wet brush.  It worked beautifully, though the black does turn quite blue when very wet.  

I fussy cut my practice pieces I had done on book pages and adhered them for a variety.  


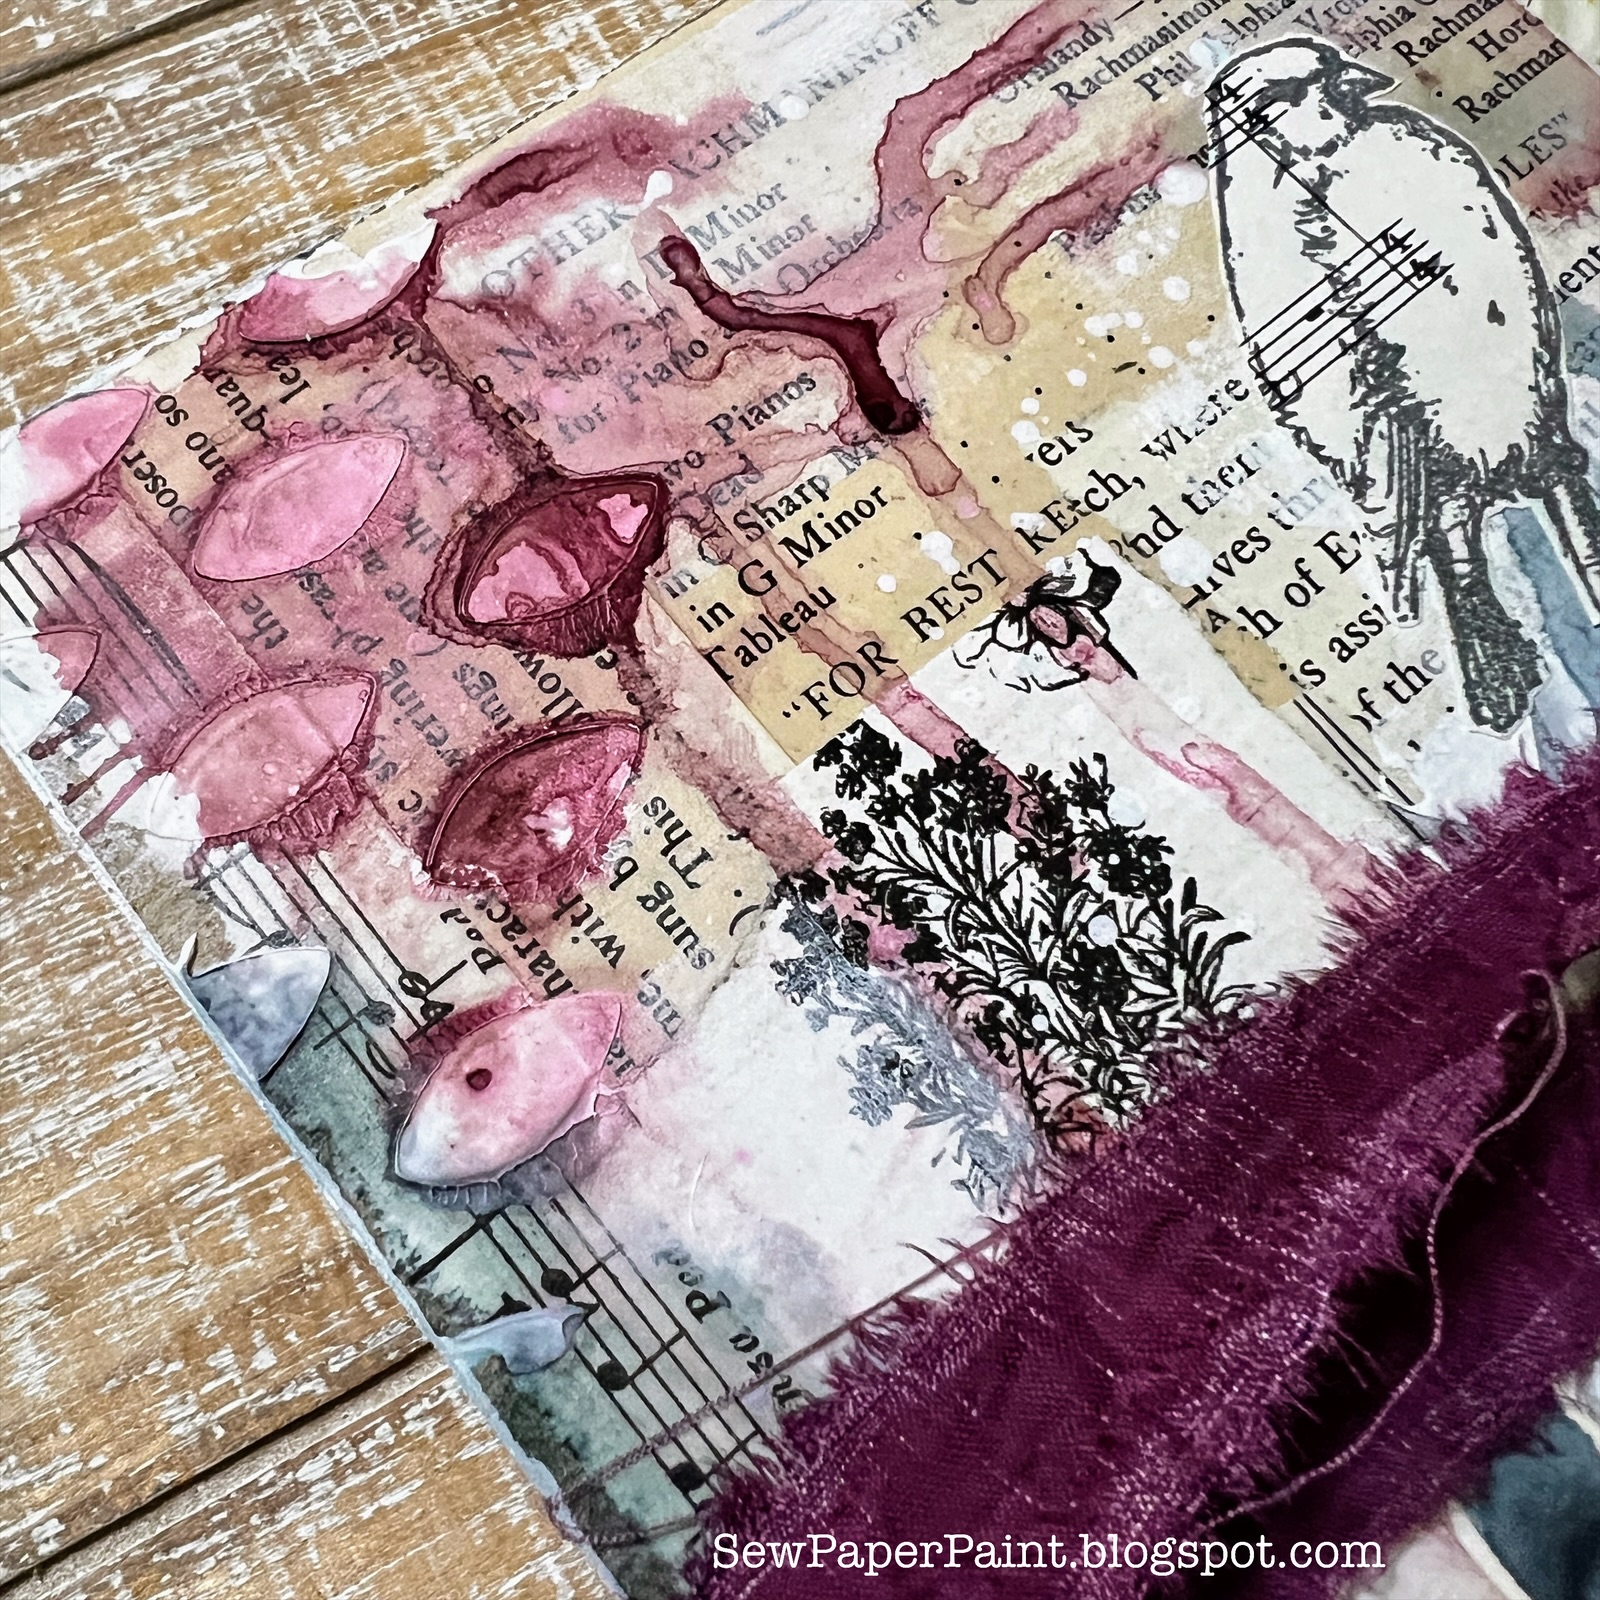
I wanted to add some other imagery, so I picked out a set of Sara Naumann bird stamps by PaperArtsy, ESN66.  I stamped them in Versafine Clair Morning Mist (deep grey).  


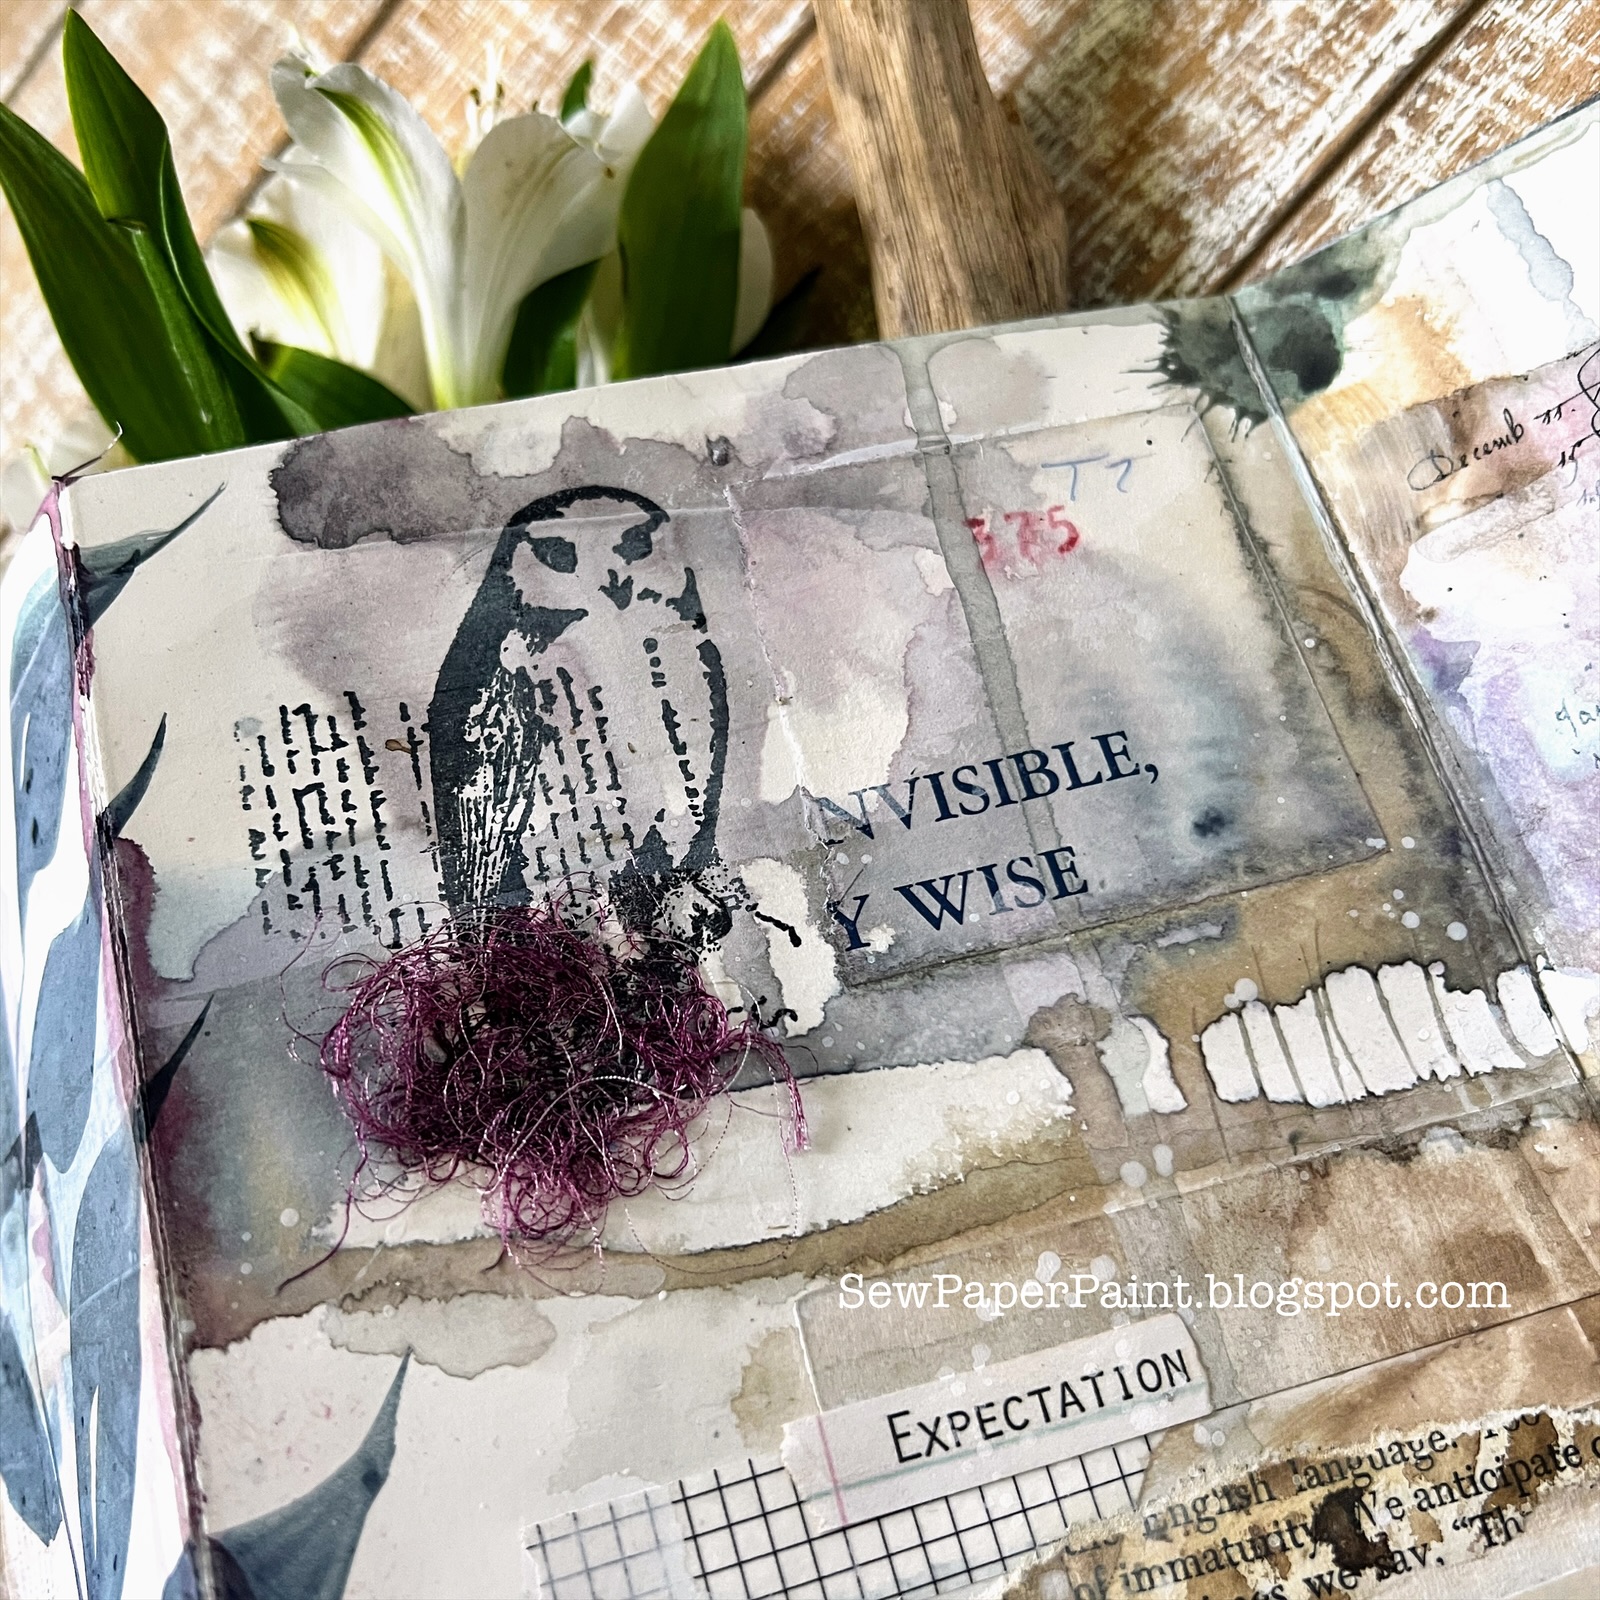
This awesome quote is from a Dina Wakely Typed Ledger Sentiment Stack.  


I decided to make covers for my accordion.  I cut chipboard to size and adhered more book pages & even a die cut castoff with Liquitex matte medium.  I braywered white gesso lightly onto each panel.  


Then I mixed a bit of white gesso with modeling paste and spread through two Scrapcosy stencils by PaperArtsy, PS108 and PS319 randomly for added texture.  


I used my very old Fiber Scraps e-z Walnut Ink Tintz (shown at the top of this post) and more of the liquid watercolor in black by Blick to add more drips.  


I cut out another leaf practice piece and stamped another bird to finish my cover.  


I painted the edges of the chipboard with my white gesso, then glued the accordion panel in place and left heavy books on it overnight.  I adhered the Sari ribbon I get from Felt Better on Etsy between the layers.  I am so pleased with the finished result.  I am very thankful to the entire team at Sketchbook Revival, especially Karen Abend for this wonderful journey.  I hope you enjoyed seeing this grungy little art book.  xx, Autumn

Jun 5, 2024

Vintage Gel Printed Accordion Book Tutorial


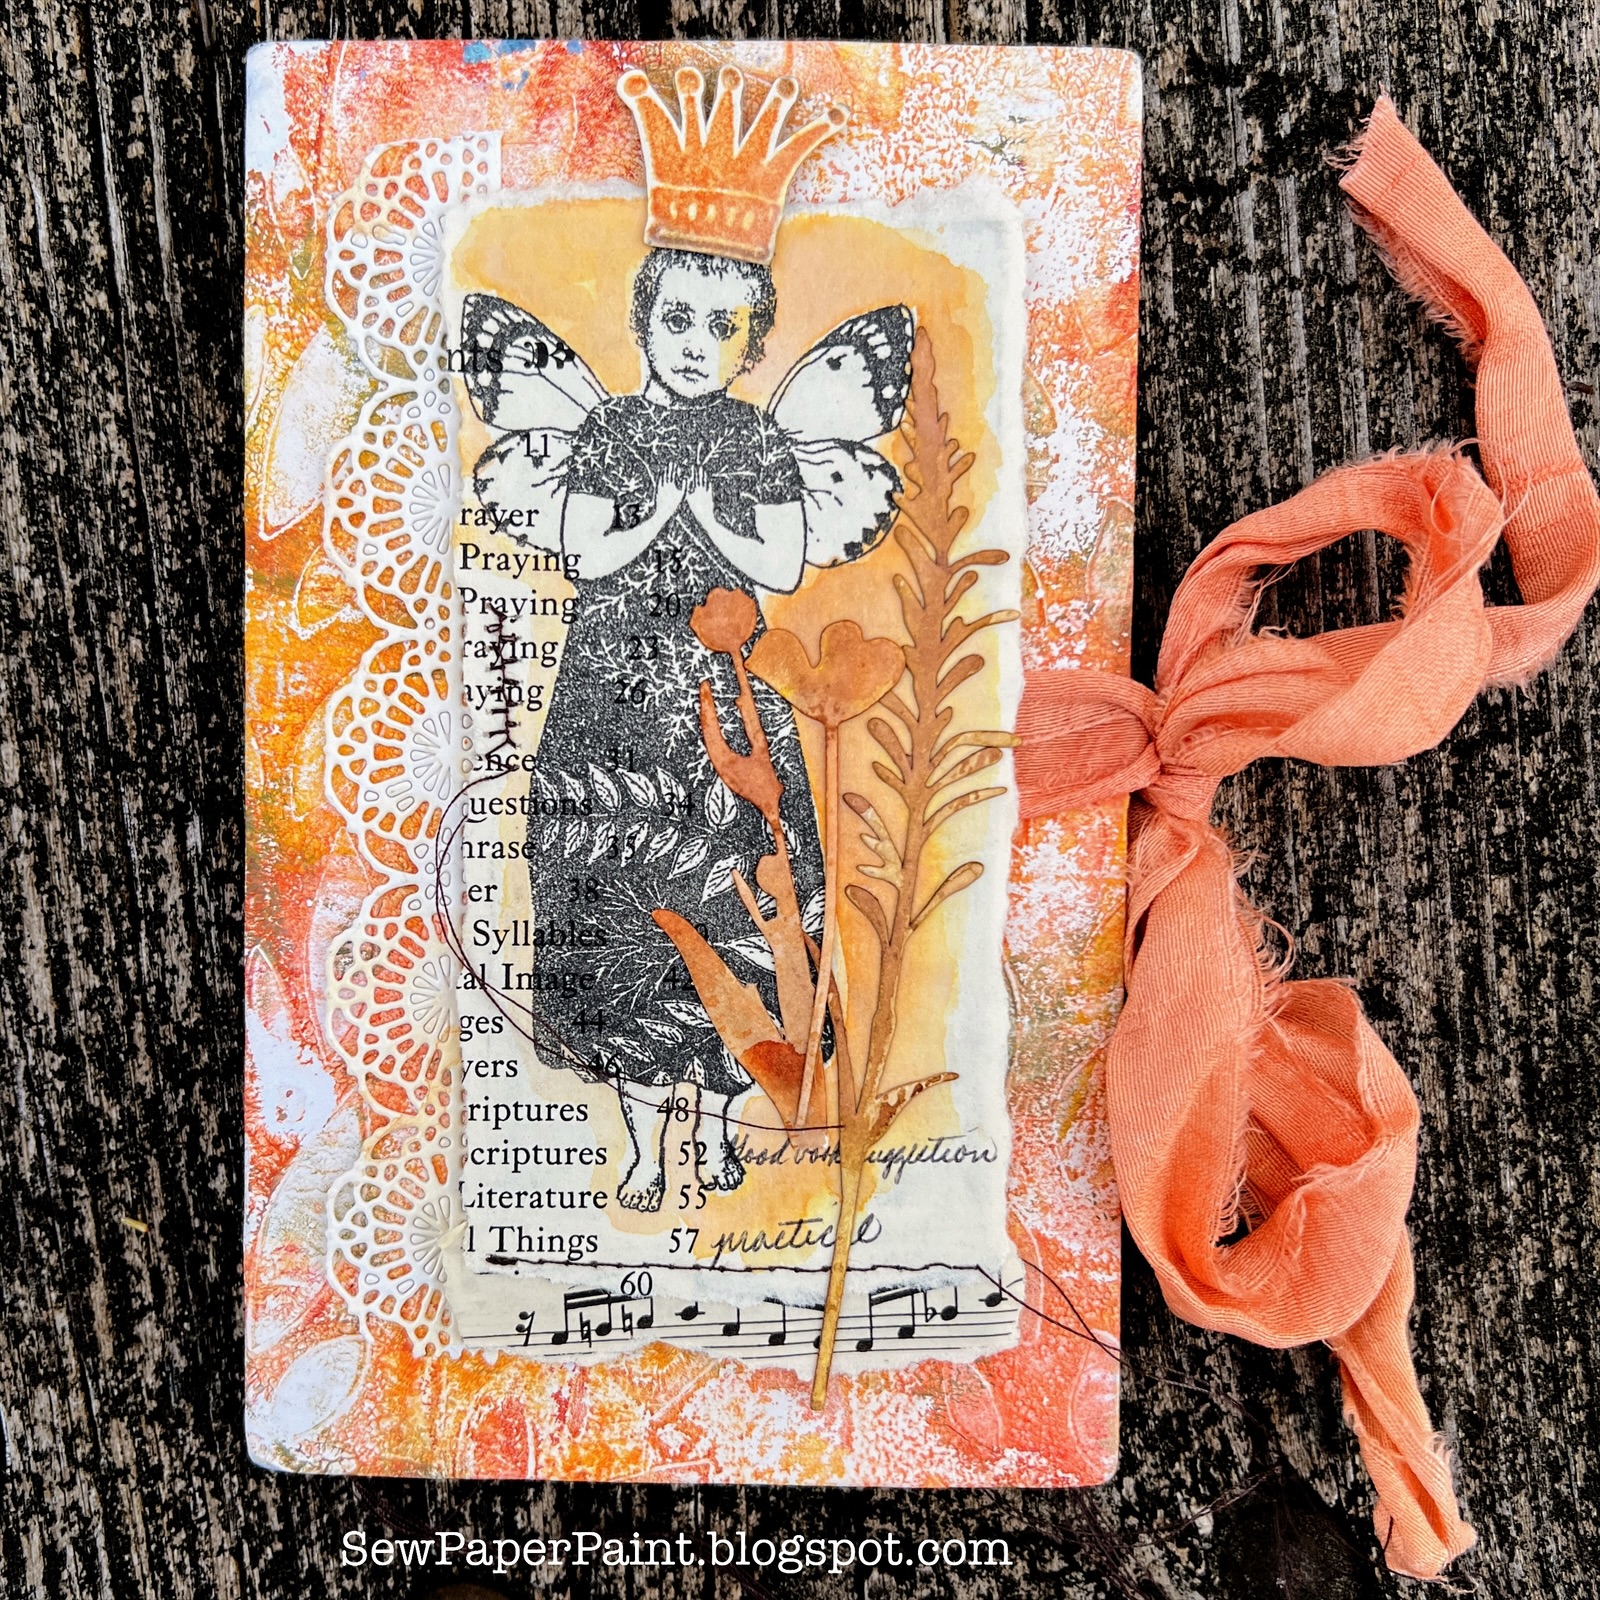
Hi everyone and happy spring!  I've enjoyed some playtime with my mom this spring and we've done a lot of gel printing.  I was trying to think of a way we could use our stash prints and decided we should make an accordion book.  I picked one of my favorite 8x10" prints and cut it in two to cover two pieces of 4 x 6.5" chipboard, wrapped around the sides with mitered edges.


Here is my pile of gel prints.  Honestly, I didn't put a dent in this set alone!  This project didn't take as much printed paper as I had hoped...  But it was a fun project nonetheless.


I cut two pieces of white cardstock and scored them to fit inside and adhered the overlap to make the accordion panels.  Then I glued these to each cover and covered with gel prints measuring slightly smaller than the covers, 


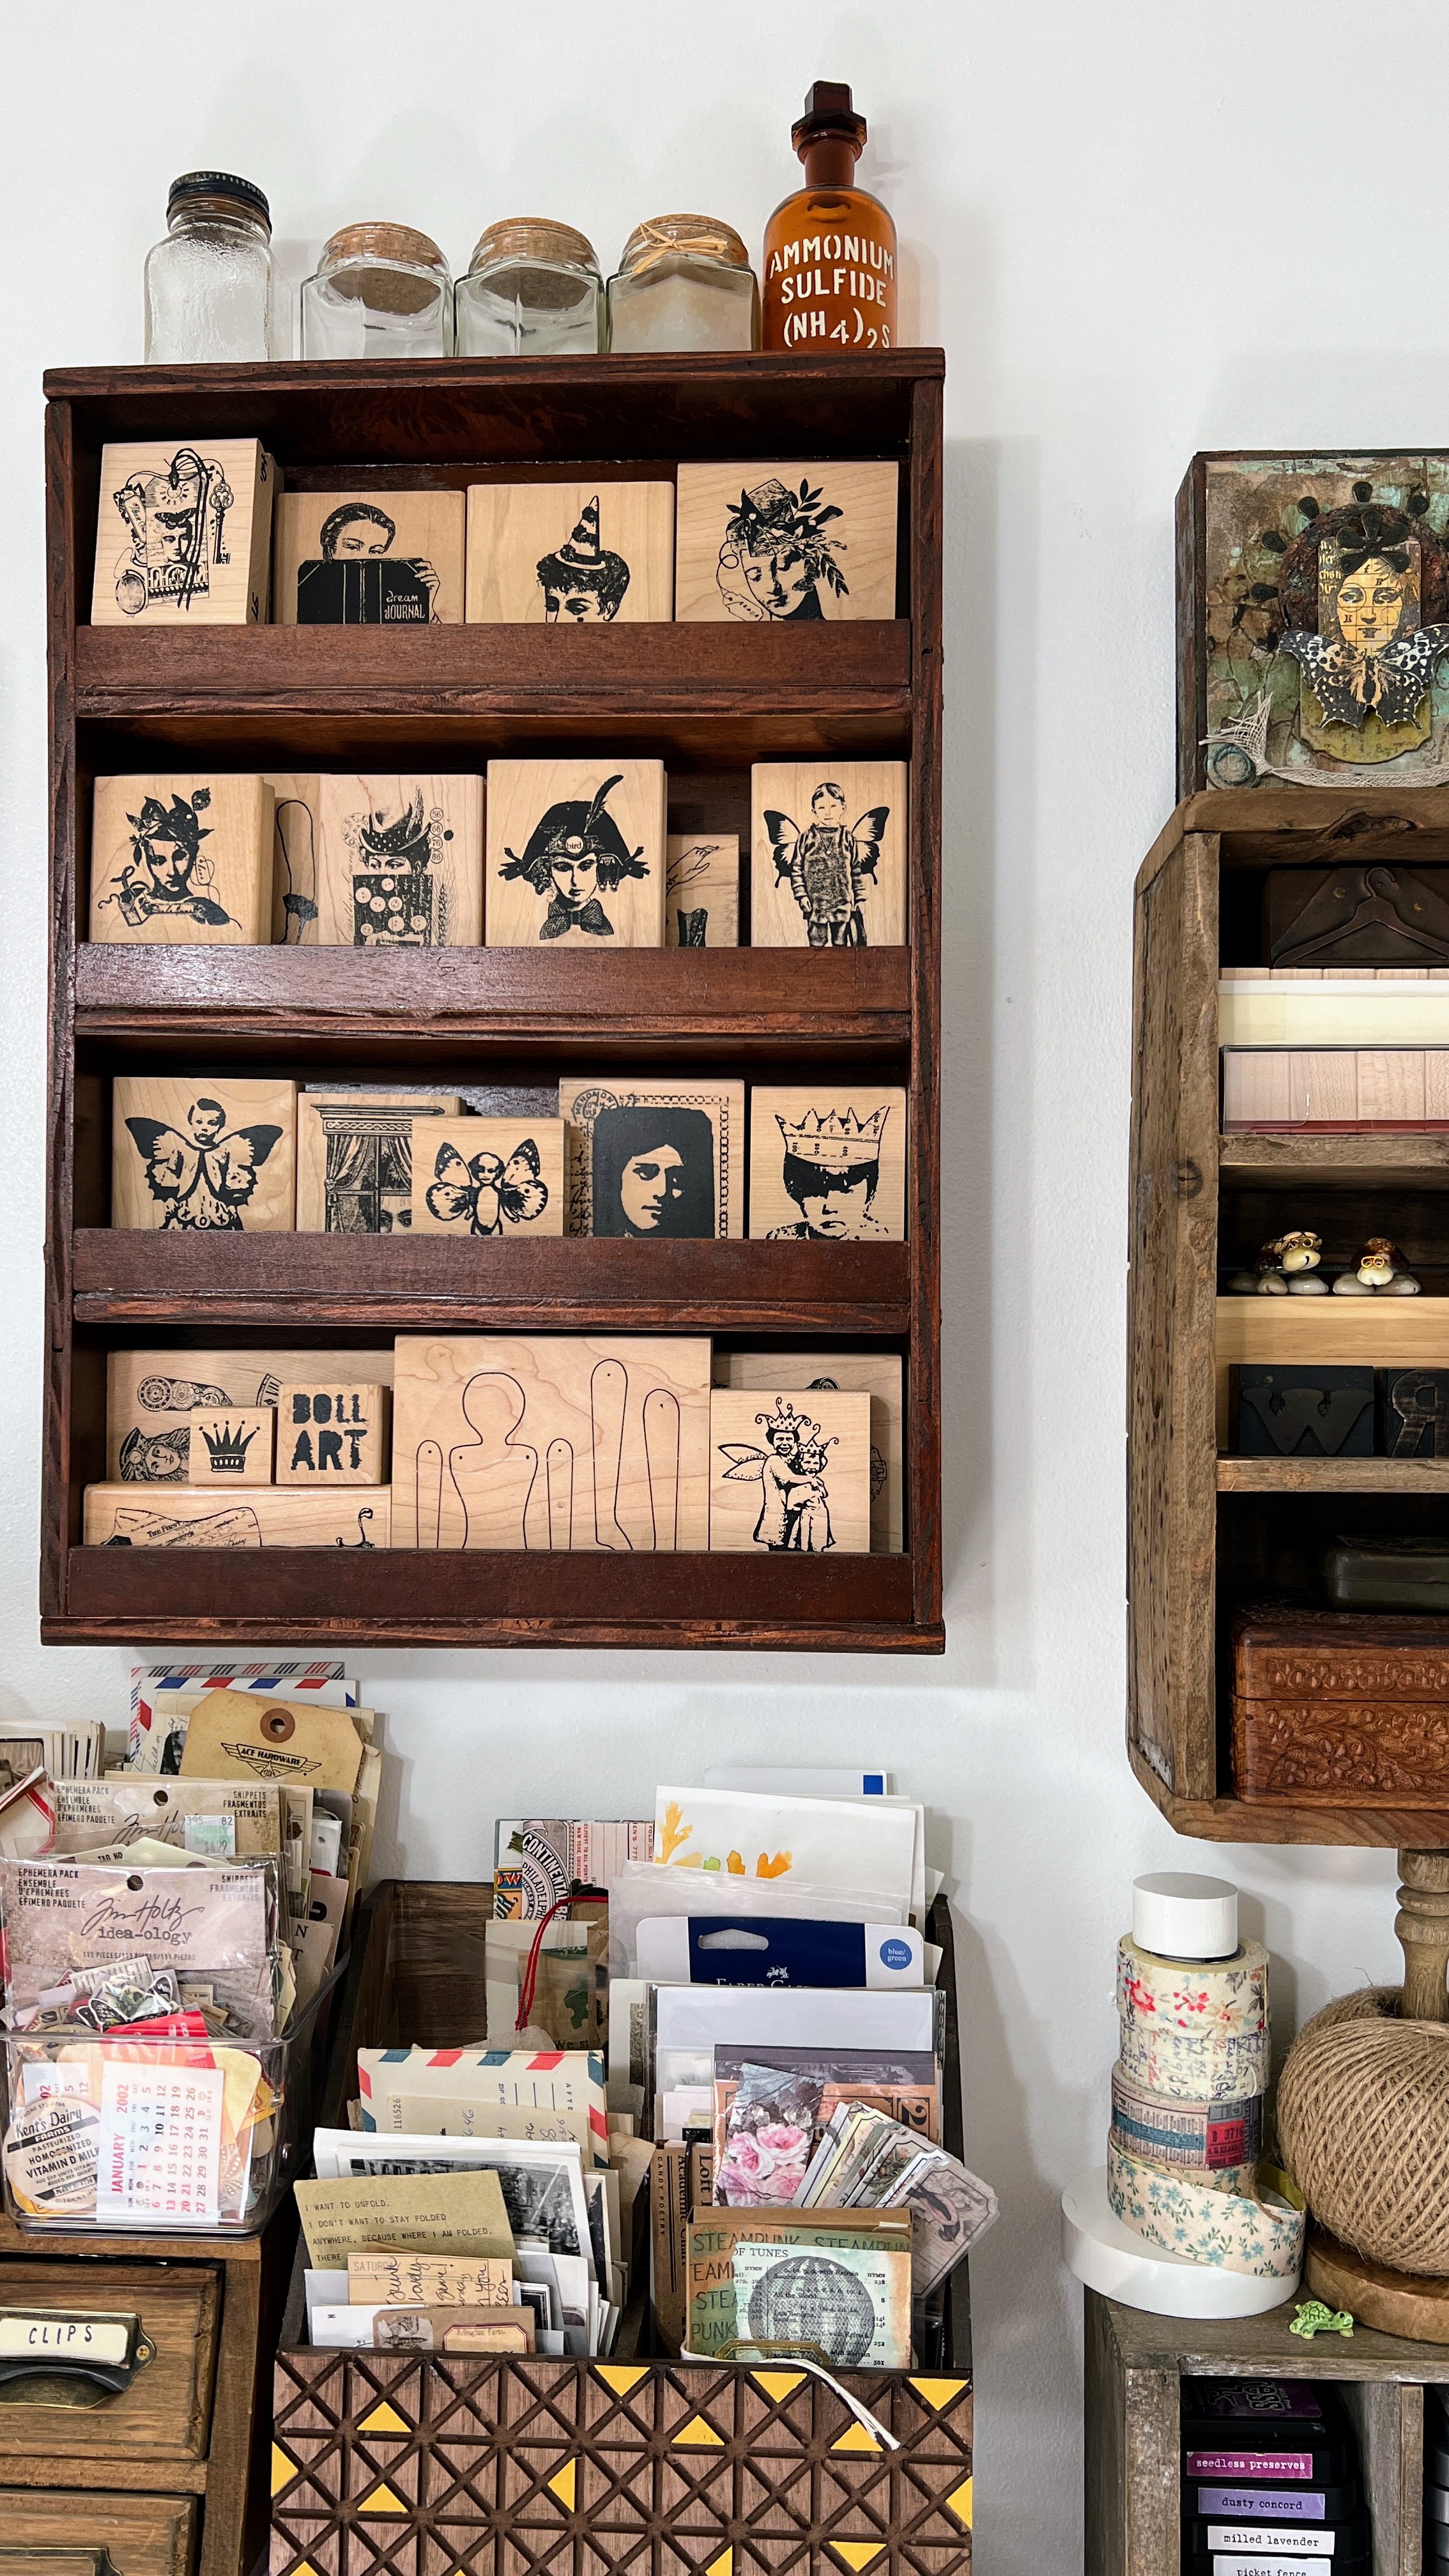
I looked at my wooden stamp display and was inspired by this darling Character Constructions girl and called up a good friend and asked to borrow some of her doll stamps so I could complete my book.  Thanks Barbara!


I stamped all of my dolls onto book pages and added a bit of watered Tea Dye Distress Ink to give them a slight coloration.


Next I dipped all of my die cut Tim Holtz Wildflower in a combination of Tea Dye, Walnut Stain and Rusty Hinge Distress Inks.  


I mixed in my favorite scripture stamps with other favorite old wood mount stamps.


I always enjoy stamping on old paper.  Here I tea dyed some graph paper and it was a great backdrop to the scripture.


How many of you still own these stamps.  Personally, I treasure mine!  Both my friend and I have them on display in our art rooms.  


Here's a shot of mine from last year.  I've since changed things up a little, but still love this image.


I also took some free vintage label images and overlaid a typed font scripture and printed it.  I love the look and pop of aqua!


My finished book is a little busy, but fun to inspect.  I really hope it has made you smile today and has you considering how to incorporate your old stamps into your current work.  


I finished the book off with a sari ribbon binding.  


I just loved this particular gel print and was happy to make it the focal point of my book.  Happy crafting!  xx, Autumn


Popular Posts