Showing posts with label junk journal. Show all posts

Jul 14, 2026

Simon Hurley Timeless Textures 3D Embossing


Hello lovely friends!  I am thrilled today to announce my new collaboration with Spellbinders Paper Arts.  I am so excited to share some new projects with you!  Make sure you follow my blog, because I have so much in store over the coming months!  

First, I upgraded my die cutting system to the New & Improved Platinum Machine with Universal Plate System - 8.5" Platform.  I've had my old machine for so long and really wanted a wider cutting base.  This machine works with EVERY brand and includes all of the plates required for any die cutting, embossing or foiling.  A couple of Christmases back I got an electronic cutting machine by another company and it quit working within the month.  Thankfully I received a refund.  I have been skeptical of trying again, but I am so glad I did!  I've really enjoyed my Platinum so far.  If you don't need the 8.5" cutting option, Spellbinders makes a smaller 6" Platinum Machine as well.  

Today's projects are centered around the new Simon Hurley Timeless Textures 3D embossing folders and dies.  


Recently my friend Carol and I had a playday to create our Flowers Magic Art Fest journals.  I used a combination of vintage linens to create my cover and bound a variety of vintage book pages and tea dyed papers within.  I've shared more detail on my IG Reel HERE.  I hope to share a quick tutorial on my YouTube page soon.  Please leave me a comment if you are interested.  HERE is a flip through of another of my vintage journals.  


We played with some tea stained paper, which was standard copy paper folded in half, then embossed with the Flowing Florals 3D Embossing Folder.  What gorgeous pages!  I used one to wrap around a signature.  I just love how Spellbinders new embossing folders are large enough to use in this way!


Next I was inspired to create an ephemera pocket to share some goodies with a journaling friend.


I embossed a kraft card panel with the Hummingbird Garden 3D Embossing Folder.  I loved the kraft!  I then dipped the panel in Chipped Sapphire and Rusty Hinge Distress Inks.  When that was dried, I used a Versamark ink pad to add some copper embossing powder lightly over the raised textures.  

I tested out the Glimmer Hot Foil System for the first time and foiled the Must Have Sentiments by Simon Hurley onto blue cardstock.  I didn't expect it to work, but I followed the instructions in the box and it worked on my first try.  

I cannot believe I procrastinated in foiling until now!  It was so easy and I am smitten over these copper foiled little sentiments!  I mounted my pocket over a book page onto coordinating blue cardstock onto a kraft square card.  I filled it to the brim with goodies from my stash and finished with an acetate butterfly, which I stapled onto a tag and covered the staple with one of my foiled expressions. 


For my final project I created a sweet little mixed media greeting card using the Rattan Cane 3D Embossing Folder embossed in the same blue card.  I layered with book pages and kraft core copper card I cut from the Essential Stylish Ovals dies.  These are such great dies!  They have sold out multiple times, so make sure to click "Notify Me" and Spellbinders will send you an email when they restock.  


I gave the card base a splash of Rusty Fresco Chalk Acrylic Paint by PaperArtsy and the book page a splash of Rusty Hinge and Chipped Sapphire Distress Ink, then layered with my foiled sentiment and the Hummingbird Garden 3D Embossing Folder & Coordinating Dies.  I really love the ability to use this set with or without the 3D background or cutout hummingbirds.  I hope these projects have inspired you and you'll checkout the Timeless Textures Collection by Simon Hurley on the Spellbinders website.  Hugs, Autumn


Feb 12, 2024

How to Use Painty Papers to Create a Junk Journal


Hi everyone!  This year I've made a goal of getting more into mixed media art and less into cardmaking.  MM has always been my passion, but not necessarily my priority, so I'm working to change that. The process will include lots of exploration and I'll share with you what I can.  I've signed up for the Cathy Nichols Joy of Painting course for 2024.  One of the bonus courses was on creating large free paintings on giant papers.  I've been doing free paintings for years, but the idea of painting onto large papers was super exciting to me so I had a play with a friend and we ended up creating a pile of free paintings or painty papers...


I just love seeing them all rolled up.  I shared a video on Instagram with more details @sewpaperpaint.    Below is the paper I used to create this new journal.  The paper we used was thick and white and similar to kraft paper/gift wrap/package wrap?


I used the back of a watercolor paper pad to cut my two chipboard covers to 8.75x5.75", which is just larger than a sheet of paper folded in half.  I wrapped the two pieces of chipboard with the art paper, AFTER taking good photos/scans to use for other things (see below).  I mitered the corners and covered the inside (end papers) with neon gel prints.  


I had a small scrap of the painty paper left and made some scallops to decorate the end papers.


I created a closure by making a paper button, inspired by Francisca Nunes and tied a piece of sari ribbon to the back cover to wrap around the button.  


To create the spine, I cut a piece of cardstock 8.5x4.5" and scored from 1" to 3.5" every 1/8".  This creates a nice flexible "round" spine for the book.  I then glued the unscored 1" sides to the inside front and back covers I had made.  On the outside I adhered some beautiful vintage fabric over the cardstock, adhering only to the covers, not the actual cardstock.  I then repeated with the inside using the same fabric.


I used my Crop-a-dile to adhere three gromets to the top and bottom in increments. These simply tie around the tea stained copy paper inserts I made and stapled together using a long reach stapler.  I mixed in some folded book pages and clear page protectors to use as pockets to create really unique inserts.  


It was so much fun making this journal and I hope to fill it with everything I learn from the year long Joy of Painting course!  


I mentioned making copies of my painty papers...  Well here is how I used some of those!  First, I'm creating color charts of my experiments so I can easily reference the colors when I need inspiration for a new project...  I simply die cut a square from a large sheet of thin chipboard and used the negative space as a view finder to look for happy moments within the paper to cut out and highlight as shown.  I added in the PaperArtsy Fresco Chalk Acrylic paint colors to coordinate by finger painting!  FUN!


I used some of my prints to create some envelopes for my journal.  The flowers come from a practice painting I made and color copied.  It was fun to dig out my old envelope making templates from the 90's!  


I also covered some tiny composition notebooks from the Dollar Tree, which you can buy in bulk HERE.  I gave the notebooks with a matching neon pencil to my artsy friends for Valentine's Day.  I hope you've enjoyed seeing these projects, as I've had such fun creating them!  xx, Autumn


Aug 25, 2022

Vintage Style Junk Journal Diary Video


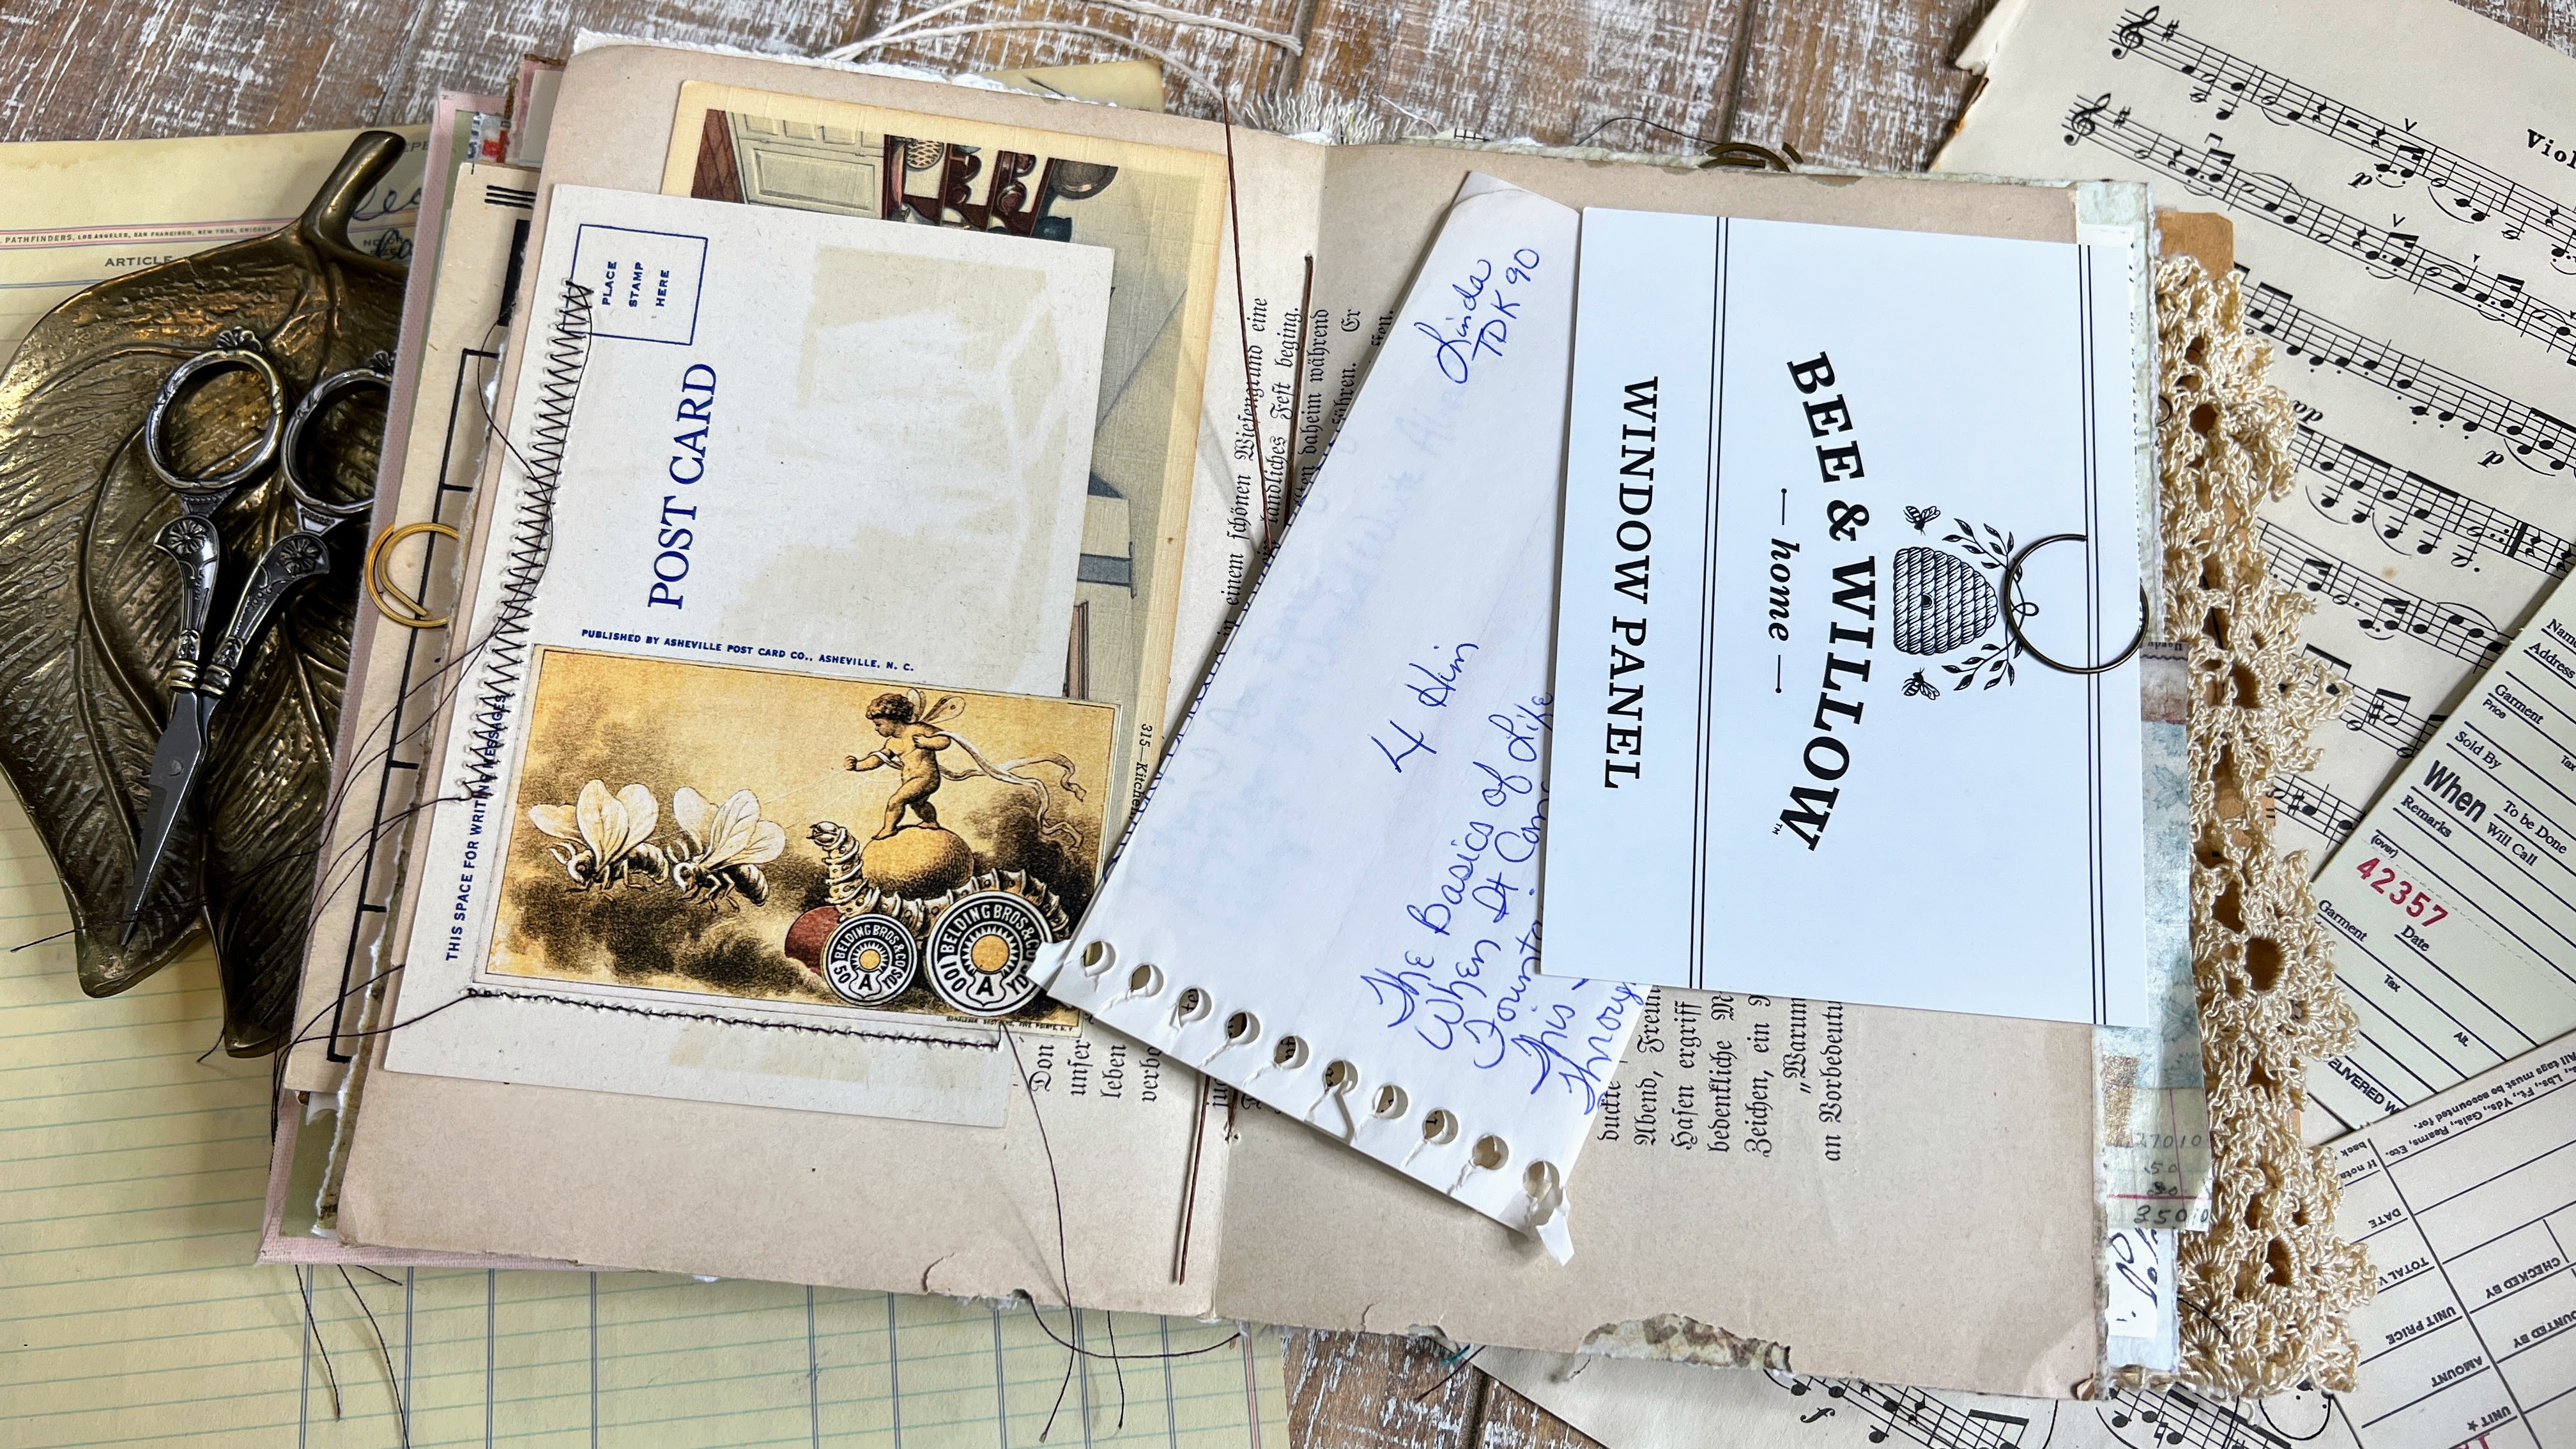
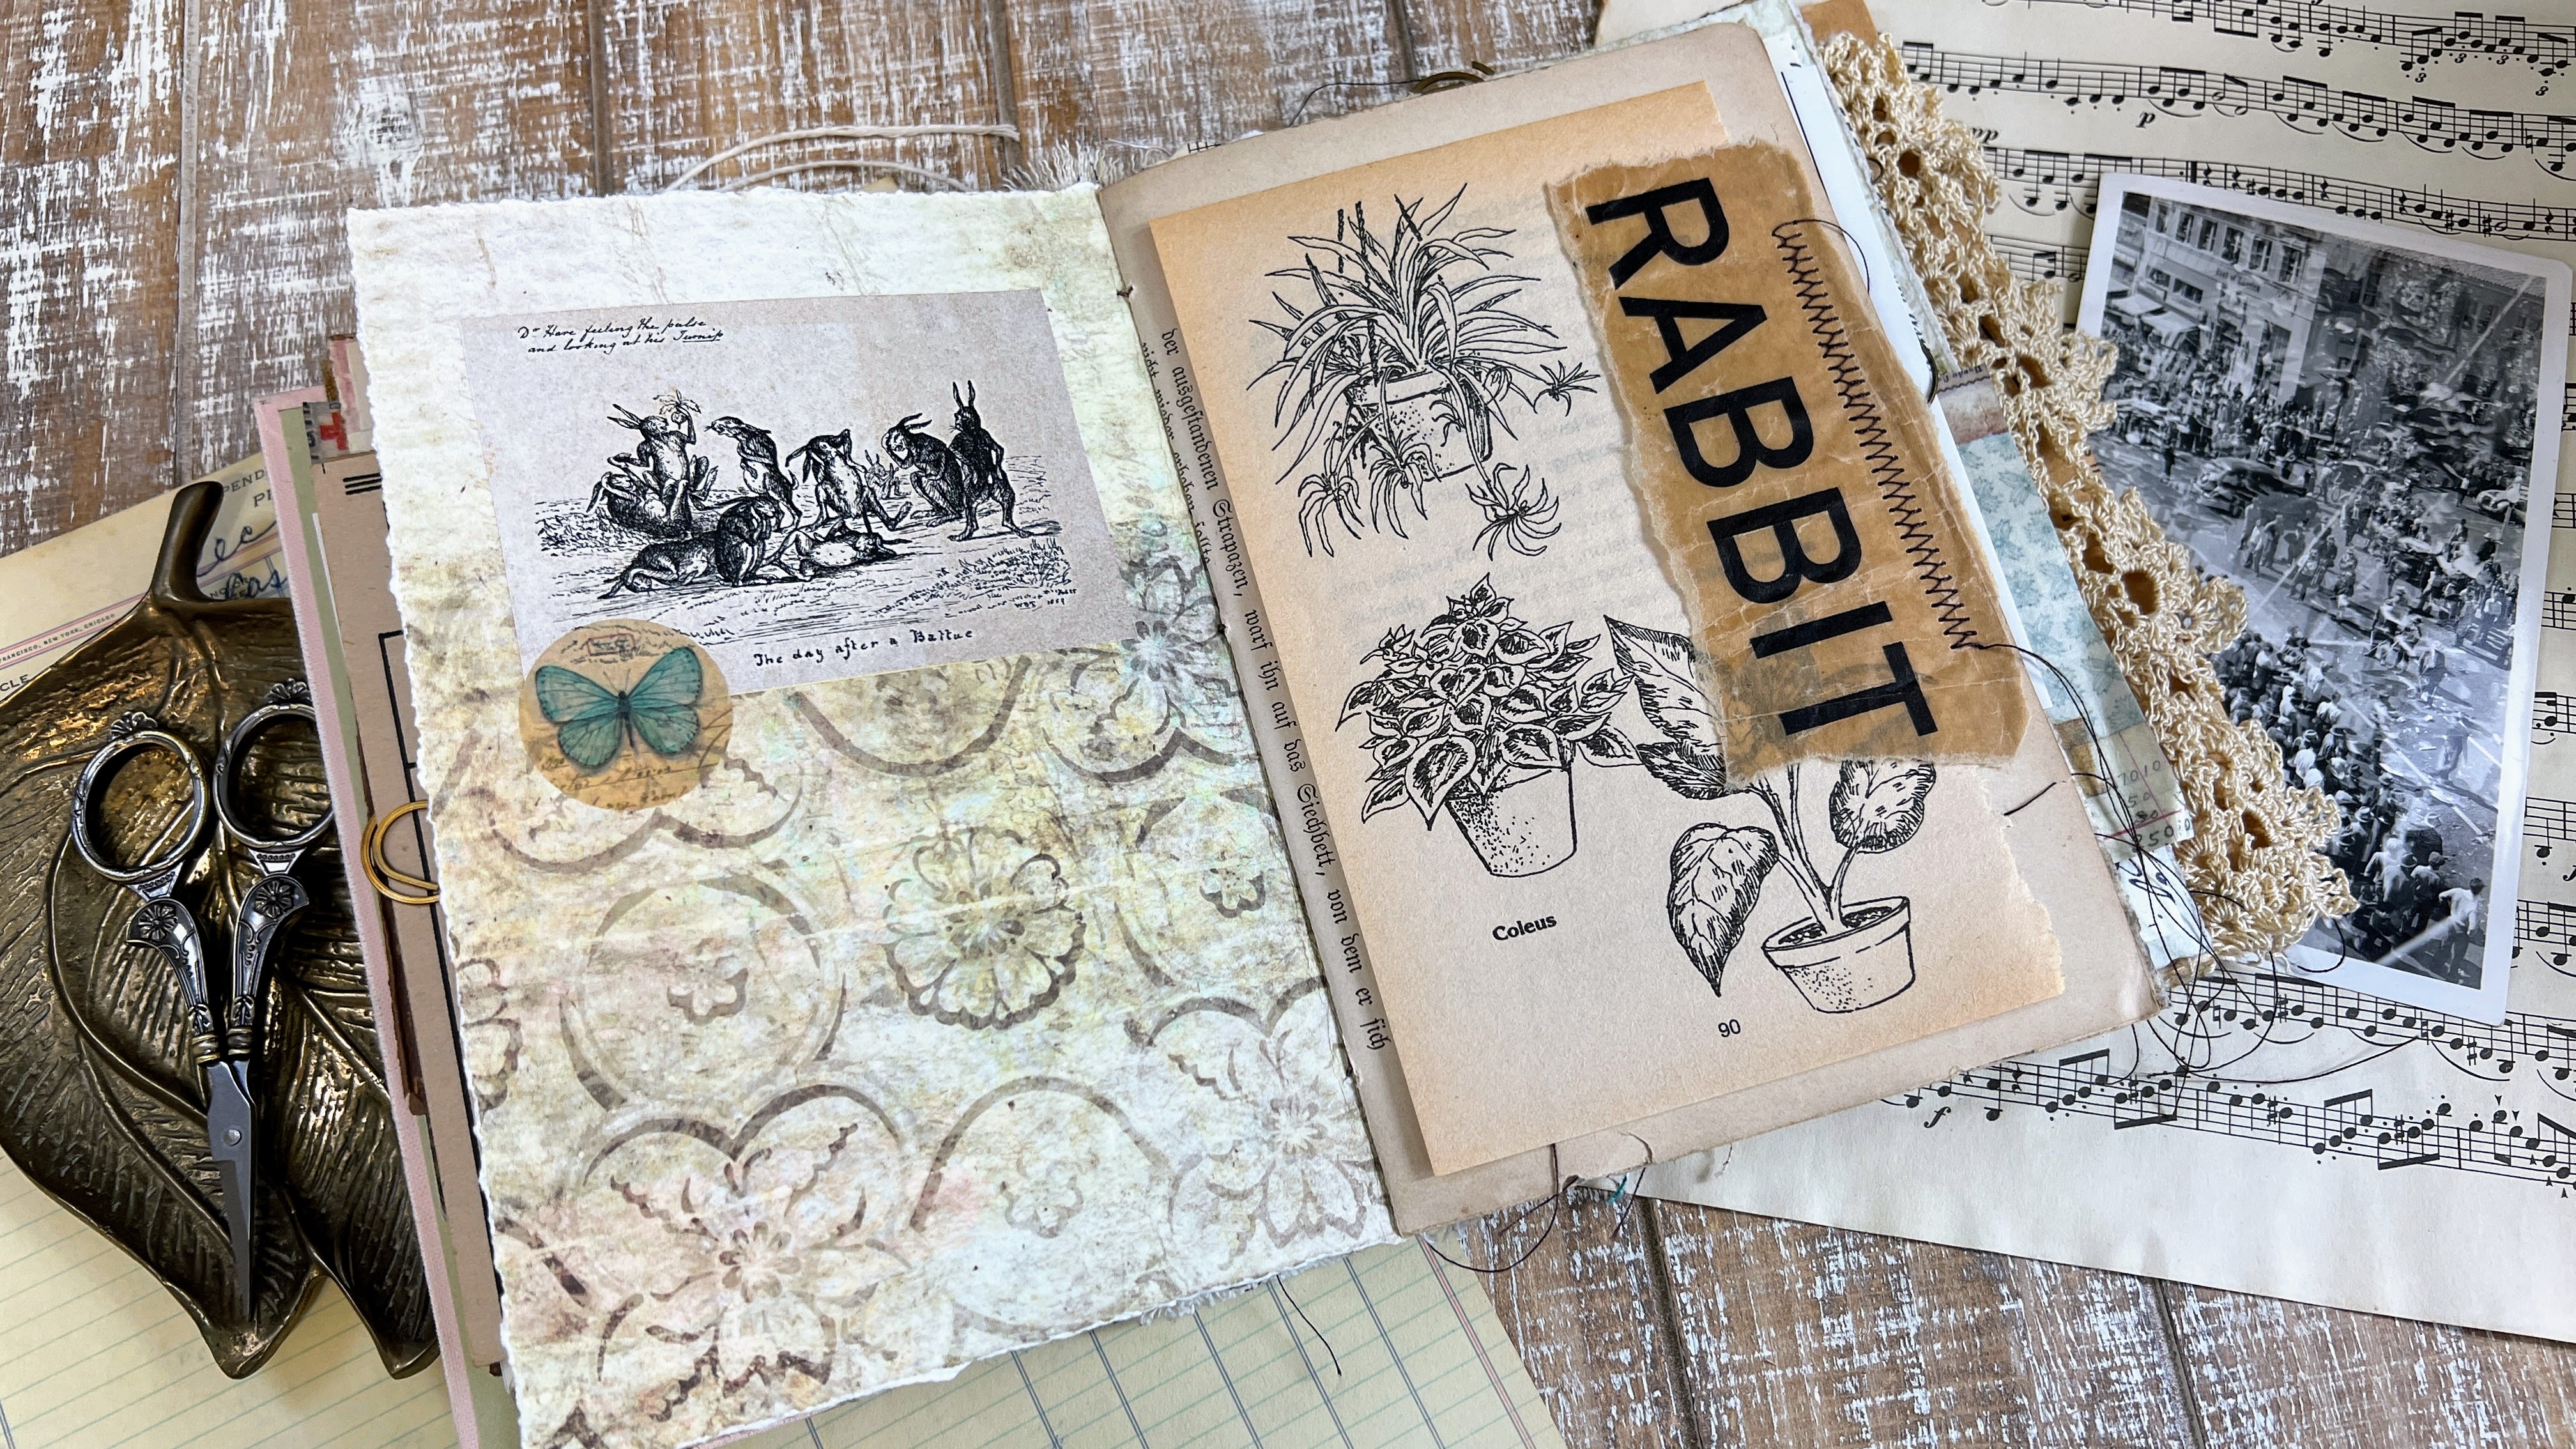
Hi friends!  I'm happy to share a new junk journal with you today, one that I worked on since last November and finally finished for my dear friend Barbara.  This journal was made with an old Reader's Digest cover and an added cloth spine.  It features four signatures of handmade and vintage paper and a few sheets of double sided scrapbook paper. 

I added lots of free printables, many of which you can find on my Pinterest printable board HERE.  I added vintage ephemera and some crocheted lace along the edge.  I'm sharing a flip through on my YouTube channel HERE.  I'm celebrating hitting the 500 subscribers mark this week and I hope you will subscribe to see more videos in the future.


My fabric spine turned out way too thick and I talk about how I worked with that in the video.  I hope it gives you some ideas.

I used as much "junk" as possible, including this linens label and an old notebook page from my mom's mixed tape notebook from the 80's.  Ha! 

This page has a waxed paper bread package sewn on to make a pocket.  Fun!

And here I've stamped onto a huge teabag.

My friend loves to visit the Biltmore Estate in North Carolina, so I added some fancy castle flaps for her to tuck some memory tickets and ephemera beneath. 

 
The page above has a cool mini bag from my friend Teresa when I went to Texas and the page below has a handmade envelope from my other friend Theresa.  Love that cheetah print!
 

There are tons more pages and you can see them all in the video.  I hope this has inspired you to persevere in making your own journal, no matter how large the spine!  Ha ha.  Hugs, Autumn


Jan 10, 2022

Collage Pocket File Folder Folio Video Tutorial


Hello dear friends!  I've been diving back into collage again and am excited to share a new video tutorial with you on a fun fold file folio, with loads of pockets to fill 'til your heart is content!  

Find the video HERE

I used a few digitals I had on hand, the main elements were a freebie from the JJ with Joy FB group, given by Junk With Steph.  I bought a set of background papers just to make the process quicker.  All of the background pages were from the My Porch Prints Basic Journal kit from Etsy.  I printed them as is and just cut them to the size of my finished folio.

Here I used an exacto to trace and cut a circle die to make a window, then cut the same circle with the next larger circle to make the frame, which shows the bee on the tag and then the bird on the page beneath.  :)

I embellished the finished journal with lots of stitching, washi stickers and Tim Holtz washi tape. 

I also added several of Tim's sentiment stickers, all creating motivational quotes throughout. 

I used Darkroom Door Postmarks stamps over the images on most pages.

And how about that gorgeous feather?  My daughter found it on a trail this fall.  It's at least a foot long, such a treasure!

This tag may be my favorite because of the sheep image.  I am always drawn to them. 

And the back cover...  I will share lots of closeups and details on my collage/journaling Instagram page @letterpaperpen, so make sure to follow.  And I'd love for you to become a subscriber to my YouTube page and pin this post for later reference.  If you'd like to see my other File Folder Folio tutorials click HERE.  And make sure to check out THIS one from my LPP blog.  Thanks friends and happy collaging!  xx, Autumn

You are invited to the Inlinkz link party!

Click here to enter

Popular Posts