Showing posts with label tutorials. Show all posts

Feb 12, 2024

How to Use Painty Papers to Create a Junk Journal


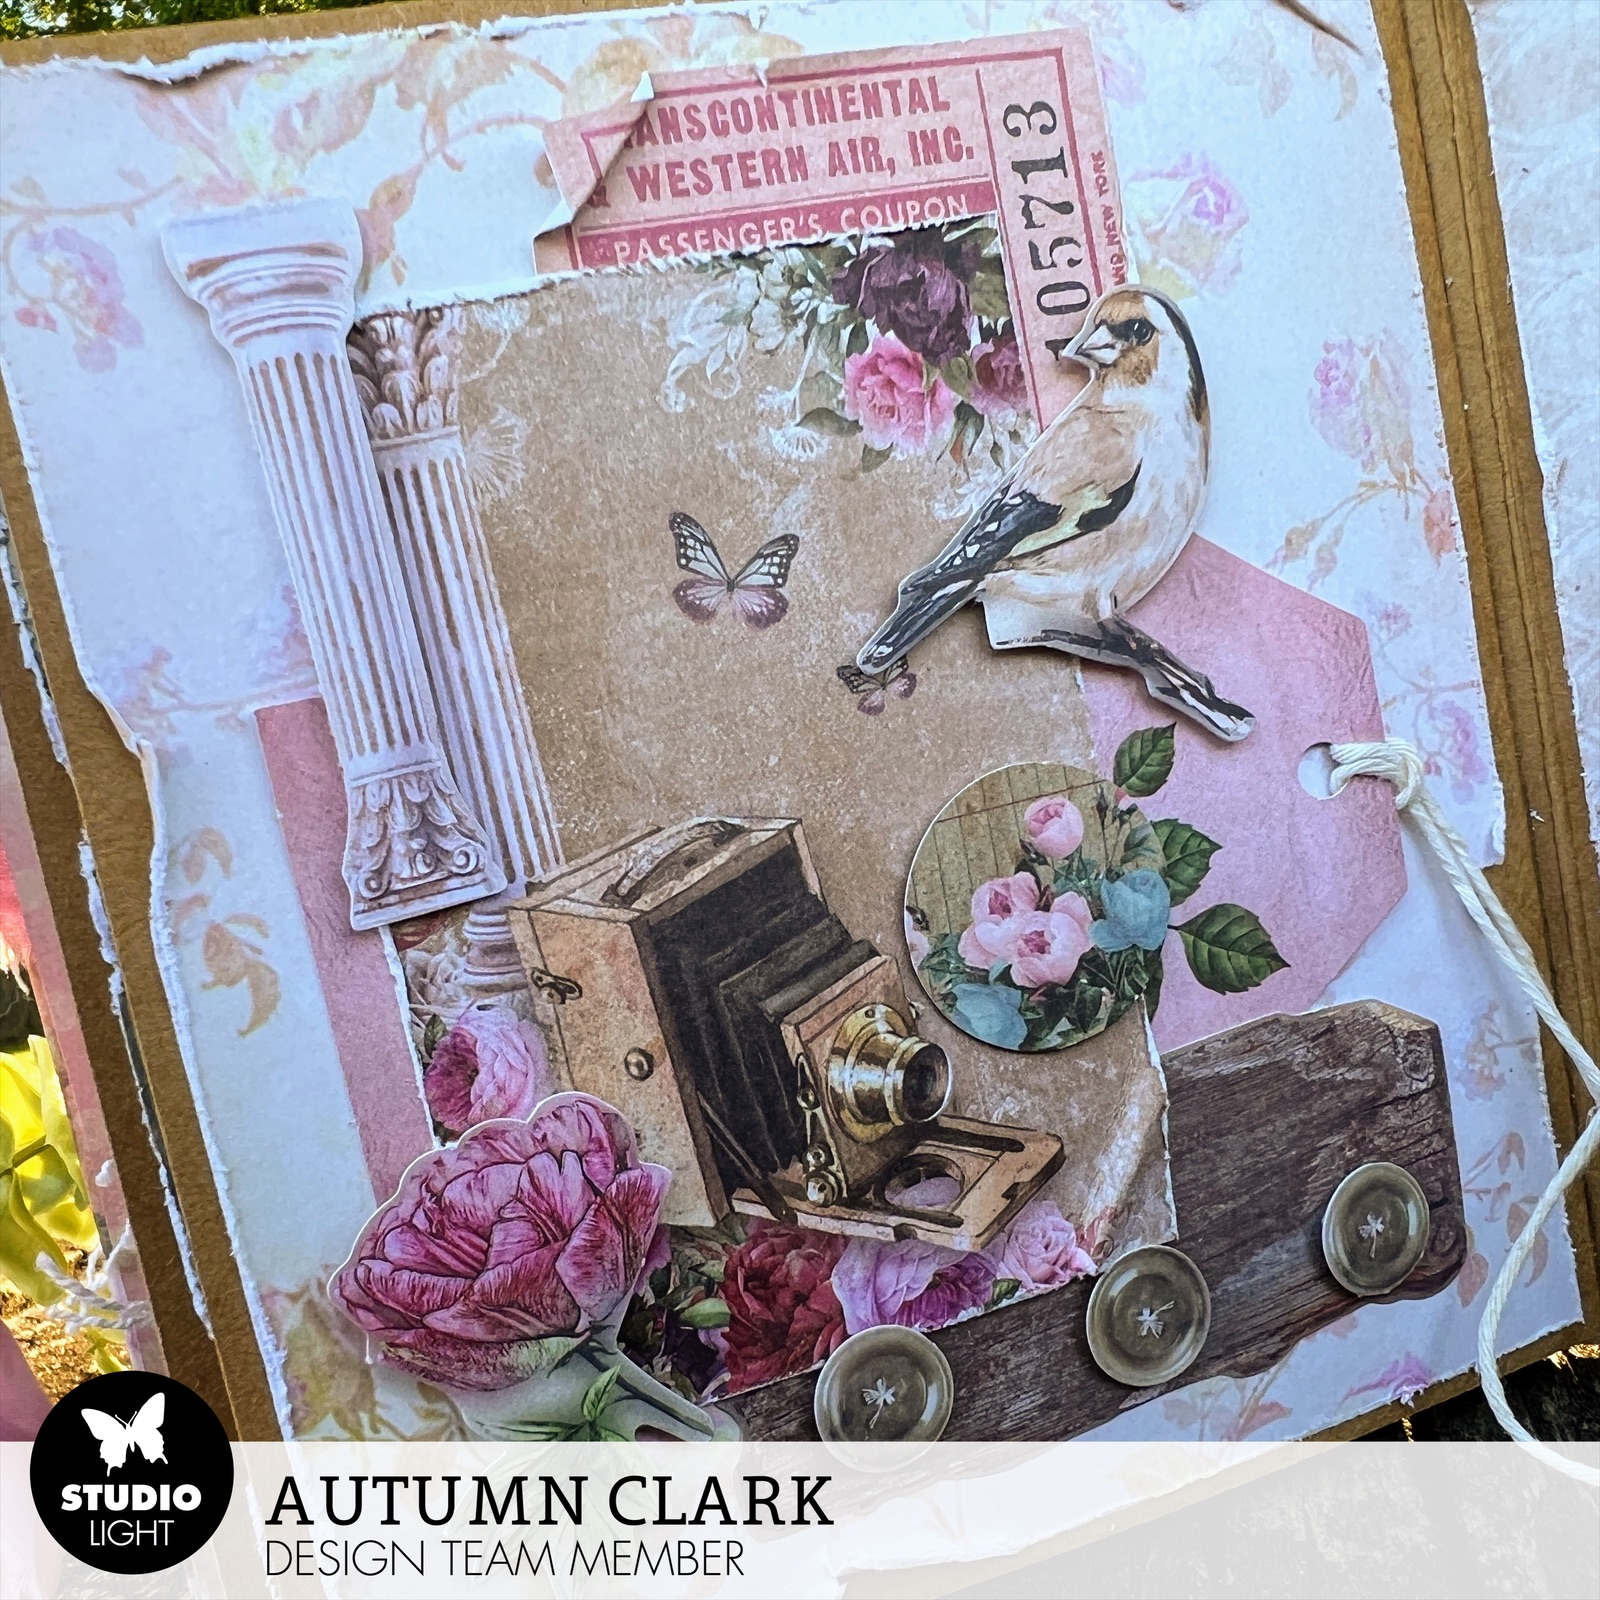
Hi everyone!  This year I've made a goal of getting more into mixed media art and less into cardmaking.  MM has always been my passion, but not necessarily my priority, so I'm working to change that. The process will include lots of exploration and I'll share with you what I can.  I've signed up for the Cathy Nichols Joy of Painting course for 2024.  One of the bonus courses was on creating large free paintings on giant papers.  I've been doing free paintings for years, but the idea of painting onto large papers was super exciting to me so I had a play with a friend and we ended up creating a pile of free paintings or painty papers...


I just love seeing them all rolled up.  I shared a video on Instagram with more details @sewpaperpaint.    Below is the paper I used to create this new journal.  The paper we used was thick and white and similar to kraft paper/gift wrap/package wrap?


I used the back of a watercolor paper pad to cut my two chipboard covers to 8.75x5.75", which is just larger than a sheet of paper folded in half.  I wrapped the two pieces of chipboard with the art paper, AFTER taking good photos/scans to use for other things (see below).  I mitered the corners and covered the inside (end papers) with neon gel prints.  


I had a small scrap of the painty paper left and made some scallops to decorate the end papers.


I created a closure by making a paper button, inspired by Francisca Nunes and tied a piece of sari ribbon to the back cover to wrap around the button.  


To create the spine, I cut a piece of cardstock 8.5x4.5" and scored from 1" to 3.5" every 1/8".  This creates a nice flexible "round" spine for the book.  I then glued the unscored 1" sides to the inside front and back covers I had made.  On the outside I adhered some beautiful vintage fabric over the cardstock, adhering only to the covers, not the actual cardstock.  I then repeated with the inside using the same fabric.


I used my Crop-a-dile to adhere three gromets to the top and bottom in increments. These simply tie around the tea stained copy paper inserts I made and stapled together using a long reach stapler.  I mixed in some folded book pages and clear page protectors to use as pockets to create really unique inserts.  


It was so much fun making this journal and I hope to fill it with everything I learn from the year long Joy of Painting course!  


I mentioned making copies of my painty papers...  Well here is how I used some of those!  First, I'm creating color charts of my experiments so I can easily reference the colors when I need inspiration for a new project...  I simply die cut a square from a large sheet of thin chipboard and used the negative space as a view finder to look for happy moments within the paper to cut out and highlight as shown.  I added in the PaperArtsy Fresco Chalk Acrylic paint colors to coordinate by finger painting!  FUN!


I used some of my prints to create some envelopes for my journal.  The flowers come from a practice painting I made and color copied.  It was fun to dig out my old envelope making templates from the 90's!  


I also covered some tiny composition notebooks from the Dollar Tree, which you can buy in bulk HERE.  I gave the notebooks with a matching neon pencil to my artsy friends for Valentine's Day.  I hope you've enjoyed seeing these projects, as I've had such fun creating them!  xx, Autumn


May 3, 2023

Art by Marlene May Flower Challenge Mixed Media Tags


Hello darlings!  I've been having some creative abandon playtime for the May Flower Challenge by Art by Marlene.  These are projects outside of my normal grungy style and I find it freeing to let loose and try new things this way.  If you're not a member, I'd urge you to join the ABM Creatives Facebook group HERE for lots of inspiration and various challenges.  And make sure to follow me in Instagram for my daily posts @sewpaperpaint.  This tag is for day three, Happiness.  I'm sharing a video tutorial HERE.


The main flower is from Marlene's newest release, ABM-SI-STAMP405.  I colored with Prism Brush Markers.  The stitching is from ABM-ESSTAMP77.  The words "happy happy" are from the blowfish stamp set STAMPBM67.  I created the background by embossing the stencil ABM-OOTW-MASK44 in white and then sponging Distress Oxides in Mustard Seed and Spiced Marmalade.  I finished with the scalloped washi tape, AMB-SI-WASH08 and a stamped bird from 2022 Advent Calendar.


And here is my day one tag for the Flower Power theme, which I made with Distress Oxides in Mustard Seed, Worn Lipstick, Wilted Violet, Peacock Feathers and Twisted Citron.  The video tutorial can be found HERE.  


The main flower is from the same stamp set as above, ABM-SI-STAMP405.  The floral border stencil is ABM-SI-MASK185.  And the embossed white foliage and dots are from ABM-BB-STAMP122.  The sentiment here is from a Tim Holtz sticker.


And here is my tag for day two, Pastels.  This video tutorial can be found HERE.  


The main flower is from ABM-BB-STAMP122.  I used aqua glitter embossing powder for the leaves die cut from ABM-SI-CD505 and clear glitter EP for the flower, which add a nice textured sparkle.  The background was done by sponging craft paint through ABM-ES-MASK70, a favorite stencil.  The text is a Studio Light Essential stamp, SL-ES-STAMP369.  I finished with Marlene's Rub-Ons and adhesive pearls by JMA.  


It's not too late for you to play along!  You can share as few or as many projects as you like, just use the hashtag #abmmaychallenge on social media.  I'd love to see your creations if you are inspired by my videos.  xx, Autumn


Apr 13, 2023

Studio Light Vintage Roses DIY Block Mini Album Tutorial


Hello everyone!  You may remember that I ran the Mini Album Makers Challenge Blog some years ago before my daughter was diagnosed with leukemia.  Well, I've always had a passion for making books and love sharing the process so others can craft along.  I hope this post inspires you to do just that!

This mini album tutorial features the brand new Vintage Roses DIY Block by Studio Light (SL-ES-DCB44).  This pad is absolutely GORGEOUS and I just had to do a whole book with it.  I'll be sharing projects from the other new DIY Blocks very soon, but this one is my favorite.  


I started by creating my signatures.  I wanted to use 8.5 x 11" paper and chose heavy kraft paper.  I cut one piece to 5.5 x 11" and scored it at 5.25 and 5.75".  I cut a second piece to 5.5 x 10.75" and scored it at 5.25 and 5.5".  I used Studio Light's Highly Tacky Craft Tape to adhere the smaller piece over the larger in the gutter, burnishing all of the folds and tape well.


Next, I made my covers and spine from chipboard from the back of a Bristol paper pad.  I cut the two covers to 5 5/8 x 5 1/2".  I cut my spine to 5 5/8 x 3/4".  A handy trick for cutting chipboard without a fancy paper cutter is to save an old blade (I mark mine with a sharpie as OLD) and cut one side at the right measurement, then flip the chipboard over and cut the back side at the right measurement.  If there is any slight discrepancy, just use a sanding block to smooth the edges.  


I used the patterned paper in the DIY Block to cover the front and back covers.  There are two sheets of each pattern, so I used both of these floral pattern sheets for both covers.  I left a half inch overlap and wrapped the paper, mitering the corners and using Highly Tacky Craft Tape to adhere.  For the spine portion, I used regular tape to secure a 1/8" gap between the covers and spine, then I wrapped cloth adhesive bandaging around the spine, starting with the inside and wrapping around both sides.  I used my bone folder to burnish the creases, then masked off the edges and painted the tape pink with craft paint.  I really like how this worked out!  


Finally, I used patterned paper to cover the inside of the covers, cutting it 1/4" smaller than the finished covers and making sure to adhere my sari ribbon closure between the paper layers for a finished look.  I then secured the kraft paper signatures to the spine, over the painted cloth tape, with more Highly Tacky Craft Tape.  

I made this book just for fun, but the designs could easily be adapted to showcase 3x3" photos.  I included pockets for the pretty tags.  I layered with the new Jenine's Mindful Art Lace Border Set (JMA-FOF-CD515), which went with the shabby look of this paper.  


I cut my pages down 1/4" smaller than the kraft paper pages and distressed all of the edges.  I tucked some paper folds beneath the paper before adhering.  This one has a snippet of a vellum quote from the Llama Mixed Media Paper Pad that came out last quarter.  It was too perfect not to use here!  See how I used that pad HERE.  


I love adding torn crocheted lace to my shabby chic projects.  I got this lace from the local craft store.  


I used my Text Background stamp (SL-ES-STAMP369) on my pages.  This stamp works with everything!  Sometimes you just need a little something extra...


Here I used the butterfly to hold the tag flap in place.  It folds out to reveal even more of those pretty elements.


My layers are definitely dimensional!  That's why I leave a 1/4" gap between my pages, but I will say that you can use the range of Studio Light Dimensional Foam Tapes in different thicknesses (.02, .04, .06 and .12") for just the right amount of depth in your layering.  I used the .02"  foam in a lot of places so I wouldn't add too much bulk.  


I really hope you've enjoyed this mini!  I'll be sharing a flip through on my Instagram page soon @sewpaperpaint.  These paper pads launch Friday, April 14, so make sure to grab yours while they're available.  xx, Autumn


Other Products Used:


Popular Posts