Nov 30, 2018

Tim Holtz and Karen Burniston Coffee Cards


I hope I'm not overwhelming you with posts, but I am having so much fun making these days and couldn't let the Coffee Lovers Blog Hop pass me by without making a few cards.  My friend Carol shared THIS pin with me and it totally put me in the mood to break out my Tim Holtz Fresh Brewed Bigz die and get crafty.  I used paper from Tim's Christmas Paper Stash and chose the buffalo check for my cuppa. 


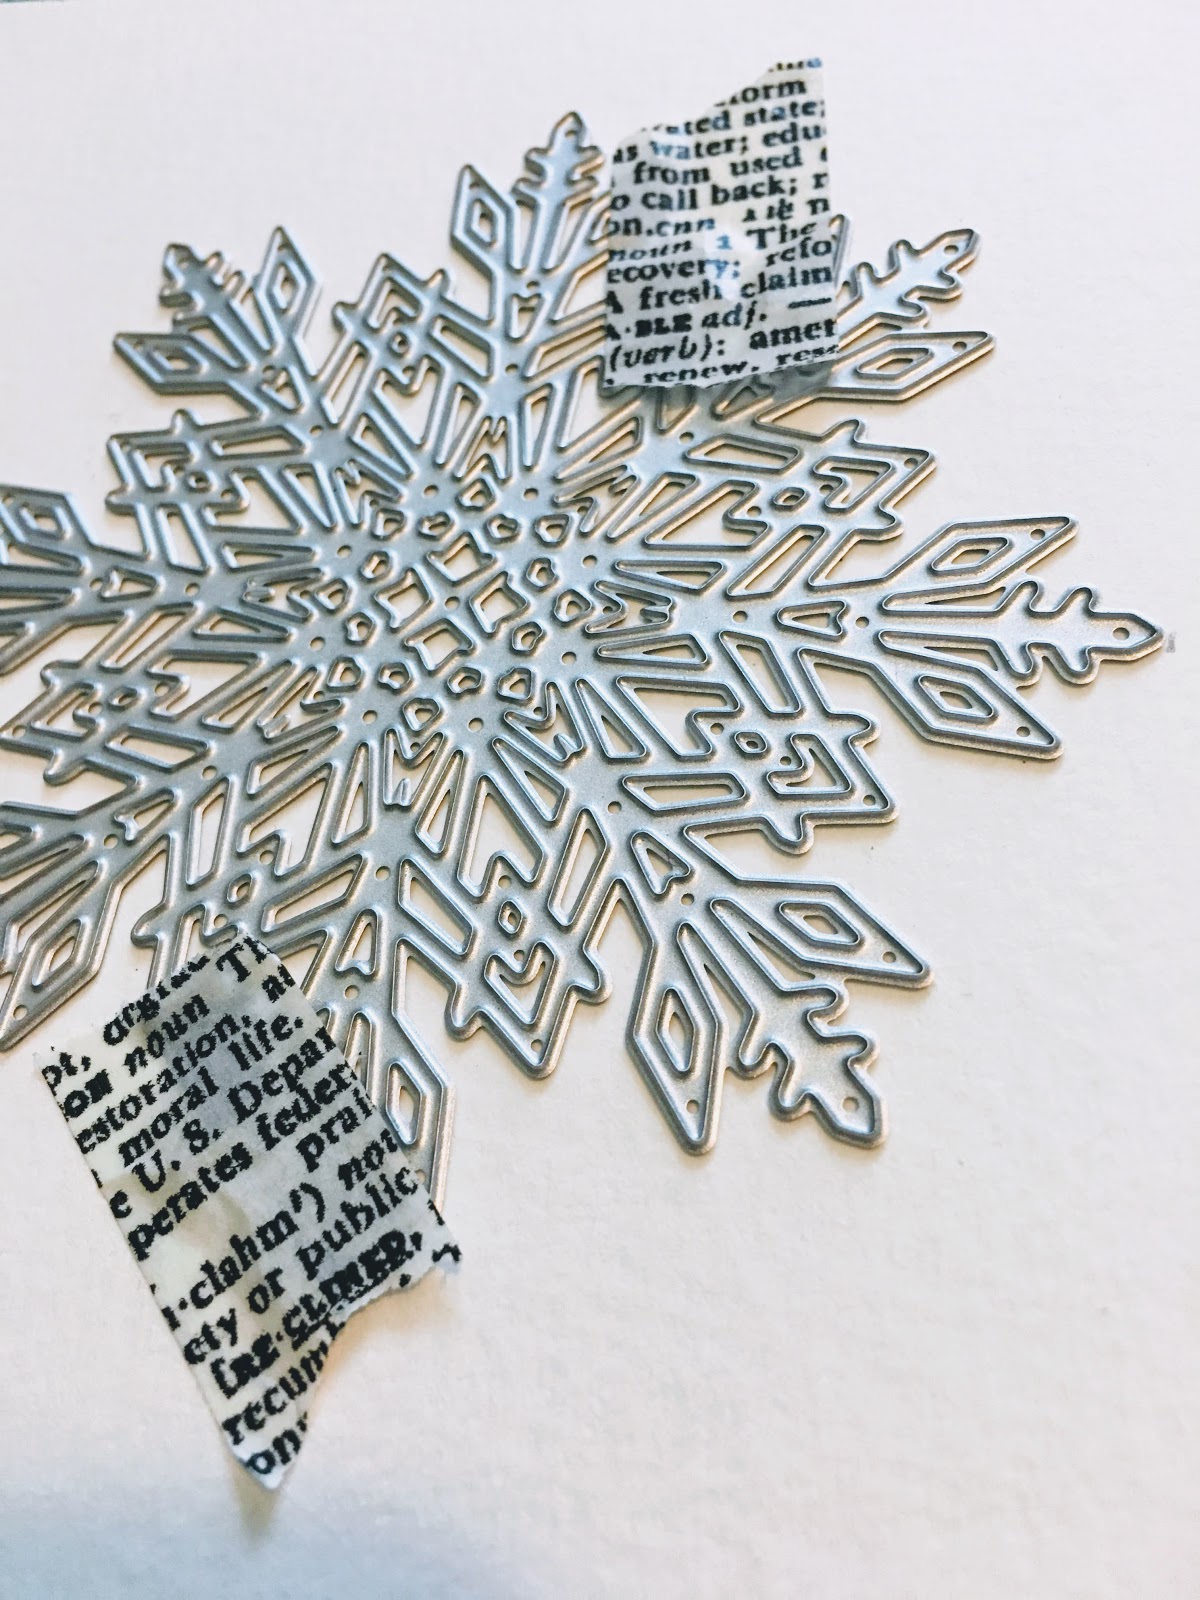
I used Tim's Occasions stickers for the sentiment over a piece stamped with the (Stripes &) Holiday Type stamp.  I tucked in a Snowflake Flurry 2 die cut behind it.


The snowy hill is from Tim's Home for the Holidays die cut set.  I cut it and the back panel from his Stitched Rectangle dies.   I made a little spray with the Juniper punch and berries from the Funky Festive dies.  I use this punch a lot because it is so easy for making quick holiday sprays.  There is another, called Large Pine which is actually on clearance for $6 at Sizzix.com right now.  I strongly urge you to grab it up!  You will thank me later.  :)  LOL!  As a final touch I splashed everything with watery gesso to create a snowy effect.


Now, I made this card as fast as I could late last night, then woke up at 5:30 am today and made a second card.  :)  Honestly, I don't know what got into me...


For the entire month of November, I played along with The Daily Marker 30 day coloring challenge.  I shared most of my coloring on Instagram


Here's my day 9 coloring, using the Tim Holtz Mini Blueprint Strip Fresh Brewed.  I grabbed these at Tuesday Morning because I had seen THIS card by the incredibly talented Shelly Hickox.  Since I already had the Karen Burniston Twist Panel Pup-Up die from the Darkroom Door/KB Collaboration Blog Hop, I knew I wanted to CASE Shelly's design using the Fresh Brewed images.  :)


For the cover I used the Fresh Brewed die again and for the final day of the coloring challenge, I watercolored the pieces to make my 1/2 Sweet Frozen Caramel Latte with No Whip!  :)  The little heart came in the Twist Panel set. 


I doodled on the pieces to make them coordinate better with the stamped images inside of my card.


I tucked in another Flurry 2 snowflake die and greenery from the Funky Festive set.  The bow is from the same set and is mounted onto a panel stamped with Tim's Doodle Greetings stamp set onto chalkboard paper.  I was really disappointed with this paper.  It bubbled when heat set due to the plastic coating.  This panel came out fine, so I sanded the edges of it to add to the chalkboard look.  I made a little gift card holder for the inside and left it white so the message could be written there.  I had every intention of adding the On The Edge snowflake along the seams, but apparently I don't own it and thought I did!  LOLOLOL!  Oh well...  Ha!  I'm so pleased with how these cards turned out, despite my sleep deprivation.  I'll try to add a video of this one on Instagram later today.  Merry Christmas y'all!  <3


 http://shrsl.com/1bghk

See my other Twist Panel Pop-Up card HERE.
 ************************
And check out all of my Interactive Card Tutorials HERE.
 *******************
See all of my Coffee themed cards HERE.
 *************
 *****
*
 I'm sharing with:
  
Check out my custom curated product guide in the Inlinkz collection by clicking below:
You are invited to the Inlinkz link party!
Click here to enter

Nov 29, 2018

Tim Holtz Winter Watercolor and Festive Overlay


Hi friends, I have a few more Christmas cards to share with you today.  The first two were made with the new Tim Holtz Winter Watercolor stamp set.  I simply used my Stamping Platform and Distress Inks to create identical stamped designs on each panel.  I wish I had made a few more of these!


On a separate scrap I stamped the smallest of the poinsettias and fussy cut it, then used foam tape to give it dimension.  I added a squiggle of Stickles so that it would sparkle a little.  For the background, I simply sponged with Evergreen Bough and flecked repeatedly with water for a snowy effect (taking care to mask the center stamping).  The sentiment is from the Festive Overlay set. 


After drying the sponged panel, I mixed a tiny bit of water with Fired Brick DI and gave the panel a splash.  The Winter Watercolor set is my FAVORITE this year!  Oh how I love it!


For my next card I used an older Tim Holtz embossing folder called Simple Snowflakes.  Thankfully it is still available at Sizzix.com.  I sanded a piece of gold Metallic Kraft Core, then ran it through my machine.


It makes the most wonderful pattern!  It's detailed, but not overly busy.  


For the sentiment, I cut a circle from Tim's Stitched Circle dies and stamped it in Antique Linen DI with the (Mesh &) Linen stamp set.  Then I positioned the sentiment from the Festive Overlays set on the circle and embossed with Bronze EP.   I snipped the edges of the panel (a trick I learned from Jan) and mounted onto a silver kraft core circle cut from the same die.  I bundled a bit of silver thread and adhered a few silver sequins to finish it off.  I didn't even add a mat because the edges were distressed so beautifully!  I really hope you're making time to create this holiday season.  Wishing you joy, Autumn


I'm sharing with:
You are invited to the Inlinkz link party!
Click here to enter

Nov 27, 2018

Tim Holtz Wisemen Pop Up Card Tutorial


Today I'm sharing another card I made for the Tim Holtz Christmas release video for Sizzix.  You can see the video and wide array of new products HERE.  This is the photo Sizzix shared on the Tim Holtz Project Inspiration Page HERE.


I absolutely ADORE Tim's Wise Men die and decided to pair it with the new Cut Out Script alphabet set.  I created an easel/pop-up card to show off that beautiful silhouette. 


I started by cutting my card from blue Kraft Core to 6 x 9 3/8" and scoring at 5 1/2" and 8 5/8".  I cut the Wise Men die from sanded Metallic Kraft Core and layered on a second cut from black cardstock.  I mounted this panel over the small section on the card.  I made the background panels with Blueprint Sketch, Faded Jeans and Black Soot Distress Inks, with lots of water flecks between the sponged layers.


I die cut my letters from the Cut Out Script set and attached to the bottom inky panel.  This panel is raised up so the top can tuck into it.  It is 2 3/8" high.  I tucked the scallop border from the Stitched Ovals die in to help finish the inside. 


I've been seeing some amazing designs with this die, such as THIS colorful card by my talented friend Monika and THIS exquisite metallic design by Jan.  I just know you will love this die as much as I do!  Wishing you a lovely holiday season my friends, Autumn
You are invited to the Inlinkz link party!
Click here to enter

Nov 25, 2018

Tim Holtz Farmhouse Wreath Christmas Card


Does anyone play Design Home?  It's a fun little decorating app that I'm addicted to.  It's also the only game I ever played on my phone, or probably ever will!  Anyway, this fall there was a eucalyptus filled vase that seemed to make every room I designed sing.  He he!  I decided I wanted to use the Tim Holtz Layered Holiday Wreath Bigz die in a similarly colored palette.  I grabbed this die last year and haven't used it, so joy joy the thrill of breaking into old/new stuff!  :) 


First, let me say this whole card is paper and ink.  All of the layers are stamped and not from Tim's paper stash.  I used Tim's Dots (and Floral), Plaid (and Nordic) and (Stripes and) Holiday Type, all stamped in Black Soot Distress Oxide.  Now, for the greenery effect I repeatedly dipped my two wreath panels in watered Distress Inks: Crushed Olive, Peeled Paint and Pine Needles.  Then to add that "waxy finish" to resemble the eucalyptus look I was going for I dipped the panels in Distress Oxides: Shabby Shutters and Iced Spruce. 


I layered the two cutouts together, slightly offsetting the pattern, then pulled the lower panel leaves through to the top and curled all of the extended leaves.  I colored the bow with Antique Linen and Frayed Burlap DIs.  


I'm soooooooooooo thankful to finally have one of Tim's Bigz XL alphabet dies.  I love the new Letterboard one he came out with this year.  This one is from last year's release and is called Storybook.  I cut one layer from black chipboard, then a second from burlap paper and glued them together.  I'm really happy with how  it turned out and love the modern/farmhouse color scheme.  (The card base is white, though the colors are slightly off in the photos.)  Wishing you joy this holiday season!

You are invited to the Inlinkz link party!
Click here to enter

Nov 23, 2018

PaperArtsy Alison Bomber Foiled Cards


Just a quick post to let you know I am sharing a couple of cards on the PaperArtsy blog for the current topic, Foiling.  We hope you'll join in this challenge for a chance to win a great prize!  Click HERE for more info on the challenge.  These cards feature the exquisite line of word art designs by my dear blogging friend Alison Bomber.  Do check out her entire collection HERE.  Have a lovely day!

https://shop.paperartsy.co.uk/eclectica-alison-bomber-set-07-7515-p.asp

Tim Holtz Yuletide Santa and Carved Christmas Cards


Hello friends!  It's "Black Friday" in the US and I hate even the sound of it!  LOL!  We have a long standing tradition of eating Thanksgiving leftovers and making Christmas cards on this day.  I thought I'd share some more cards from my Boxed Gift Cards Tutorial post HERE, just in case you want to use this day for a card marathon of your own.  This is the other design I came up with for my watercolored Santas from the new Tim Holtz Yuletide stamp set


I used last year's Christmas Paper Stash and the Juniper punch on Distress Kraft Core'dinations cardstock.  I seriously LOVE using punches for Christmas greens.  Tim, please make a few more!  The berries are from the Festive Greens dies.


The stitched oval die and sentiment have a little Crushed Olive Distress Ink added to bring in some green (thanks for this great idea Bonnie!)  The sentiment is from the Great Outdoors stamp set.


I have wanted to CASE these gorgeous cards by Jan Hobbins she posted HERE for ages.  I wanted to make my cards small and relatively flat to fit my mission.  I used the Juniper punch and Mini Holiday Greens die for the sprig.  I pounced a bit of gesso on them to mimic snow.  The bow is from the Funky Festive set and the little flower over the bow is from the Festive Greens set.  I stamped the toboggan from the Carved Christmas #1 stamp set in a super juicy Fired Brick Distress Ink pad, choosing not to fussy cut as Jan had so beautifully done.  I hope I've given you some ideas for some simple mailable cards for your friends and family today.


Make sure to check out my boxed giftcards tutorial post HERE.

You are invited to the Inlinkz link party!
Click here to enter

Nov 21, 2018

Tim Holtz Give Thanks Neutral Fall Card


I'm so thankful for you my sweet blog friends!  Here in the US we will be celebrating Thanksgiving Day tomorrow.  It's so hard to believe year's end is on its way.  I wanted to do a neutral card to keep with the current decor trends and this is what I came up with, with so many favorite Tim Holtz products...


I used the Shadow Script #2 die with three layers.  The little banner was hand cut and stamped with a mini alphabet set.  I used one of my favorite stamps, (Botanical &) Batik,  for the background.  I inked it with Frayed Burlap Distress Ink, then spritzed it generously with water before stamping. 


I added a handmade flower, dyed with Vintage Photo, Frayed Burlap and Dried Marigold.  I used the Tattered Florals die for the flower (tutorial HERE - the only difference is that I curled the inner petals with a skewer).  I tucked in a Tattered Leaves die, which I scraped with DecoArt Crackle Paste and some sisal fibers.  The kraft leaves are from the Garden Greens set.  Simple, I know, but this may be one of my favorite fall cards this year.  Click HERE to see the others.  Happy Thanksgiving to you and yours!  Hugs, Autumn


You are invited to the Inlinkz link party!
Click here to enter

Nov 15, 2018

Tim Holtz Snowflake Flurry 2 Die Embossing Tutorial


Hi friends!  I'm thrilled to bits to have had the chance to make some Christmas projects for the Tim Holtz 2018 Sizzix Christmas release video.  Tim shared the video on his blog post HERE.  This is such an amazing collection of beautiful and festive dies.  Take a look...


For the Flurry 2 Snowflake  I thought the die itself was so beautiful wanted to use the reverse side of the die for wet embossing to create a nice shadow around my cut out. 


To start, I added a small piece of foam tape to the right side of the Flurry 2 die.  This was to help me hold the die while covering the back side with VersaMark embossing ink.  


I ripped off two strips of washi tape and adhered the die wrong side down to my card panel.  I removed the foam tape once the die was secured and ran through my machine.


This is the impression left by reversing the die.  The ink transferred to the panel (along with other bits I should have taken care to clean off of my plates beforehand...)


I embossed the impression in white.  Then I sponged on Evergreen Bough and Tumbled Glass Distress Inks for a resist.  I splashed the panel with water and lifted some of the ink.  I gave it a splash of watery gesso.  I stitched along the edge of the panel and then adhered the center of a second Flurry 2 die cut from black cardstock. 


I used Tim's Holiday Words at the bottom for my sentiment, backing the panel with black cardstock.


I let the edges of the snowflake remain loose.  I love the impact this shadow embossing gives!   I went back in along the edges of the panel and stamped Tim's Flurry and Pine in black and layered with some of Tim's Christmas Paper Stash.  A simple silver floss bow finishes the design.  Are your wheels turning with dies you want to emboss?!  I certainly hope so! Make sure to check out the entire September Christmas Release HERE.


And here's the photo Sizzix shared on the Tim Holtz Project Inspiration Page HERE.  Thanks so much for joining me today and happy crafting!

You are invited to the Inlinkz link party!
Click here to enter

Popular Posts