Showing posts with label mini. Show all posts

Jun 5, 2024

Vintage Gel Printed Accordion Book Tutorial


Hi everyone and happy spring!  I've enjoyed some playtime with my mom this spring and we've done a lot of gel printing.  I was trying to think of a way we could use our stash prints and decided we should make an accordion book.  I picked one of my favorite 8x10" prints and cut it in two to cover two pieces of 4 x 6.5" chipboard, wrapped around the sides with mitered edges.


Here is my pile of gel prints.  Honestly, I didn't put a dent in this set alone!  This project didn't take as much printed paper as I had hoped...  But it was a fun project nonetheless.


I cut two pieces of white cardstock and scored them to fit inside and adhered the overlap to make the accordion panels.  Then I glued these to each cover and covered with gel prints measuring slightly smaller than the covers, 


I looked at my wooden stamp display and was inspired by this darling Character Constructions girl and called up a good friend and asked to borrow some of her doll stamps so I could complete my book.  Thanks Barbara!


I stamped all of my dolls onto book pages and added a bit of watered Tea Dye Distress Ink to give them a slight coloration.


Next I dipped all of my die cut Tim Holtz Wildflower in a combination of Tea Dye, Walnut Stain and Rusty Hinge Distress Inks.  


I mixed in my favorite scripture stamps with other favorite old wood mount stamps.


I always enjoy stamping on old paper.  Here I tea dyed some graph paper and it was a great backdrop to the scripture.


How many of you still own these stamps.  Personally, I treasure mine!  Both my friend and I have them on display in our art rooms.  
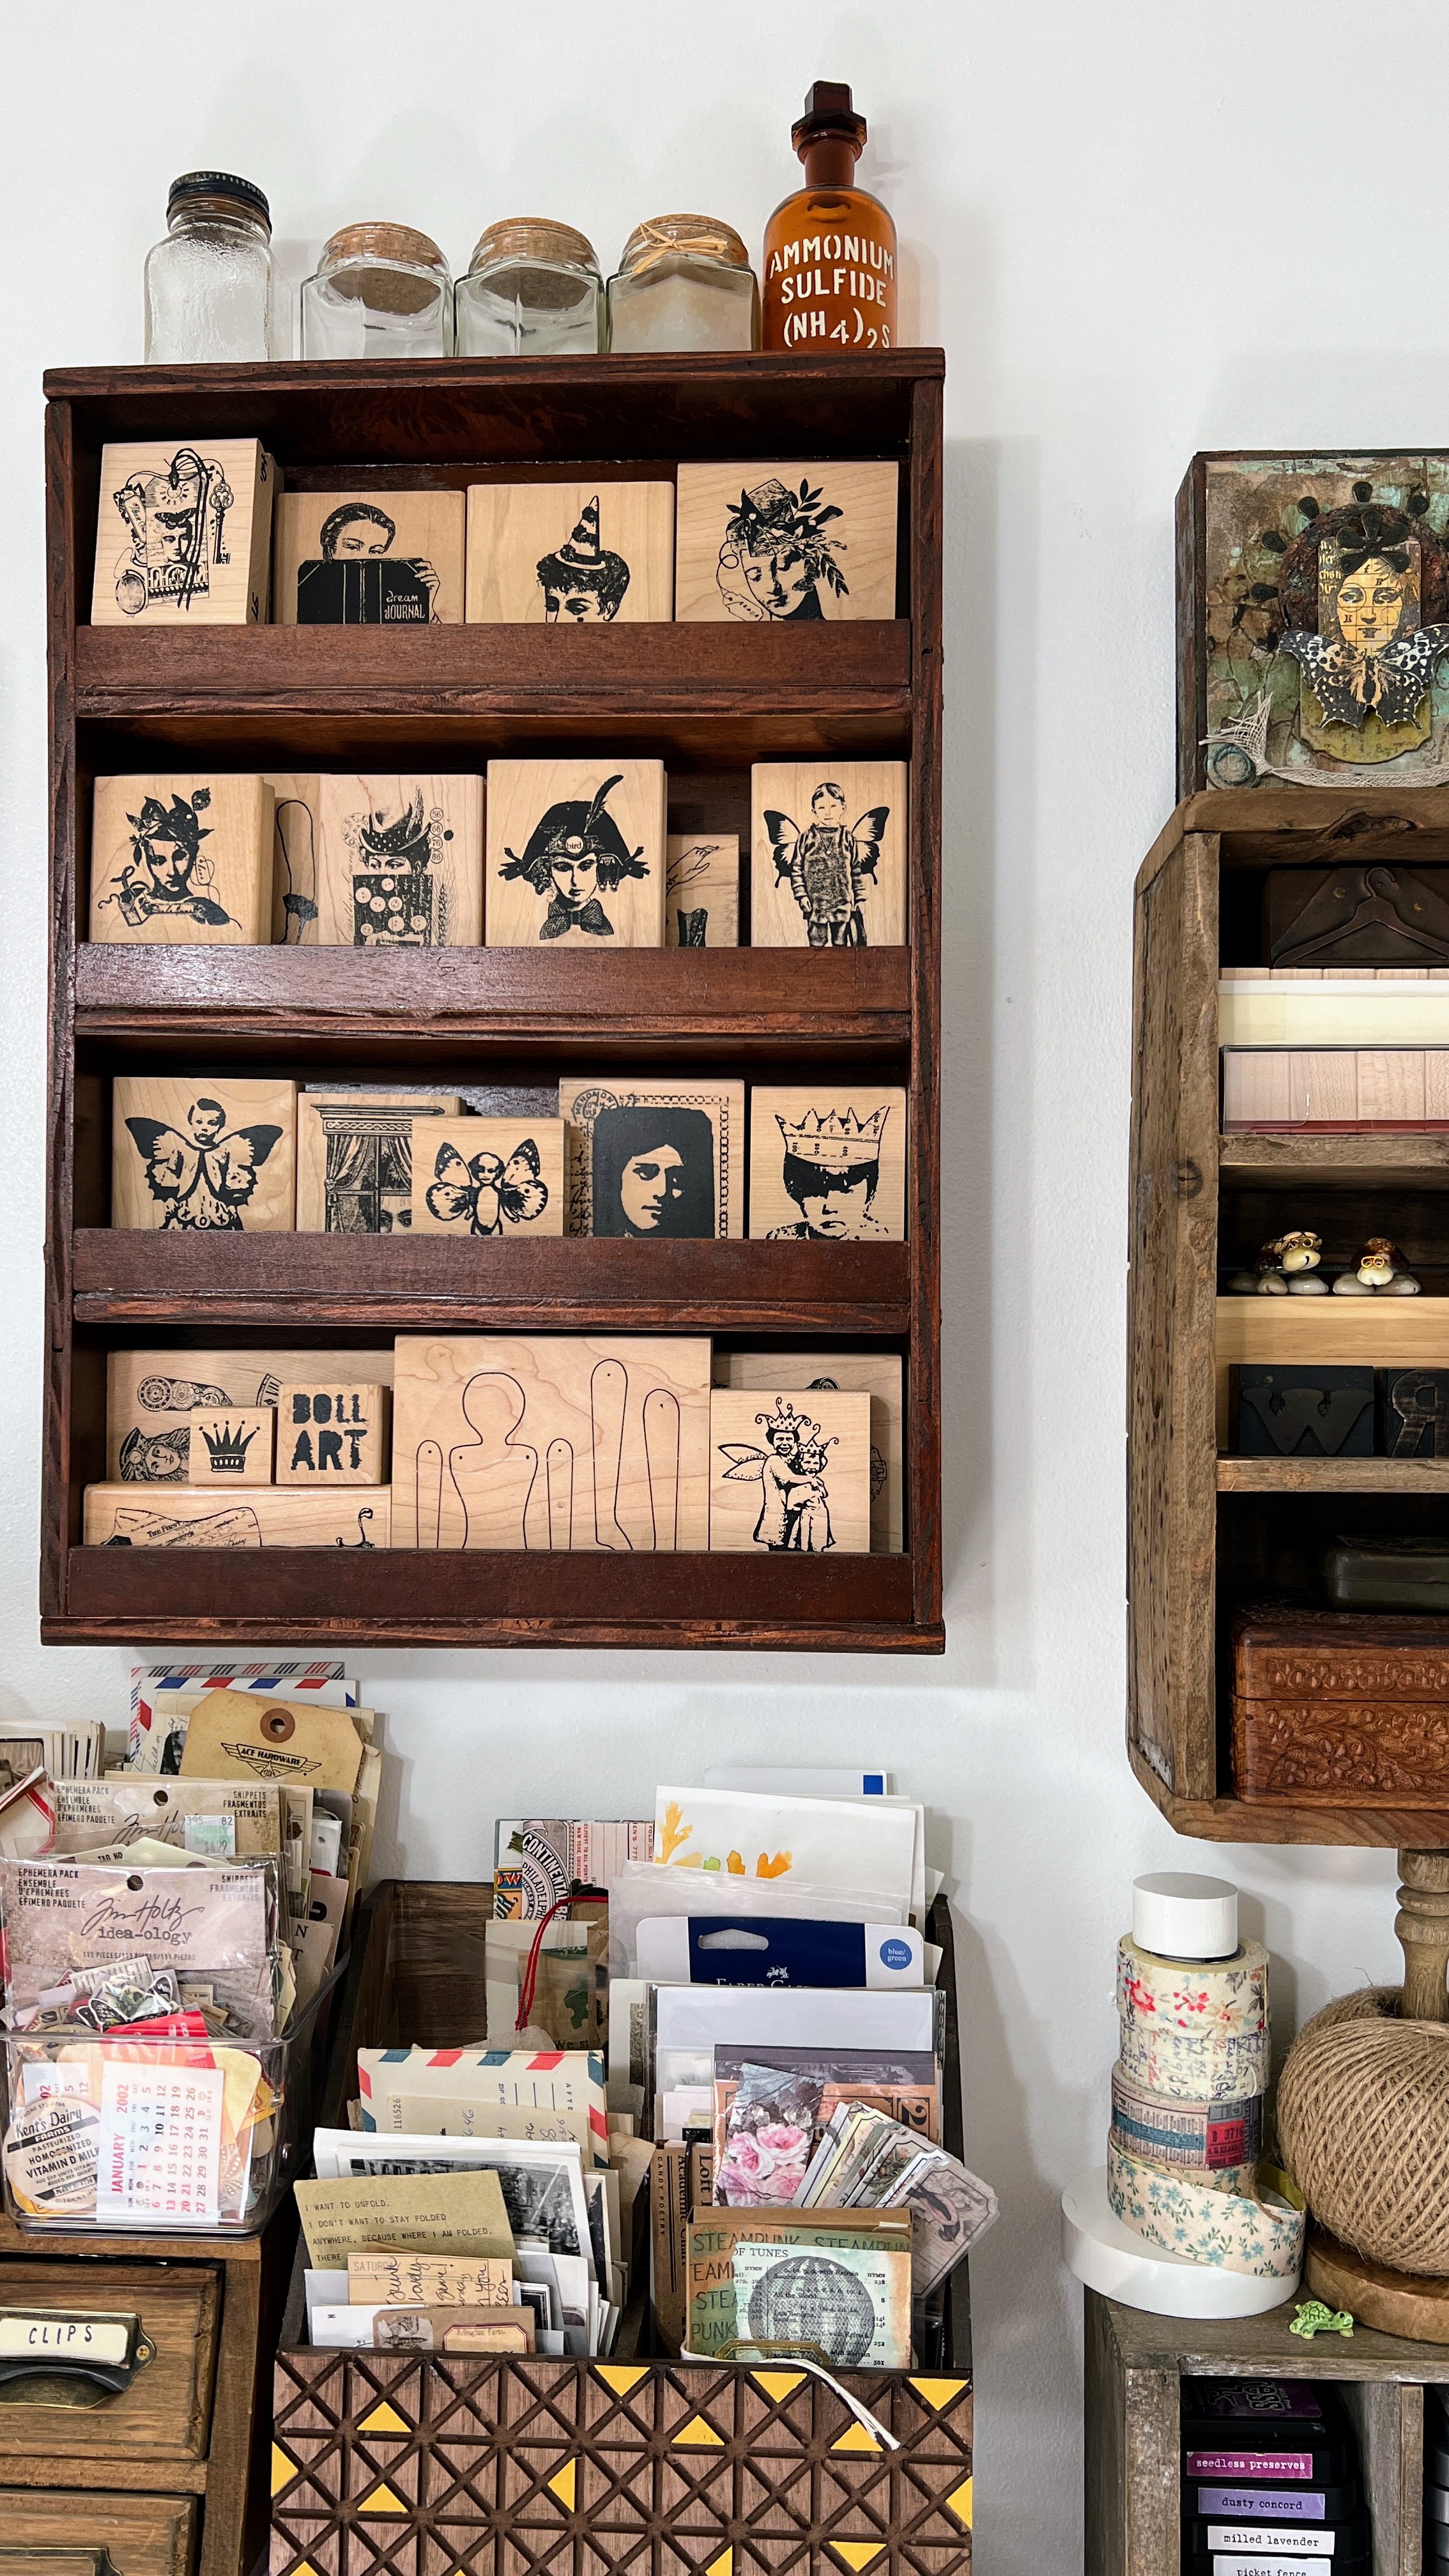

Here's a shot of mine from last year.  I've since changed things up a little, but still love this image.


I also took some free vintage label images and overlaid a typed font scripture and printed it.  I love the look and pop of aqua!


My finished book is a little busy, but fun to inspect.  I really hope it has made you smile today and has you considering how to incorporate your old stamps into your current work.  


I finished the book off with a sari ribbon binding.  
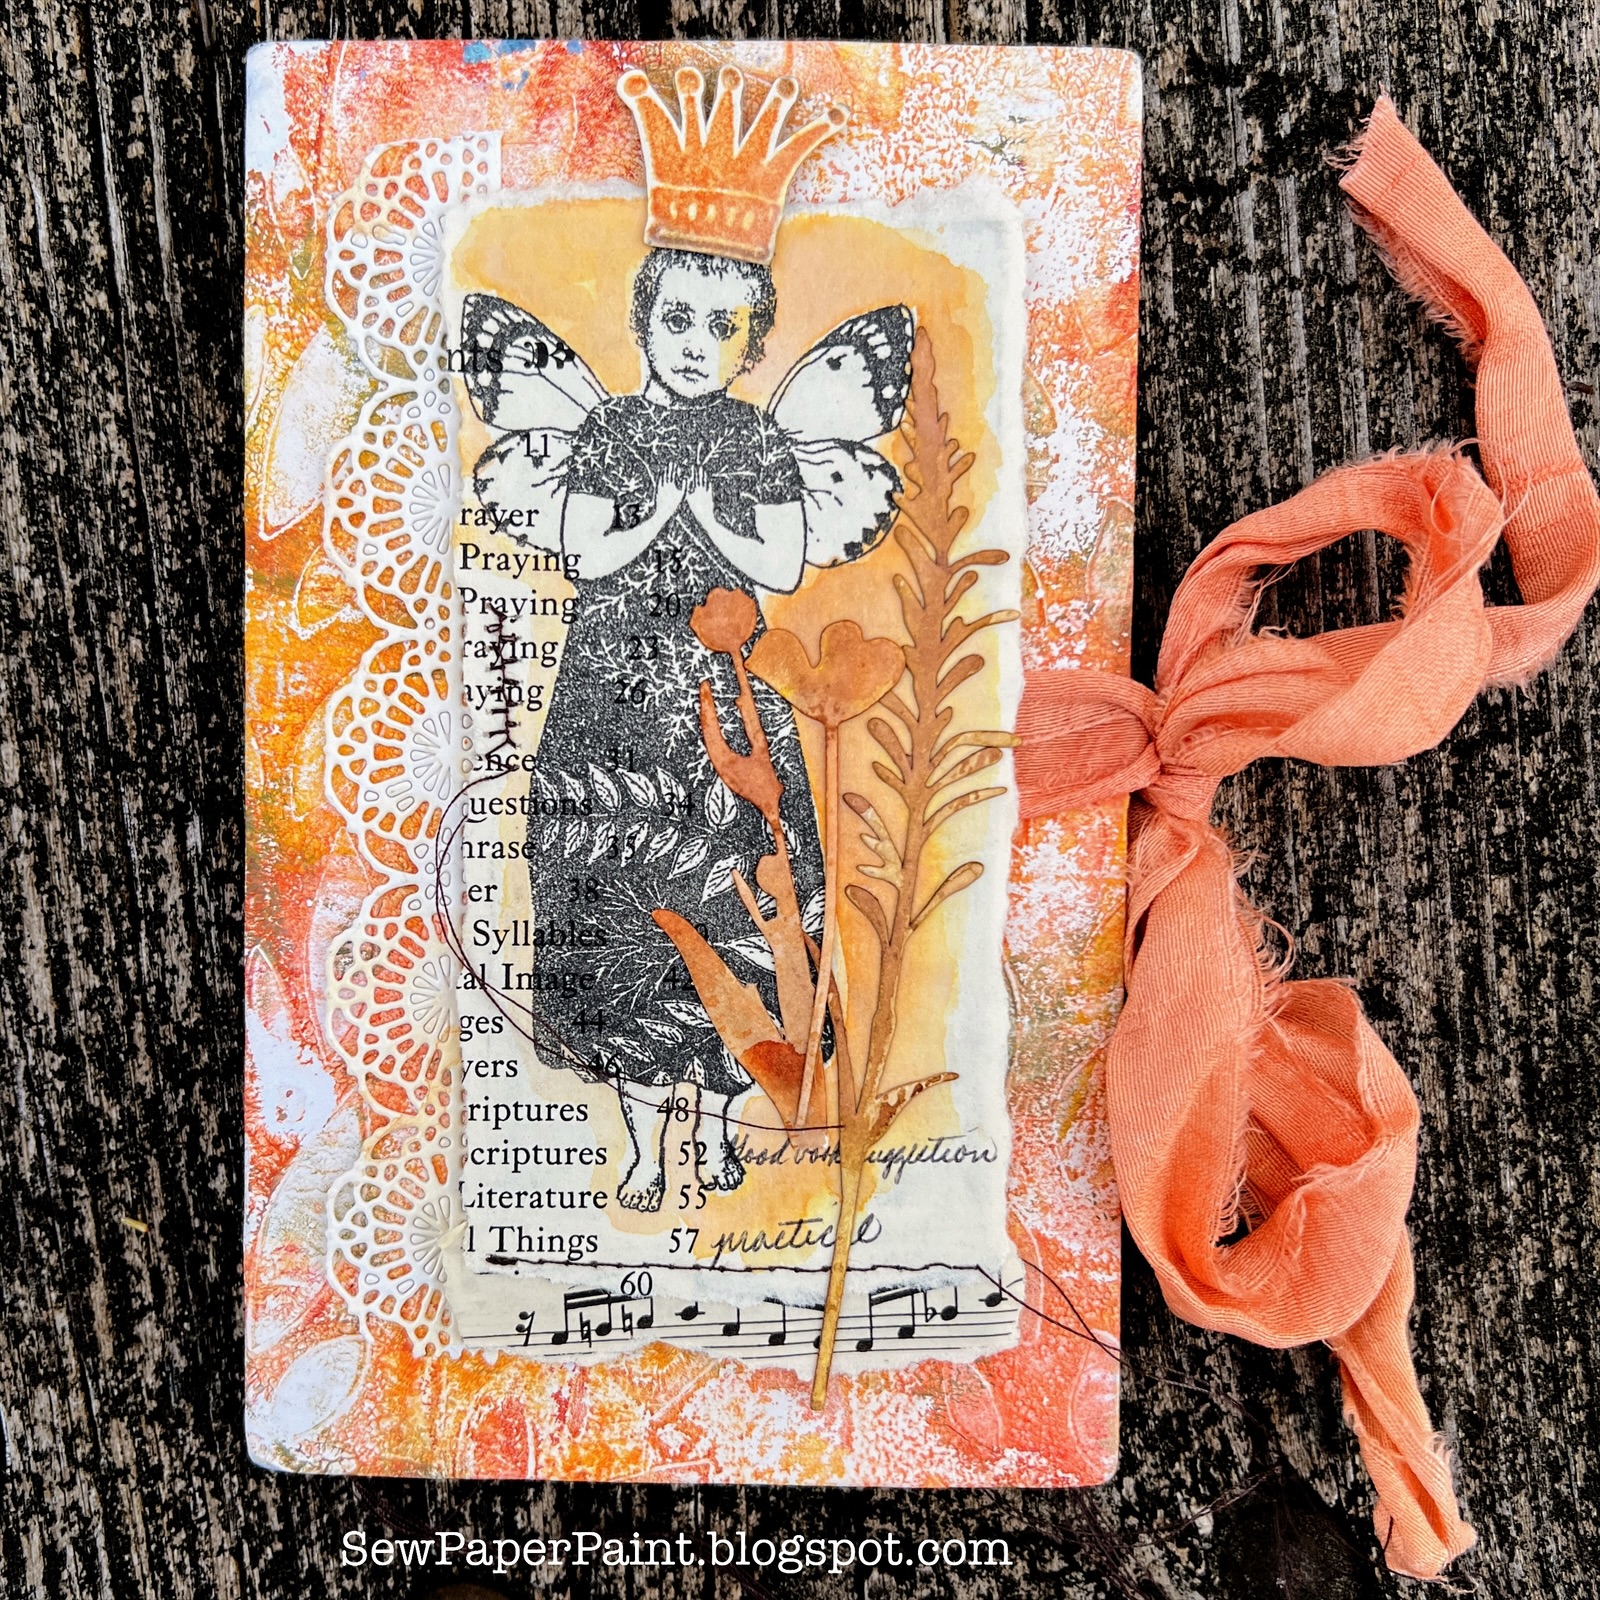

I just loved this particular gel print and was happy to make it the focal point of my book.  Happy crafting!  xx, Autumn


May 17, 2023

Tracy Evans AALL & Create Accordion Mini Book


Hi friends!  Today I have a new accordion mini album to share with you from my second time working through Tracy Evans' Accordion Book Workshop.  I made Tracy's album very similar to her original in the live class several years ago, posted HERE.  It's always great fun to take one of Tracy's classes, which you can join through her FB group HERE.  


For the covers of my book, I used an Eileen Hull die.  My insides were a little too thick, so I added a button closure.  I used PaperArtsy Fresco Chalk Acrylics in Hint of MintSargasso and Blue Jeans.  I've created a little flip through on YouTube HERE.  


For my pages, I used Distress Oxides in Cracked Pistachio, Shaded Lilac, Faded Jeans and Salvaged Patina.  I added in some Squeezed Lemonade Distress Ink for the pops of yellow.


My mom and I worked through this class together and it was a lot of fun.  I ended up making two similar books rather than decorating the backsides of my accordion and will try to share book two with you soon.  


You can see many of my projects featuring Tracy's stamps HERE.  

Apr 25, 2023

Studio Light Simple Paper Fold Mini Album Tutorial


Hi everyone!  I've been spending lots of time in my studio as you may have noticed!  I've been playing with the beautiful Spring Grunge Ultimate Scrap Collection (SL-USC-PS24) by Studio Light.  This paper is sooooo pretty and has 2x2 sheets of fussy cut elements with lots of floral and butterfly images.  I loved both sides of the paper and decided to create a simple folded mini album to showcase both sides.

Here's the simple construction:  First, I chose one of the blue shades of paper and cut it 5.5” high x 11 11/16".  Next, I scored at 3 7/8, 4, 7 3/4 and 8".  


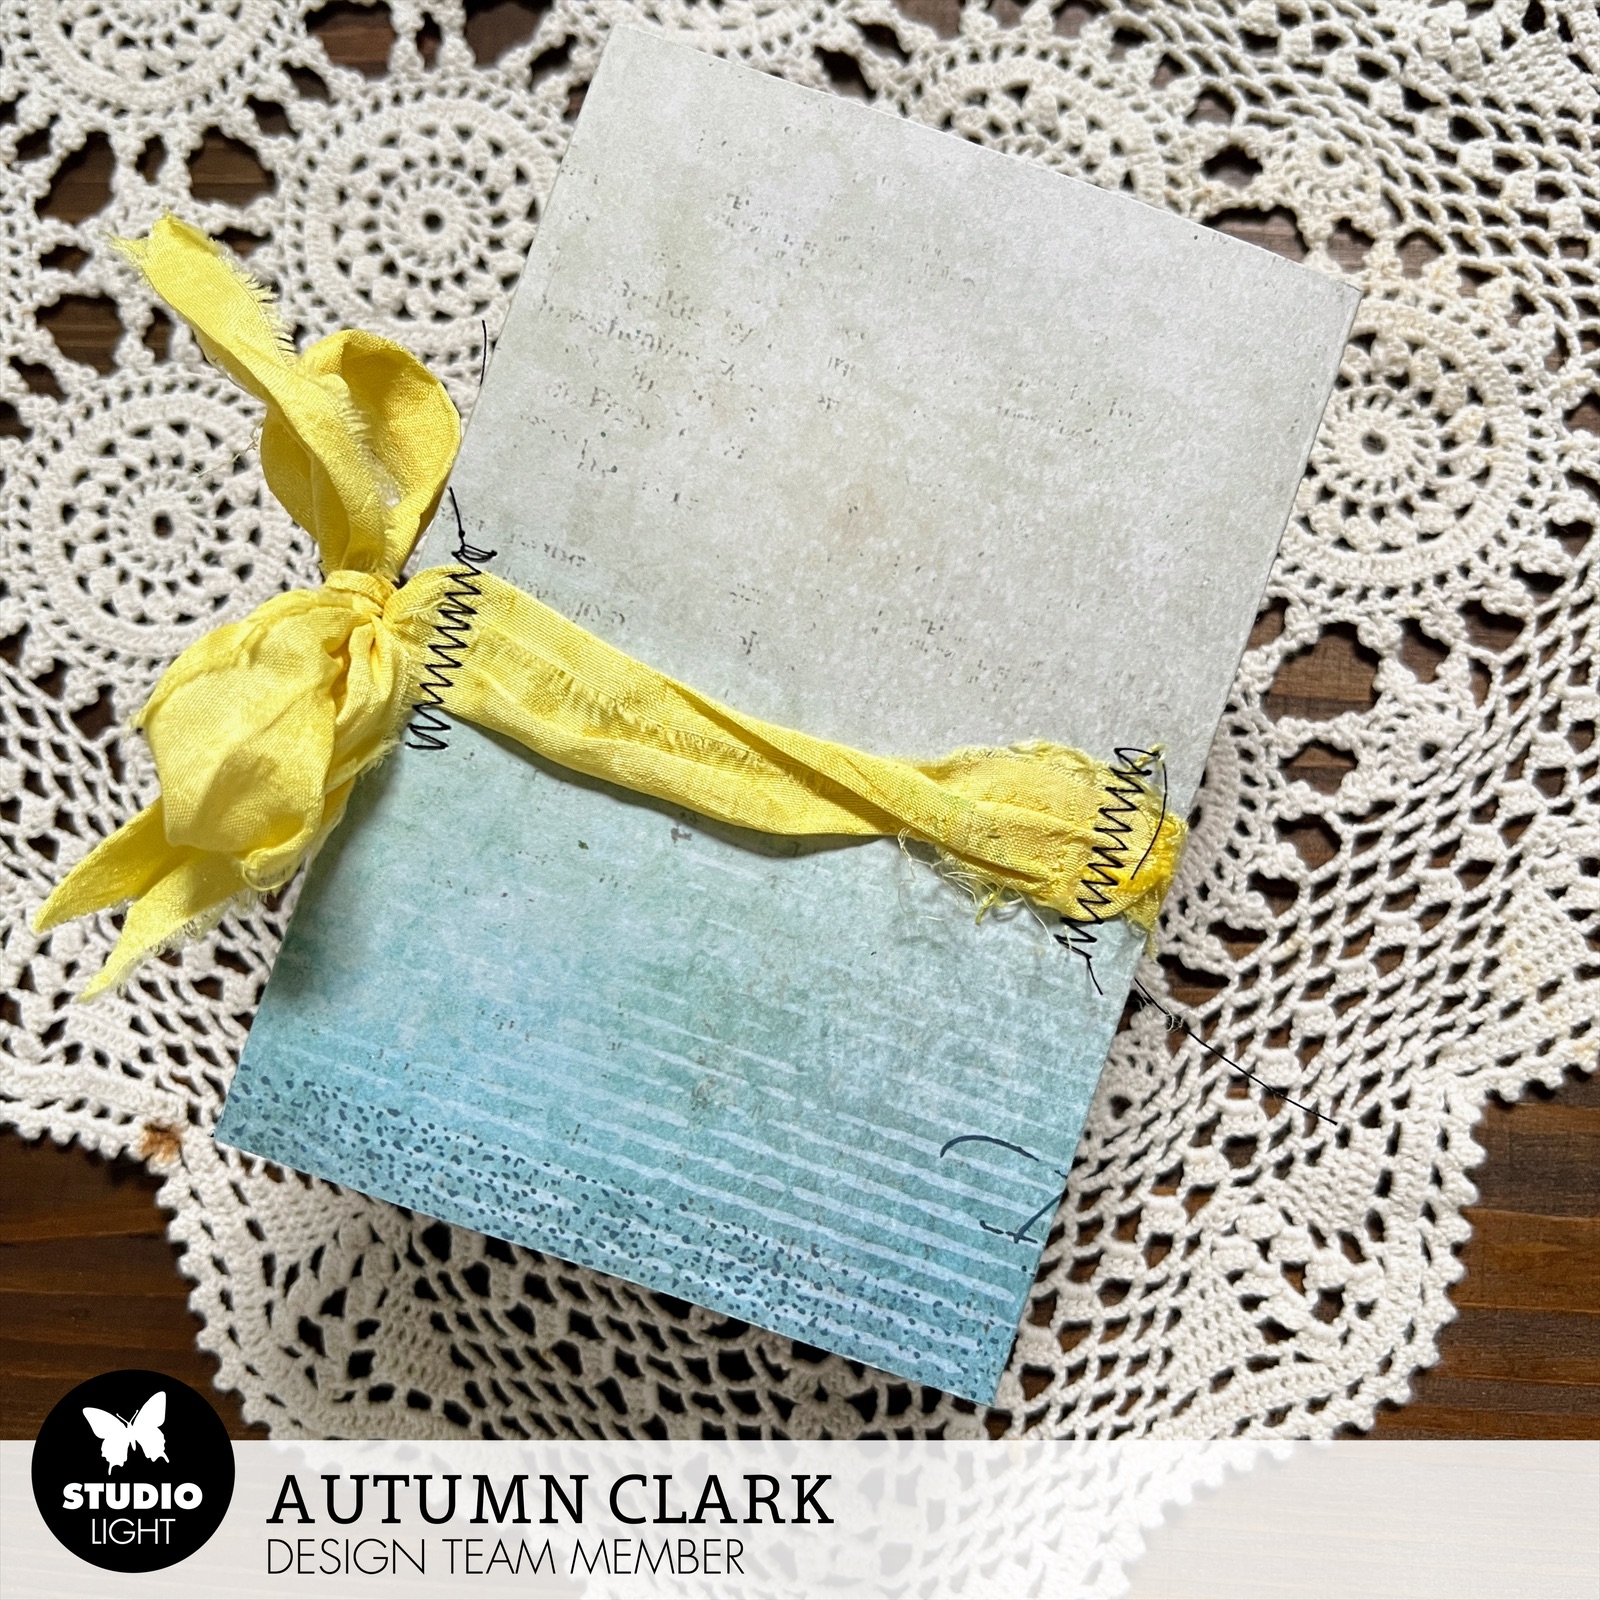
To create the closure, I stitched some yellow sari ribbon in place with zig zag stitching to add to the collage feel of the album.  


I used the journaling cards to create little pull outs.  Here I tore two pieces of the USC paper one going one way and the other going the other way to create two little pockets.  I used Blooming Flowers Cutting Dies (SL-BB-CD485), which I tinted with watercolor.  I stamped the butterfly postage from the Spring Crafts Grunge stamp set (SL-GR-STAMP398) in a Uncharted Mariner Distress Ink at the top. 


I was excited to incorporate the Blooming Butterfly Vellum Sheets (SL-BB-VES03) into this project, though they were designed to coordinate with the BB USC.  I picked the thin white stripes vellum and used it to create even more pockets, adding some fussy cut elements into the collage.  


Here I added the vellum over a torn music sheet and layered with torn crocheted lace and a sentiment from the Celebrations stamp set (SL-ES-STAMP388).  


And finally a closeup of the cover.  I layered a handmade flower from the Fresh as a Daisy Cutting Dies (SL-BB-CD483) over a lace border from the JMA Lace Border Cutting Dies Set (JMA-FOF-CD515).  I stamped a title with the Celebrations stamp set and the "sunshine" from the JMA Sentiments & Wishes (JMA-ES-STAMP340).  I'll share a flip through on my Instagram account @sewpaperpaint.  I really hope you've enjoyed this little mini book and will give it a go with your favorite papers.  xx, Autumn

Studio Light Products Used:


Apr 13, 2023

Studio Light Vintage Roses DIY Block Mini Album Tutorial


Hello everyone!  You may remember that I ran the Mini Album Makers Challenge Blog some years ago before my daughter was diagnosed with leukemia.  Well, I've always had a passion for making books and love sharing the process so others can craft along.  I hope this post inspires you to do just that!

This mini album tutorial features the brand new Vintage Roses DIY Block by Studio Light (SL-ES-DCB44).  This pad is absolutely GORGEOUS and I just had to do a whole book with it.  I'll be sharing projects from the other new DIY Blocks very soon, but this one is my favorite.  


I started by creating my signatures.  I wanted to use 8.5 x 11" paper and chose heavy kraft paper.  I cut one piece to 5.5 x 11" and scored it at 5.25 and 5.75".  I cut a second piece to 5.5 x 10.75" and scored it at 5.25 and 5.5".  I used Studio Light's Highly Tacky Craft Tape to adhere the smaller piece over the larger in the gutter, burnishing all of the folds and tape well.


Next, I made my covers and spine from chipboard from the back of a Bristol paper pad.  I cut the two covers to 5 5/8 x 5 1/2".  I cut my spine to 5 5/8 x 3/4".  A handy trick for cutting chipboard without a fancy paper cutter is to save an old blade (I mark mine with a sharpie as OLD) and cut one side at the right measurement, then flip the chipboard over and cut the back side at the right measurement.  If there is any slight discrepancy, just use a sanding block to smooth the edges.  


I used the patterned paper in the DIY Block to cover the front and back covers.  There are two sheets of each pattern, so I used both of these floral pattern sheets for both covers.  I left a half inch overlap and wrapped the paper, mitering the corners and using Highly Tacky Craft Tape to adhere.  For the spine portion, I used regular tape to secure a 1/8" gap between the covers and spine, then I wrapped cloth adhesive bandaging around the spine, starting with the inside and wrapping around both sides.  I used my bone folder to burnish the creases, then masked off the edges and painted the tape pink with craft paint.  I really like how this worked out!  


Finally, I used patterned paper to cover the inside of the covers, cutting it 1/4" smaller than the finished covers and making sure to adhere my sari ribbon closure between the paper layers for a finished look.  I then secured the kraft paper signatures to the spine, over the painted cloth tape, with more Highly Tacky Craft Tape.  

I made this book just for fun, but the designs could easily be adapted to showcase 3x3" photos.  I included pockets for the pretty tags.  I layered with the new Jenine's Mindful Art Lace Border Set (JMA-FOF-CD515), which went with the shabby look of this paper.  


I cut my pages down 1/4" smaller than the kraft paper pages and distressed all of the edges.  I tucked some paper folds beneath the paper before adhering.  This one has a snippet of a vellum quote from the Llama Mixed Media Paper Pad that came out last quarter.  It was too perfect not to use here!  See how I used that pad HERE.  


I love adding torn crocheted lace to my shabby chic projects.  I got this lace from the local craft store.  


I used my Text Background stamp (SL-ES-STAMP369) on my pages.  This stamp works with everything!  Sometimes you just need a little something extra...


Here I used the butterfly to hold the tag flap in place.  It folds out to reveal even more of those pretty elements.


My layers are definitely dimensional!  That's why I leave a 1/4" gap between my pages, but I will say that you can use the range of Studio Light Dimensional Foam Tapes in different thicknesses (.02, .04, .06 and .12") for just the right amount of depth in your layering.  I used the .02"  foam in a lot of places so I wouldn't add too much bulk.  


I really hope you've enjoyed this mini!  I'll be sharing a flip through on my Instagram page soon @sewpaperpaint.  These paper pads launch Friday, April 14, so make sure to grab yours while they're available.  xx, Autumn


Other Products Used:


Popular Posts