It's time for a new challenge at A Vintage Journey. Our hostess Sandy has chosen the theme Winter Wonderland. She says, "For the month of December let's think of the season as well as the holiday with Winter Wonderland. As the song goes, sleigh bells ring, snow is glistening! Let's see some snow, snowmen, bare trees would be nice or some snow covered pines in the meadow. Whatever Winter Wonderland means to you in your vintage, shabby, mixed media; art journaling; industrial or steampunk style."
My winter wonderland scene is filled with my favorite elements and techniques, bursting the edges of a 12x16" reverse canvas. I was determined to stretch my products to new dimension and make a panel large enough to grace the fireplace mantle. I knew I wanted to base my entire project on using the new PaperArtsy Stencil {by Kay Carley} 070. This stencil is so beautiful and the size is perfect for a larger project.
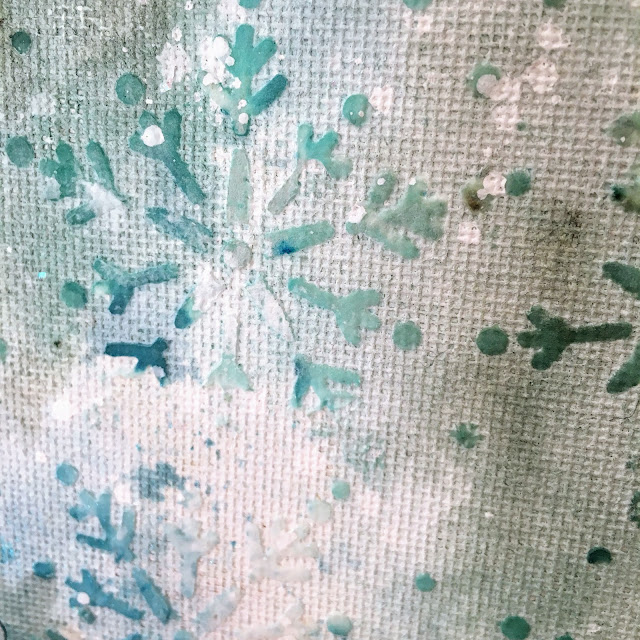
I taped the back of my wrapped canvas to disguise the staples, then added crackle paste over the tape. I gessoed inside the canvas then stenciled on my snowflakes with texture paste. Then came the fun part. I decided to sprinkle A Bit Jaded Infusions onto my dry canvas then activate with a variety of Lindy's Stamp Gang spray inks. I spritzed them with more water to blend and bleed. I did the same thing over the crackle.
I stamped the tree border from PaperArtsy {Ink & the Dog Collection (A6)} Noel Plate 3 across the top of the canvas with Archival Cornflower Blue ink, then added a strip of thin metallic washi tape across the top.
I thought it would be so cool to have icicles hanging from the frame, so I tried making some with hot glue and it worked! :) I pooled the glue in various places then let it drip down. It dried as it dripped. Some of the dripping glue broke, but I think that compliments the look. I painted the dried drips with gesso.
I stamped the sentiment from the same stamp set onto a scrap of inky card.
I used two beautiful treeline die cuts sent to me by my friend Sara Emily - thank you my dear friend! These created the drama at the base of my frame. I nestled a couple of die cut deer in the scene.
Since the trees were cut from cardstock and I only had two, I decided to texturise them with Golden crackle paste. I laid the die cut on my craft mat then carefully scraped on a thick application of the paste. When you lift the die from the mat, the excess paste stays on the mat. You can easily scrape it back off and return to your jar. The Golden paste is very airy and dry, so it didn't warp the paper much.
I found a jar of Stampendous Shaved Ice - yay! I wanted to use it on my landscape. I applied hot glue to build up a base , then gessoed the glue, then scraped on more texture paste. When this dried, I used Mod Podge to glue the Shaved Ice down randomly.
Look at those snowy drips! EEK!
I used the Tutti Designs sled, died with Lindy's spray, over a glitter stock background.
I textured two Tutti Designs Arched Fir Branch dies the same way, then layered with Tim Holtz greens and a handmade white poinsettia. This is the Memory Box die my sweet friend Marty gifted me. :) I accented the petals with Stickles and the center with a Prima gemstone.
I particularly love the snowy look the paste gave to the greens.
The tape I used to cover the staples cracked a little, which I'm OK with, but perhaps if you try this, you should used gel medium below and above the tape.
Now, I just need a mantle to display this on. He he... My art room shelf will do. I hope this got your wheels turning for your own Winter Wonderland project. Do play along to win a prize bundle from Andy Skinner. Find our challenge HERE.


