Mar 9, 2020

PaperArtsy Birds and Magnolias Gwen LaFleur Gift Set


Hi friends!  It's Mixed Media Monday at the Topflight Stamps blog and I'm thrilled to be sharing a tutorial on how to make a card and journal gift set with the Eileen Hull Wrap Journal with PaperArtsy stamps by Gwen LaFleur and Fresco Finish Chalk Acrylics.


There are so many snippets of advice on my post, so I do hope you will hop on over to the Topflight Stamps blog


I'm sharing with:

Save 12% off your next Topflight Stamps order with code:
SEWPAPERPAINT

https://topflightstamps.com/products/paperartsy-gwen-lafleur-05-rubber-cling-mounted-stamp-set?_pos=5&_sid=54c0da811&_ss=r
PaperArtsy EGL05

https://topflightstamps.com/collections/new-arrival/products/paperartsy-tracy-scott-mini-60-rubber-cling-mounted-stamp-set?ref=sewpaperpaint

https://topflightstamps.com/collections/new-arrival/products/paperartsy-tracy-scott-mini-61-rubber-cling-mounted-stamp-set

https://topflightstamps.com/collections/new-arrival/products/aperartsy-tracy-scott-mini-63-rubber-cling-mounted-stamp-set

Mar 4, 2020

2020 Stampin' Up Sale-A-Bration Cards


Two of my dear friends, Barbara and Carol, have just become Stampin' Up demonstrators and I am happy to share a few projects with the all new 2020 products. My first card was made playing with the gorgeous ink colors: Soft Suede and Crushed Curry


I blended the inks with a makeup brush, then stamped first and second generation images of the vine to make the undergrowth.  I stamped the flourish medallion and fussy cut it, then stamped the sentiment in Night of Navy and fussy cut it to layer over the medallion.  I stamped portions of the script/text by curling the stamp in my hand (not mounting to a block) so that only part of the stamp made an impression. 
https://www.stampinup.com/ecweb/product/149275/very-versailles-cling-stamp-set


I decided to play with another color palette: Calypso Coral, Coastal Cabana and Crushed Curry.  I mounted the sentiment strip and tucked in some mini pom pom fringe from my stash.  I accented the flowers with gemstones from my stash. 
 

https://www.stampinup.com/ecweb/product/151345/dandelion-wishes-cling-mount-stamp-set


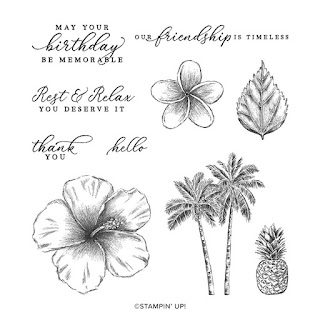
This card was made at our local stamp Saturday with Dixie Sue, Barbara and Carol's upline.  I went my own way with the card.  We used Aqua Painters with watered down Pigment Sprinkles.  I did a wash over my watercolor paper, then stamped the palm trees in Crumb Cake and went back over them to add watercolor details.  The sentiment was stamped on torn vellum and the Gumballs were from my stash. 

https://www.stampinup.com/ecweb/product/151497/timeless-tropical-cling-stamp-set-english


Since it's Sale-A-Bration time, there are freebies to be had!  I fell in love with this cakestand from Happy Birthday to You.  I colored it with my Zig markers and used the coordinating Birthday Dies (available for a very limited time).   I used the Tin Tile 3D Embossing Folder for my background.  More Gumdrops from my stash. 


And I finished up my cast off card.  We made the Lots of Happy Card Kit when we were away on our girls weekend recently.  The kit is designed to make three of five cards.  I stretched my elements to get seven cards.  We used SU ink pads to watercolor.  I pulled the stamp set from the Notes of Kindness Card Kit for some of the cards.  I've made both of these kits now and L. O. V. E. them to bits! 

Mar 3, 2020

Penny Black Butterfly Garden Spring Cards


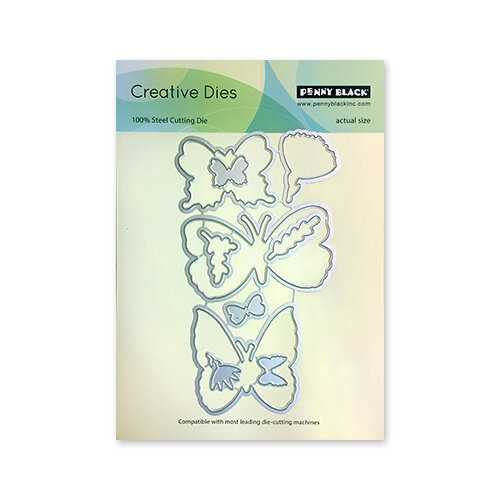
Hi friends, yesterday evening I sat down to start my coloring for The Daily Marker 30 Day Coloring Challenge.  I like to use this challenge to simply play and use stamps that catch my eye, end up in my stash, but never get used for whatever reason.  I absolutely adore the Penny Black Butterfly Garden stamp set and coordinating die cut set!  Every time I do this challenge I pinch myself for not using my stamps more!  ;0


I colored an entire sheet of the images with two colors of Distress Inks: Tumbled Glass and Spun Sugar.  For my first card I made a shaker, inspired by a recent Stampin' Up class at my friend Dixie Sue's.   The trick is to align your card front with your card base and cut the window in one pass, ensuring correct alignment when you add your tulle/sequin sandwich.   The center features a tulle window - what fun!  The gemstones are Gumdrops that I won from a Your Next Stamp IG giveaway.


I used the pink cut off from the first card and a SSS Hey Love die for my next card.   And the white cut offs to make a third card.   It was great to get a card trio from one stamping session. 


Affiliate Linked Products:
I'm sharing with:

Mar 1, 2020

Tim Holtz Hexagon Die Cut Mini Album


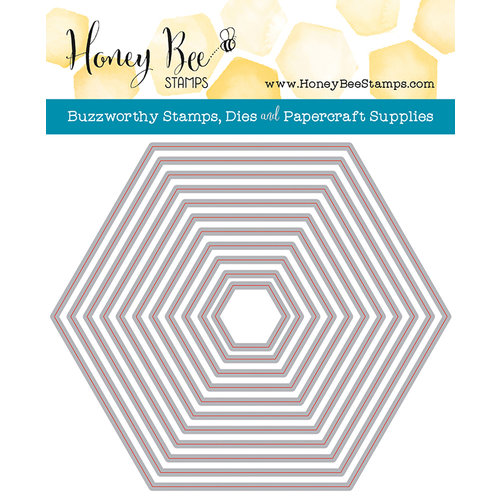
Hello!  I am sharing a fun and simple tutorial for you for our March challenge at Mini Album Makers.  I've been tinkering around with the thought of the first mini albums we all made years ago, chipboard cutouts that we simply covered with paper - and how to recreate those with my dies.  I really wanted to make another hexagon shaped book, so I used stacking hexagons dies and cut six panels from thin chipboard.


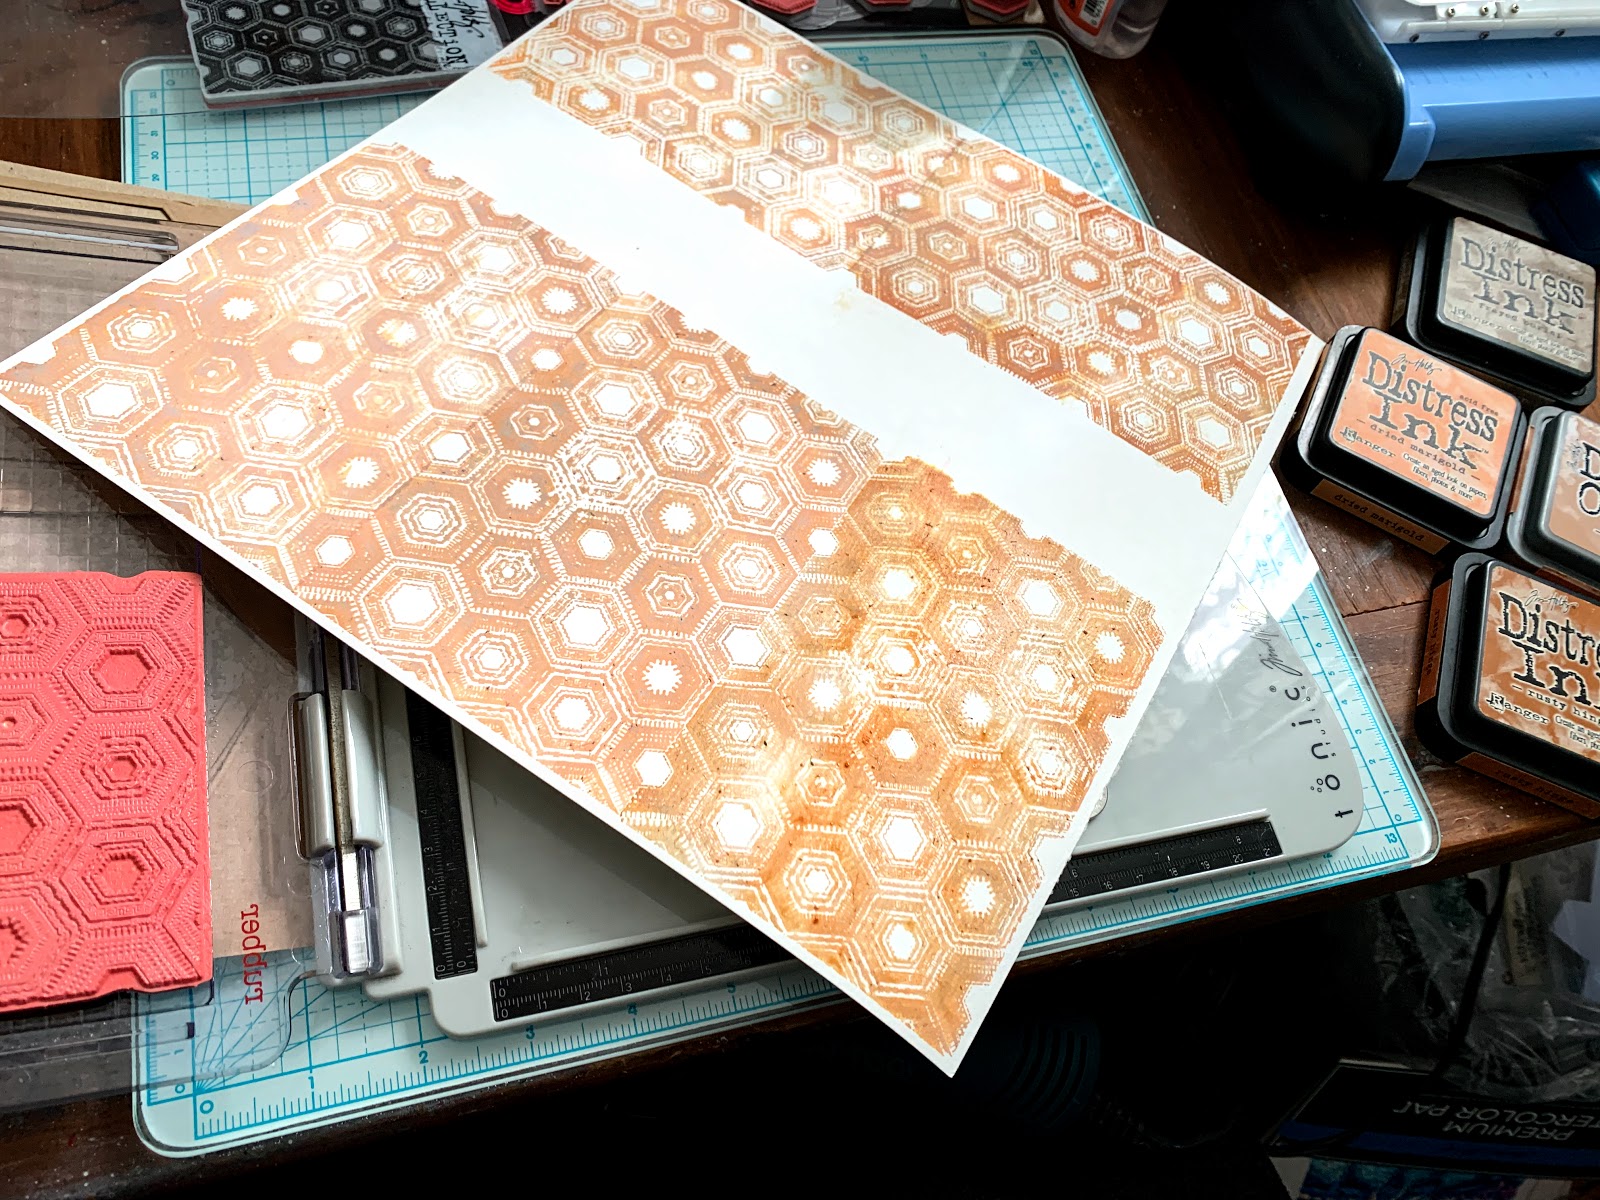
I wanted to use my beloved Patchwork and Patchwork Pieces stamps by Tim Holtz.  I used my stamp platform to very carefully align each stamping to the next to try and get a seamless repeat.  I did a repeat stamping using a variety of Distress Inks and Oxides (Dried Marigold, Rusty Hinge, Tea Dye DOX and Frayed Burlap) to get my "terracotta" colored panels.  I did the same to make the "moss green" I was looking for using Bundled Sage, Iced Spruce DOX and Frayed Burlap.  I shared the technique for this type of background stamping on YouTube HERE.


I used cut all of my stamped papers and elements with my stacked hexagon dies and layered them together as shown.  I mixed in a few patterns from Tim's Memoranda Paper Stash to offset the patterns a little.  The fun part was creating little vases to hold my "cactus" plants with Tim's Stacked Hexagon dies.


For my first "cactus" I used Tim's Large Stems die and watercolored them with the above mentioned inks.  I then cut the parts into three sections and layered as shown.  I used the small hexagon as a vase and shaded it on one side with more Frayed Burlap.


I bound my pages together with a ring and added a tassel.  I used all of my stamped elements to make the page collages, leaving spaces to tuck in black and white photos.


I used Tim's sticker sentiments throughout the album.


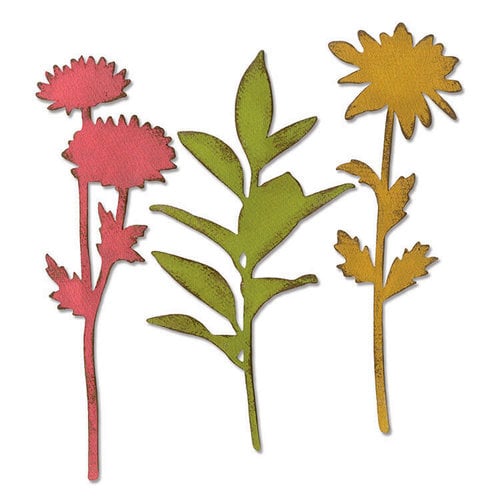
The next "cactus" was made from the Wildflower Stems 2 dies.  For this pot I sliced one of the hexagons in half and cut off a section of one half, then layered them together.  I love this terracotta potta y'all!  :)


I used a second cut from the Large Stems die to make another smaller succulent on the last page.


I covered the front and back of my little album with Ranger's Sticky Back Canvas.  I hope you've been inspired by this little boho terracotta & moss album.  We would love to see your creativity unleashed in our March Mini Album Makers Challenge.  Hugs, Autumn


Here's a different type of binding for a Hexagon Mini Album:


And other projects using Tim's Large Stems die:


Affiliate Product Links:


Popular Posts