Sep 18, 2016

Dark and Moody Fall Thank You Card


I apologize for the delay in sharing the remainder of my cards from my Dark and Moody Background Tutorial at Stamps & Stencils.   This time of year, with getting the kids settled back in school, is extremely busy and I'm doing my best to keep up.  Please bear with me.  :)  As always, I appreciate your visits & comments.


I have fallen in love with these cutouts by Heidi Swap, found at Joann's.  I love the lacy element they add to the dark backgrounds.  Here I stamped Blazing Poppies by IndigoBlu for my base.  I layered with Finnabair butterflies, a thank you banner, a coordinating Prima flower, and vintage seam binding.  I tucked some real lace in between my layers.  


I'm sharing with:

Sep 15, 2016

Altered Composition Book and Giveaway Winner


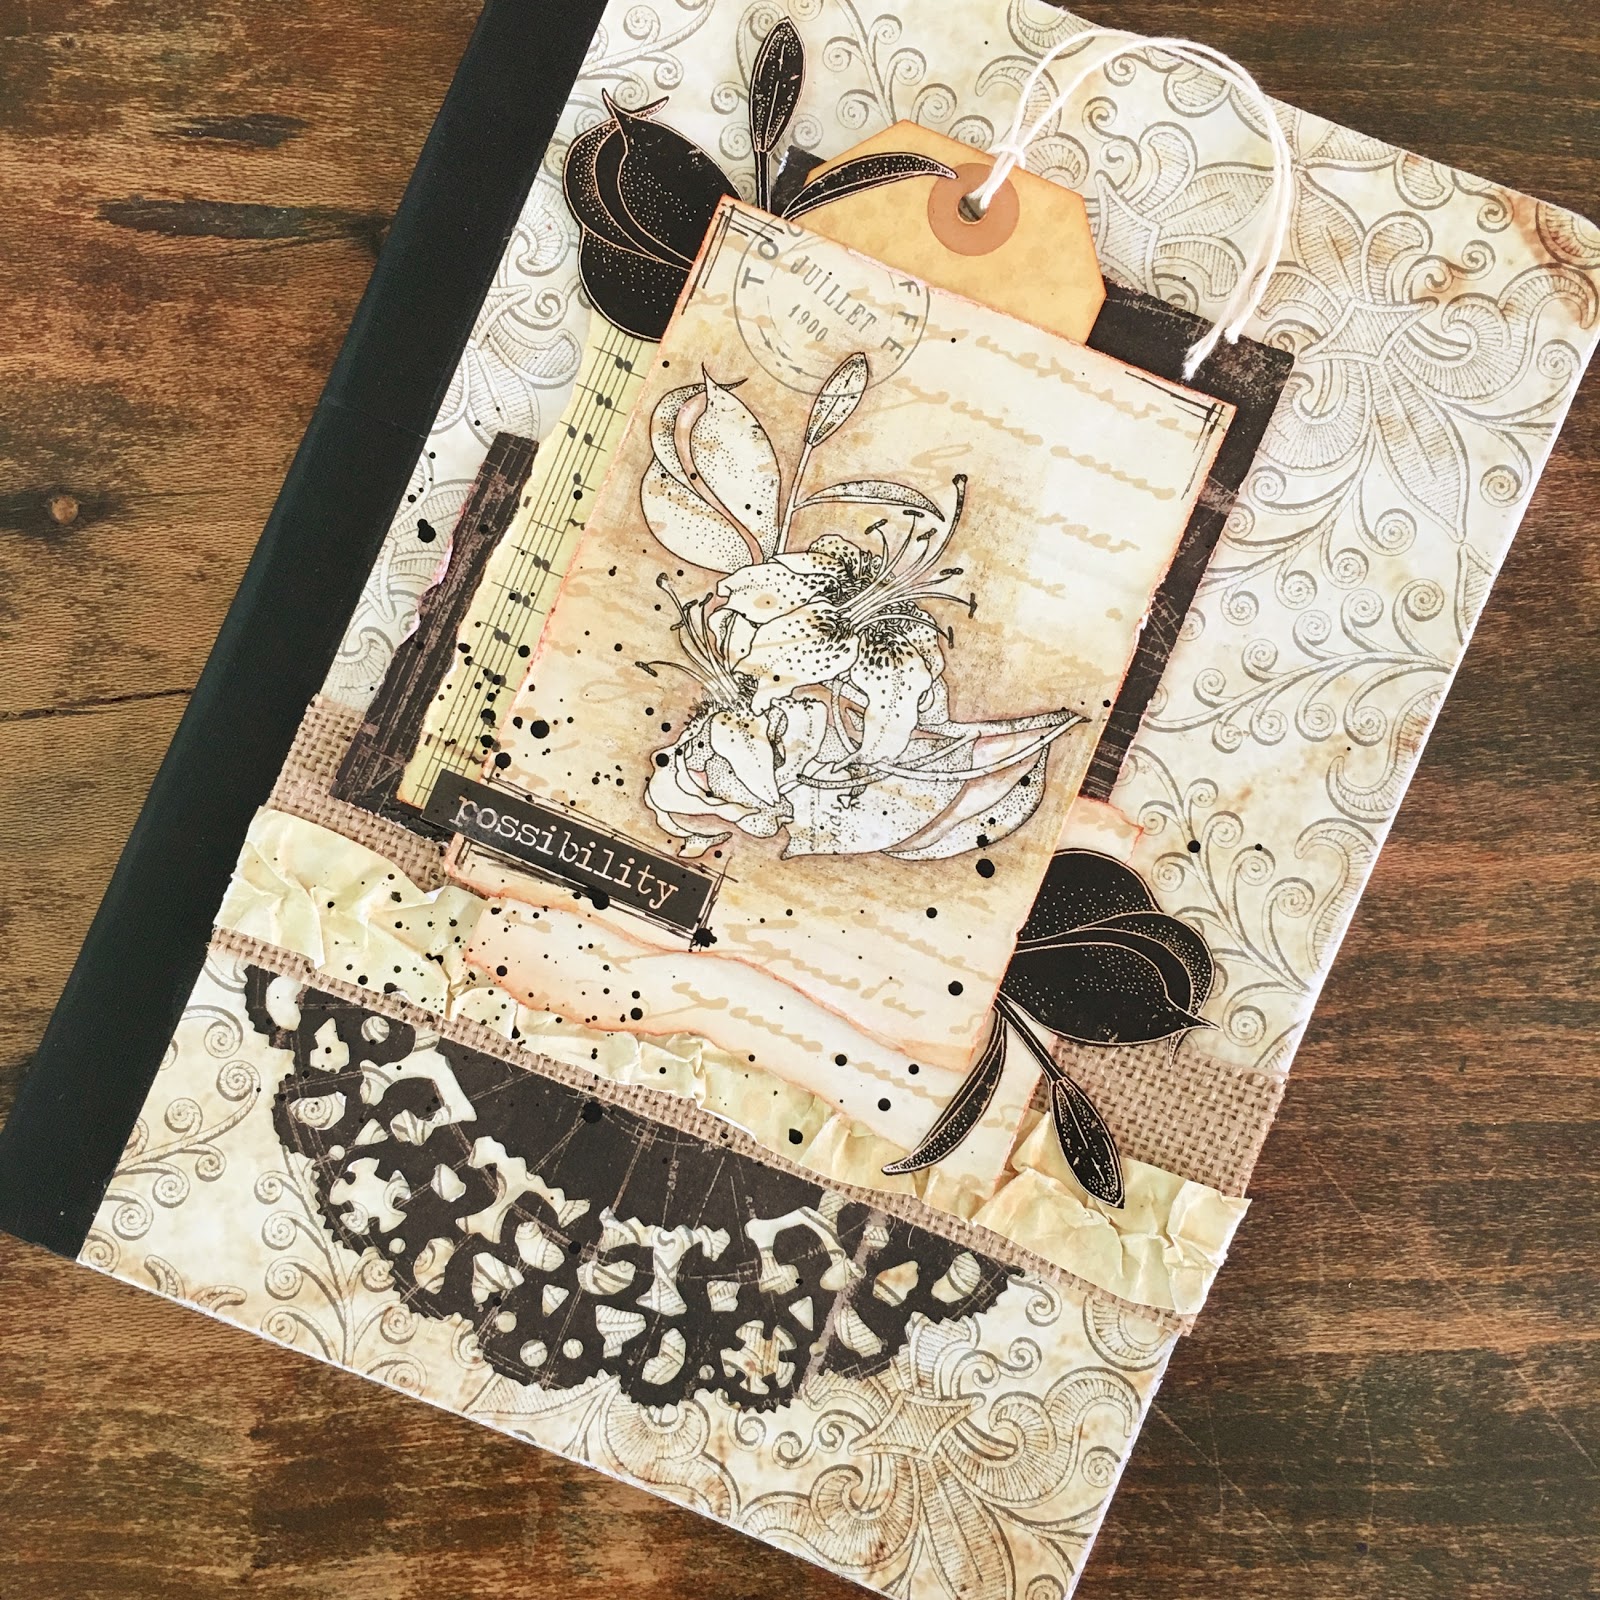
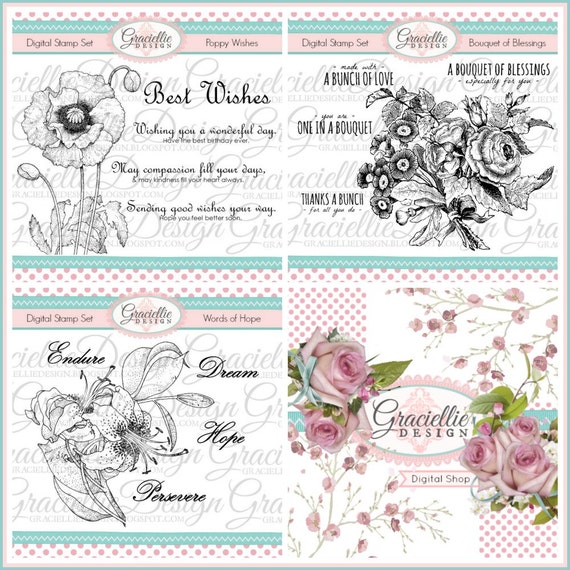
It's inspiration time and today I have a fun back to school project to share with you.  I couldn't resist picking up this composition book in the back to school bargains and turning it into an altered journal.  I thought the beautiful black spine would compliment Graciellie Design's Christmas Carols Digital Paper Pack beautifully.  I cropped the images using Microsoft Paint, to exclude the Christmas portions.  I overlaid the amazing lily image from the Words of Hope Set onto the text and printed.  I highlighted the image by shading with colored pencils around it.


This month's stamps are tremendous and I have really enjoyed working with the floral images, particularly when converting them into chalkboard art.  Now onto our giveaway winner...  Biggest congratulations to one of my amazing followers, the fabulously creative Tee of The Altered Paper!!!  Visit Gracie's Blog and click the contact page at the top to claim your prize.  


My biggest tip with this post (do see my previous posts for all of my other tips) is to crop the portion of an image and size it perfectly before printing.  It will save you a ton of ink and a ton of cutting!  :)  If you love to decoupage, digital papers will be your new best friend.  The ability to print in color onto thin, but large paper is tremendous.  I feel certain that I will use some of this paper as giftwrap this holiday season.  Make sure to visit Graciellie Design on Etsy to view all of the fabulous paper collections.


I'm sharing my composition book with:
Scrappy Land: Anything Goes (I used a Sizzix Die)
You are invited to the Inlinkz link party!
Click here to enter

Sep 12, 2016

Two Toned Metallic Die Cuts and a Christmas Card for IndigoBlu


Today I am sharing a step by step tutorial on the IndigoBlu blog featuring the lovely new Christmas stamp, Mother and Child.  I hope you will pop over and take a peek.  Let me know if you enjoyed this project.  Hugs, Autumn


I'm also sharing with:
3 Colors: Silver, Gold & White / 2 Embellishments: Chipboard & Sequins / 1 Technique: Splatter

Sep 8, 2016

Altered Mixed Media Frame with Found Relatives

frame 1

I am thrilled beyond measure to be a guest designer today for A Vintage Journey and their fabulous challenge "Create Inside a Frame."  I am a frame hoarder and could not wait to alter one of my frames for this challenge.  I've shared all the inky details of my background process on my A Vintage Journey post, so do click on over and read about this fun process.

frame 2

Here's a glimpse of the before.  Don't worry, I have saved this handwritten parchment and will incorporate it in a collage in the future, well of course I will!

frame 3

Some of the details of my fall embellishment bundle.  The die under the flowers (can somebody help me name this?) is a recent score at Tuesday Morning and is by Darcie's.

frame 4

The beautiful flowers are by Recollections, from Michaels.  I've used Sizzix dies for the clock, the branch, the frame, and the tattered leaves.

frame 5

The branch is painted with IndigoBlu metallic copper paint.  It is the most wonderful color!!!  I used splashes of it with their gold paint as well.

frame 6

In just the right light you can see the base colors peeking through the layered white gesso, this is my favorite section.  I really had a blast working on this altered frame.  The Found Relatives photo from Tim Holtz was the perfect focal image.  Thank you A Vintage Journey creative guides for having me today!

frame 7
I'm also sharing with:

Sep 6, 2016

Distress Ink Layers for a Pocket Card

card 1

Today I am honored to be a guest designer for the latest Happy Little Stampers challenge, Distress.  What a wonderful theme, with so many options!  I decided to use Distress Inks to create a grungy, distressed pocket card.  Basically, I dipped my papers into watery Distress Ink for color, then stamped Tim's new doily stamp onto the panels.  I stitched two together to form the pocket.


card 2

I made a tag with part of the stamped paper and stamped this amazing bird postcard to create my focal image.  The heart was leftover from cutting my June Tim's tag window from my Distress Ink stencil plaid.

card 3

I was lucky enough to win this die set from one of Tim's Instagram giveaways.  Here you can see how I curled the edges of my layers so the underneath color shows, I love that!  The flower was handmade with a Sizzix die by Brenda Walton.  I cut twigs into tiny sections and glued to the center.  A little tedious, but cool result.  Thank you to the HLS team for letting me share in the fun with you today!

card 4

I'm also playing along with:

Popular Posts