Aug 7, 2018

Tim Holtz Paper Cut Bird with 3D Botanical Card


Hello and happy August!  How quickly are the seasons changing and months passing this year!  I find it time to turn my thoughts toward fall themed cards with richer, earthier colors.  I had another play with the new Tim Holtz 3D Botanical Texture Fade.  This time I used Peacock Feathers Distress Ink and Distress Oxide, then dabbed my panel with my Versamark and embossed Copper EP randomly.  I was going for a rich patina effect.  


I rummaged through my products during several sittings and finally decided upon the Paper Cut Bird die as my focal image.  I sanded an entire sheet of gold Metallic Kraft Core and cut my bird, then a frame from the Stitched Rectangles set and a base panel.  I rubbed a teal glaze over the base to tint it so I would have enough contrast.  I absolutely LOVE this bird die cut out and framed this way and will be revisiting this idea in the future.


I finished with some purchased florals and a beautiful Metallic Quotations sticker.  It was hard to photograph, but I hope you can imagine the luster of the metallic embossing and papers.  Thanks for visiting and have a blessed day, Autumn

You are invited to the Inlinkz link party!
Click here to enter

Aug 4, 2018

Tim Holtz Shadow Script Masculine CAS Cards


Last weekend my local girlfriends and I stayed at an AirBnB in Townsville, SC on Lake Hartwell.  We really had THE BEST time.  When you craft in a group, it's not always easy to get completed projects.  I mean, everyone brings their crafty stash and you want to share.  I usually spend my time making inky backgrounds with my Distress Inks, but wanted to work towards end projects this time, as I still have inky paper from my time with Sara Emily (love you and wish you were with us!)


Madelyn's son made us a homemade cheesecake.  The crust is brownie, then a layer of cheesecake, then a layer of dark chocolate he melted and whipped with cream until it was like a mousse, then he added strawberries around the edges!  It was so incredible and we decided to make him a thank you card.  I had just grabbed the new Tim Holtz Shadow Script 2 die set and used one sheet of Dapper Paper Stash, with the 6x6 grid to make all three of these cards.  They were so simple and using the 6x6 grid made it easy to get three or four cards from one sheet of paper.  I will just HAVE to get the Shadow Script 1 die set now!


I used Distress Inks to sponge the cut out words as needed to create contrast.  Each card has a simple twine wrap for texture.  How's that for masculine & CAS?!


I've got lots of other projects to share with you over the next couple of weeks and really feel inspired and rejuvenated from our time.  Thanks to Carol (top middle), Bonnie (bottom middle) and Madelyn (bottom right) for an amazing weekend!  No makeup, no fuss, no ELEVATOR!  ;0  LOL!  #packlight

I'd love to hear about your crafty girl time.  Let me know if you craft with friends or attend crops/classes.  What's your best advice for group setting crafting?  Have a great day, Autumn

Aug 2, 2018

PaperArtsy Stamps Mixed Media Journal Pages


Today we begin a new challenge at A Vintage Journey.  Our hostess, Amanda, has chosen the theme How Can You Resist?  She says, "There are any different products in mixed media that you can use to do a resist technique - gesso, distress glaze, wax, embossing powder, etc. We would like you to use at least one resist technique on your vintage, shabby, mixed media, art journaling, industrial, timeworn or steampunk project."  

I was remembering my favorite resist project in a chunky little mini album I shared HERE.  Now, I had created this album to be a journal of sorts and hadn't added any pages in a while.  I decided to continue on with my theme of Passages and repeat that very fun to make resist technique.  I picked some stamps that would work well with my theme: PaperArtsy Lyne Perrella Collection (LPC011), Eclectica Emma Godfrey Collection (EEG25) and (EEG26).


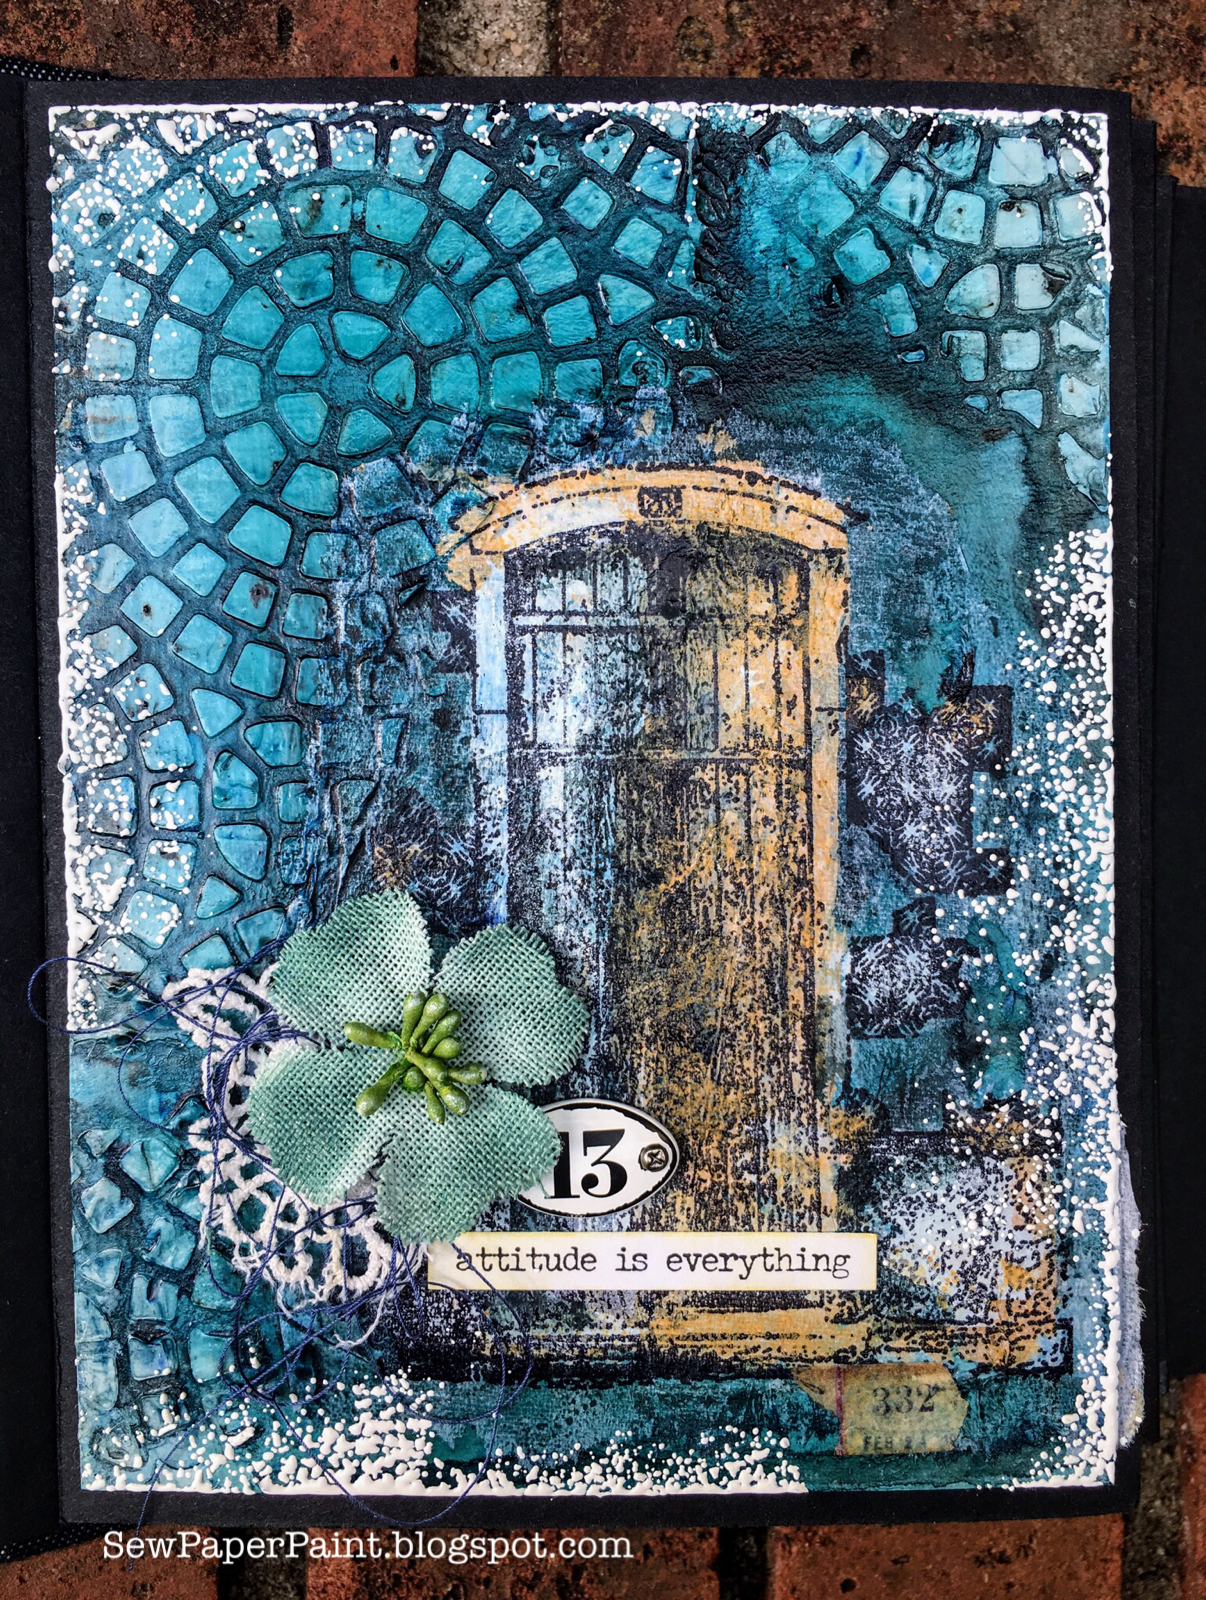
I first painted my chipboard pages with PaperArtsy Fresco Chalk Acrylics in Jade and Hint of Mint.  I used the stamps as a guide to do my stencil work.  I made a stencil by using a Tim Holtz Mixed Media Thinlet die and a file folder.  I chose this design so I could add stamping of the cobblestone tile.


I used clear paste through my "stencil" on each panel.  I dried them some with a heat tool, then laid them aside to finish drying while I began work on my stamping.  I stamped each image onto tissue paper.  I find the Archival black pad works much better than a Versamark for this technique due to the oil content of the pads.  It is important to stamp over a scrap of paper.  I heat set the images, then painted the reverse with Hint of Mint and Caramel.  To cut them out, I trace around the design with a wet paintbrush then tear the edges.


I spritzed and sprinkled Royal Blood Infusions onto my painted panels.  Because PaperArtsy Fresco Chalk Acrylics are a very matte finish, the Infusions adhere to the painted surface perfectly, however the clear paste resists the Infusions.  Here's a before and after shot.


Next I used Mod Podge to adhere my tissue stamping onto my panels.  I brushed on Mod Podge where the image should go, then carefully pressed the image into the glue.  I burnished with my fingers, taking care not to move the tissue around.  Finally I went over the entire panel with Mod Podge to blend the various sheen.  When it was mostly dry, I looked for any white places where the tissue didn't become transparent and went over it with watery Infusions to blend out the white.  I added some Tim Holtz tissue tape and white embossing.


Here you can see how seamlessly the tissue blends in, even over the textured stencil work!


This sweet flower is by Petaloo.  I added some tattered crocheted ribbon, bundled string, Tim Holtz Small Talk sticker and a TH finding.


I'm totally crazy over the Royal Blood Infusions over Jade Frescos!  I decided these panels should go at the beginning of my book.  I hope you're inspired today and will play along with our current challenge.


Review this journal / mini album in my posts thus far.

See the Cloth Cover Bookmaking / Binding Tutorial HERE:


See the Cover Art Tutorial HERE:


See my Lynne Perrella Pages HERE:


See my DIY Chipboard Word Pages HERE:

You are invited to the Inlinkz link party!

Click here to enter

Aug 1, 2018

PaperArtsy Foiled and Framed Masterboards


I'm thrilled to be sharing a post on the PaperArtsy blog today for the current topic, Mint, Sage, Claret & Gold.  There have been some incredible posts by the PaperArtsy designers, so do have a full scroll through on the blog.  I promise you will leave inspired!  For my framed collages, I used the beautiful PaperArtsy {Urban Snapshots} Collection (USN1) and (USN3) along with Eclectica³ {Lin Brown} Collection (ELB33) and (MINI62).  I hope you'll hop on over for the details.  <3


Tim Holtz Entomology Eileen Hull Wrap Journal


Hello friends!  Today we begin a new challenge at Mini Album Makers.  Our sponsor this month is Eilleen Hull, so I've used Eileen's new Wrap Journal Die to create this Entomology notebook, filled to the brim with Tim Holtz products and vintage finds.  I was hugely inspired by the talented designers of the EcoPaper blog and look forward to blending some of this style into my work in the future.


We'd love to have you join our challenge this month for a chance to win an Eileen Hull Journaling Cards - Hearts Die!


I covered my black chipboard with Tim Holtz Idea-ology Etcetera Paper Stash.  Sadly, I cut this one piece of bug paper I had on the wrong side, so I decided to use a japanese binding and present my journal Manga style!


My friend Madelyn gave me some Japanese/English pocket translation book pages and I wrinkled them up and stuffed them into my inserts.  I imagine a Japanese immigrant coming to the states and exploring our national parks, stuffing this journal with his collections...  :)


I made a little piece of faux amber by stamping one of Tim's Entomology stamps onto a tea bag and adhering it to a wooden token with Mod Podge.  I covered it with Seth Apter's Vintage Beeswax Embossing Powder.  I layered with sisal fibers, a library card divider my awesome friend Mimi sent me, a found feather and a ticket I made with Gathered Twigs Distress Ink, Tim's Ticket Booth Stamps and the Sizzix Dies to match.


These are SOOO much fun to play with!  Thanks Madelyn for sharing your awesome crafty stash with me!  :)


I had a tiny glassine envelope that I filled with tiny feathers and added to my layering, along with torn Design Tape and a toy compass, which I colored with alcohol ink.


I tinted a Wildflower 2 die cut with Bundled Sage Distress Ink.


Inside I added a vintage find, more book pages, a library card my friend Mimi gave to me - so personal and precious to me!  Thanks my friend!  I added more tea bag stamping and Design Tape scrunched up here and there.


I layered a piece of mica with another ticket, Tim's Crocheted Lace, a Clipping Sticker and a Quote Chip.


I used one of Tim's Hinge Clips to bundle another library card, a feather and some holey paper we get at a specialty shop in Saluda, NC.


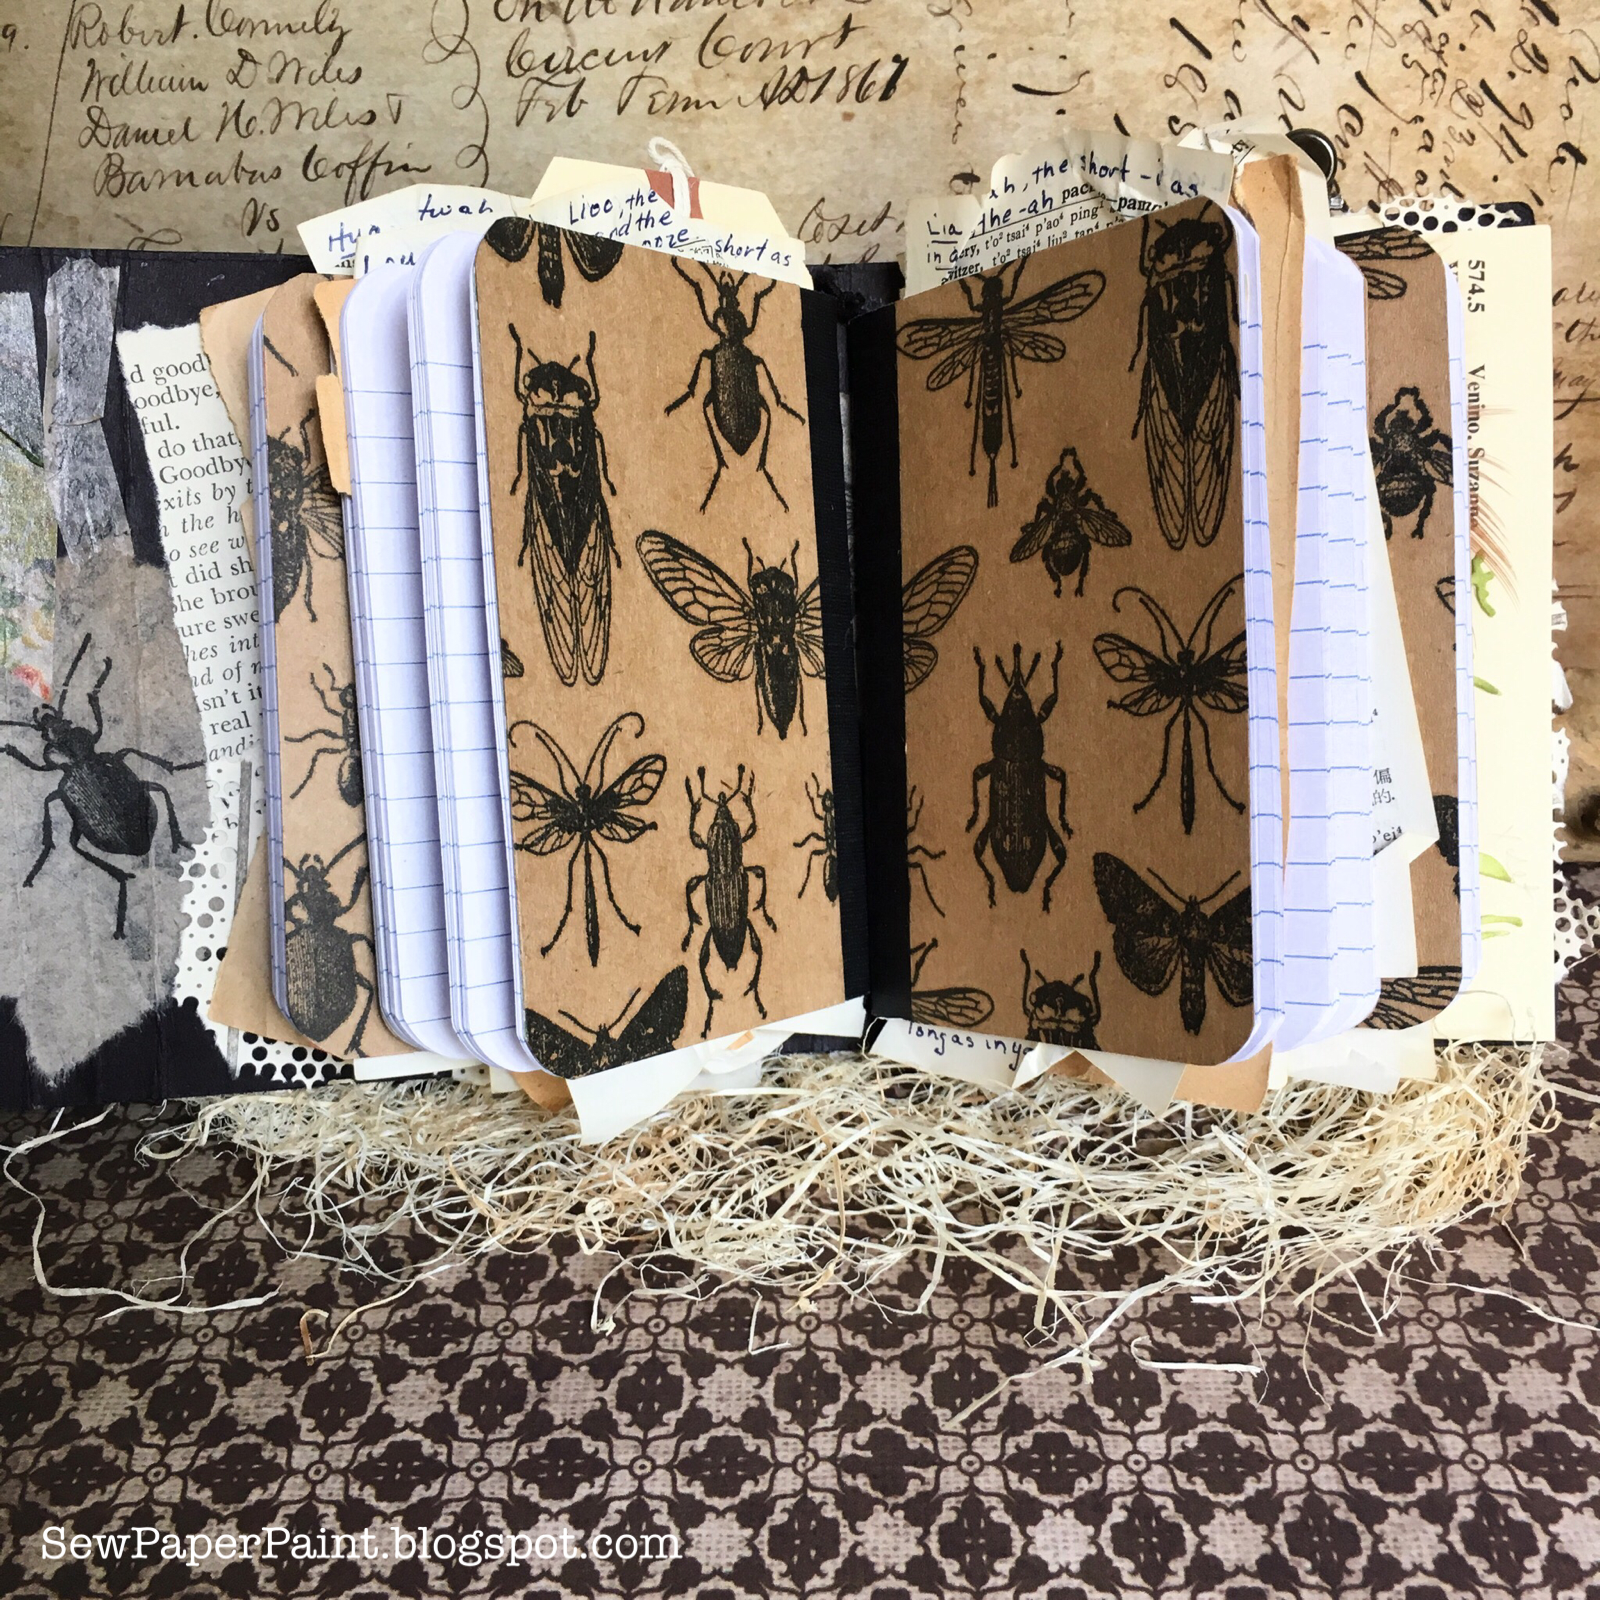
For my inserts, I purchased mini composition notebooks from the Dollar Tree.  I stamped images from Tim's Entomology Stamp Set with Versamark onto kraft paper and adhered to the front and back cover of four of the notebooks.  I can't take credit for this idea, as all of the talented members of the Eileen Hull Facebook Group are doing the same.  The notebooks fit perfectly inside Eileen's Wrap Journal.  Nevertheless, this goes right along with my posts on Dollar Store Crafts.  You can see all of those HERE.


I seriously love these little notebooks!  :)


Another closeup of the tea bag stamping...


I truly hope you're inspired today and will play along with our challenge at Mini Album Makers this month.  I apologize that this isn't a typical tutorial, but I hope you've learned some tips and tricks along the way.  Make sure to check out my other posts HERE for more in depth mini album tutorials.  Hugs, Autumn

You are invited to the Inlinkz link party!
Click here to enter

Popular Posts