Apr 3, 2022

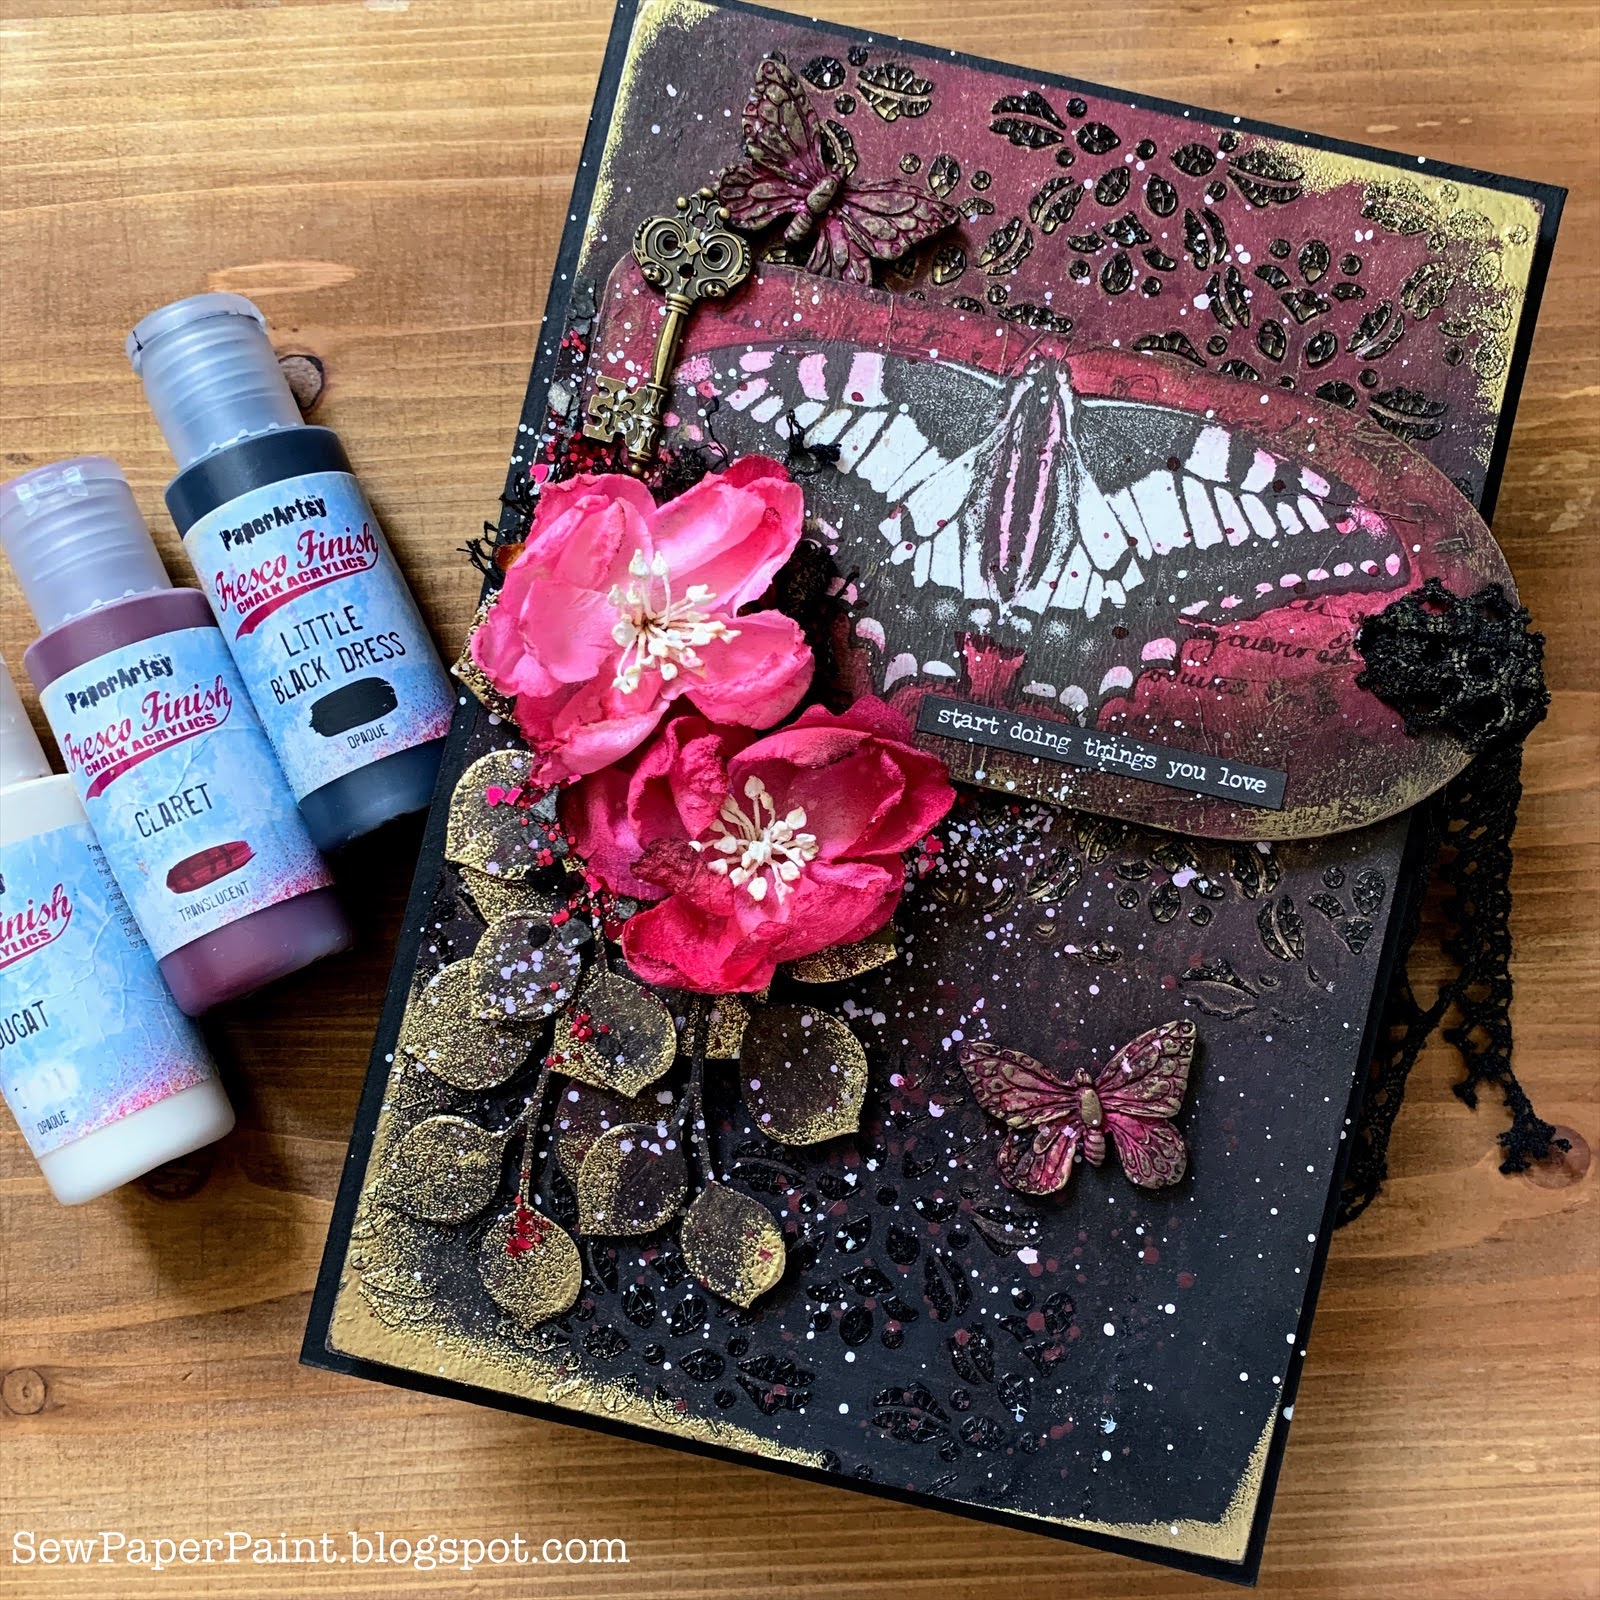
PaperArtsy Printed Tissue Mixed Media Butterfly Panel


Hi friends!  I'm so excited today to share with you a new mixed media panel, inspired by week one of the Art Poetry Challenge on Instagram.  You can find out more about the challenge on the @artpagespoetry posts HERE.  I've been in quite the creative slump for a while, and I'm so happy I persisted with this panel because it makes me happy.  Sometimes we just have to push through, maybe walk away and revisit, and keep on creating.  

This week we were encouraged to use a gorgeous cake photo from the @cakepoetry gallery as inspiration.  I chose a beautiful moody cake photo.
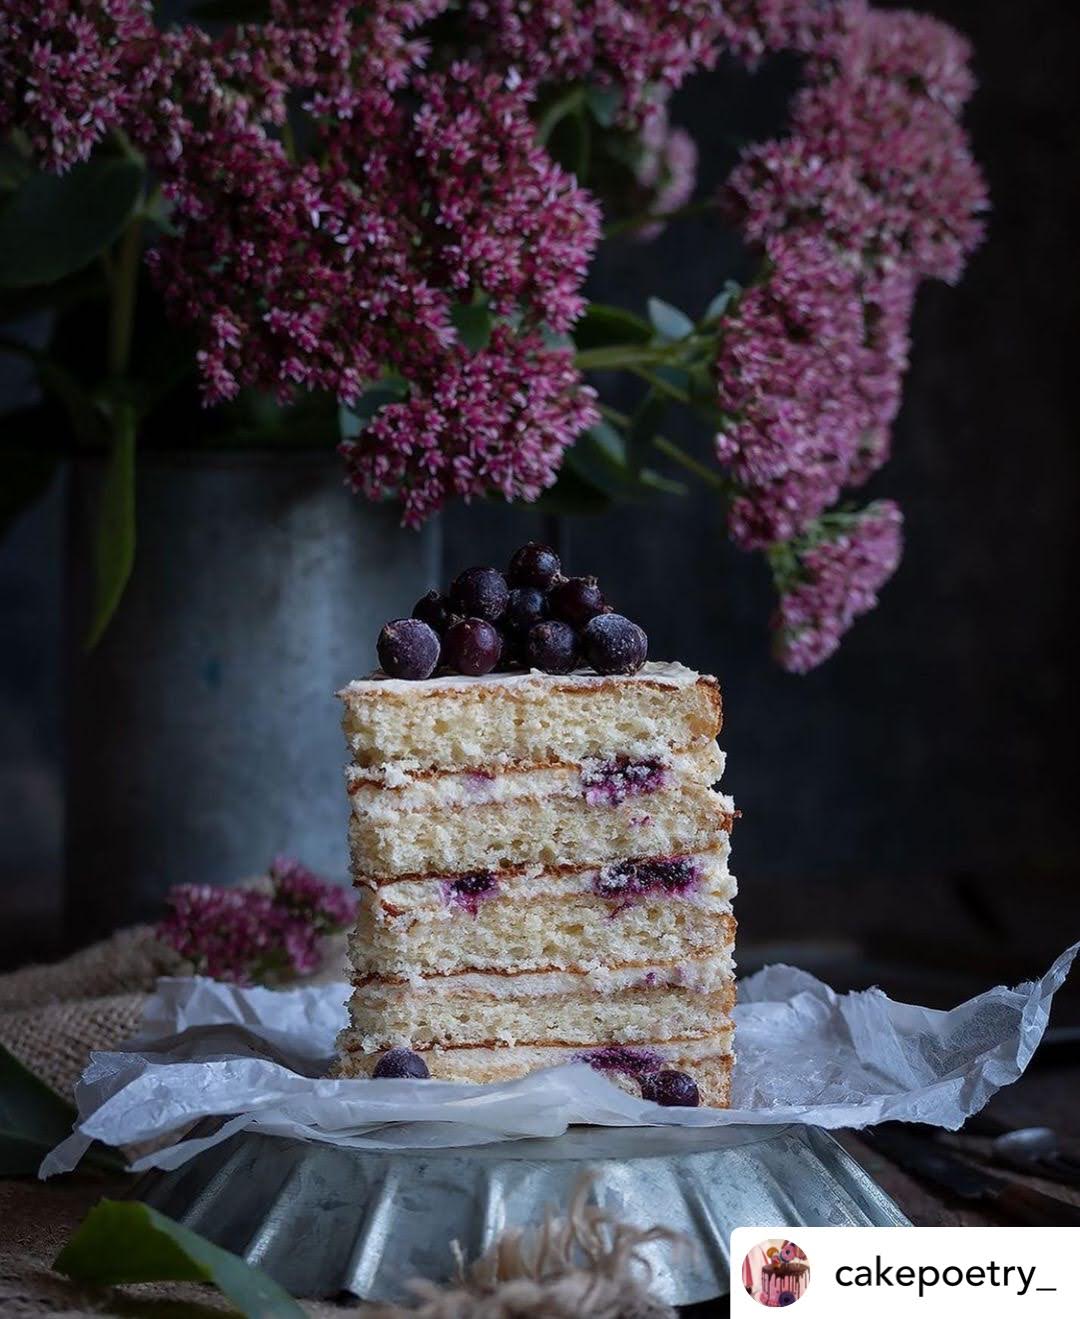
I tried to pick my deepest berry color and went with PaperArtsy Claret Fresco Chalk Acrylic blended with Little Black Dress,, painted onto a chipboard panel  I used a black crackle paste through a PaperArtsy stencil by Scrapcosy (PS106).  How moody and dramatic this was!

I sprayed Glimmer Mist by Tattered Angels in a beautiful deep berry color over the panel and let it run in and around the black crackle paste to add some shimmer.  Now, I decided to use the new PaperArtsy printed tissue for my focal image and was digging through my scrap bin for something to use as a base and came across this rounded thick tag that came out of a shoe and I had saved.  Ha ha!  It was the perfect shape and I chose the gorgeous butterfly from the tissue and used a water brush to draw around it and tear it away from the tissue page. 

I painted the back surround with the same Claret Fresco paint and let just a bit rub onto the butterfly.  Then I painted the shoe card with Nougat Fresco to mimic the yummy vanilla cake.  I adhered the tissue to the card with matte Mod Podge.  Then I painted more claret around the tissue.  This color is translucent and works great with tissue.  I sponged the edges with some black ink to add drama.

I rubbed some Antique Gold Art Alchemy Metallique Wax (a Finnabair product by Prima) on those darkened edges.  It picked up the slight texture of the tissue paste, which I loved.


I picked out the most delicious berry colored flowers from my stash.  I think they are by Petal-lou, then die cut some leaves from thin chipboard.  I painted them with Little Black Dress and a dab of Claret in the middle, then added some gold embossing.
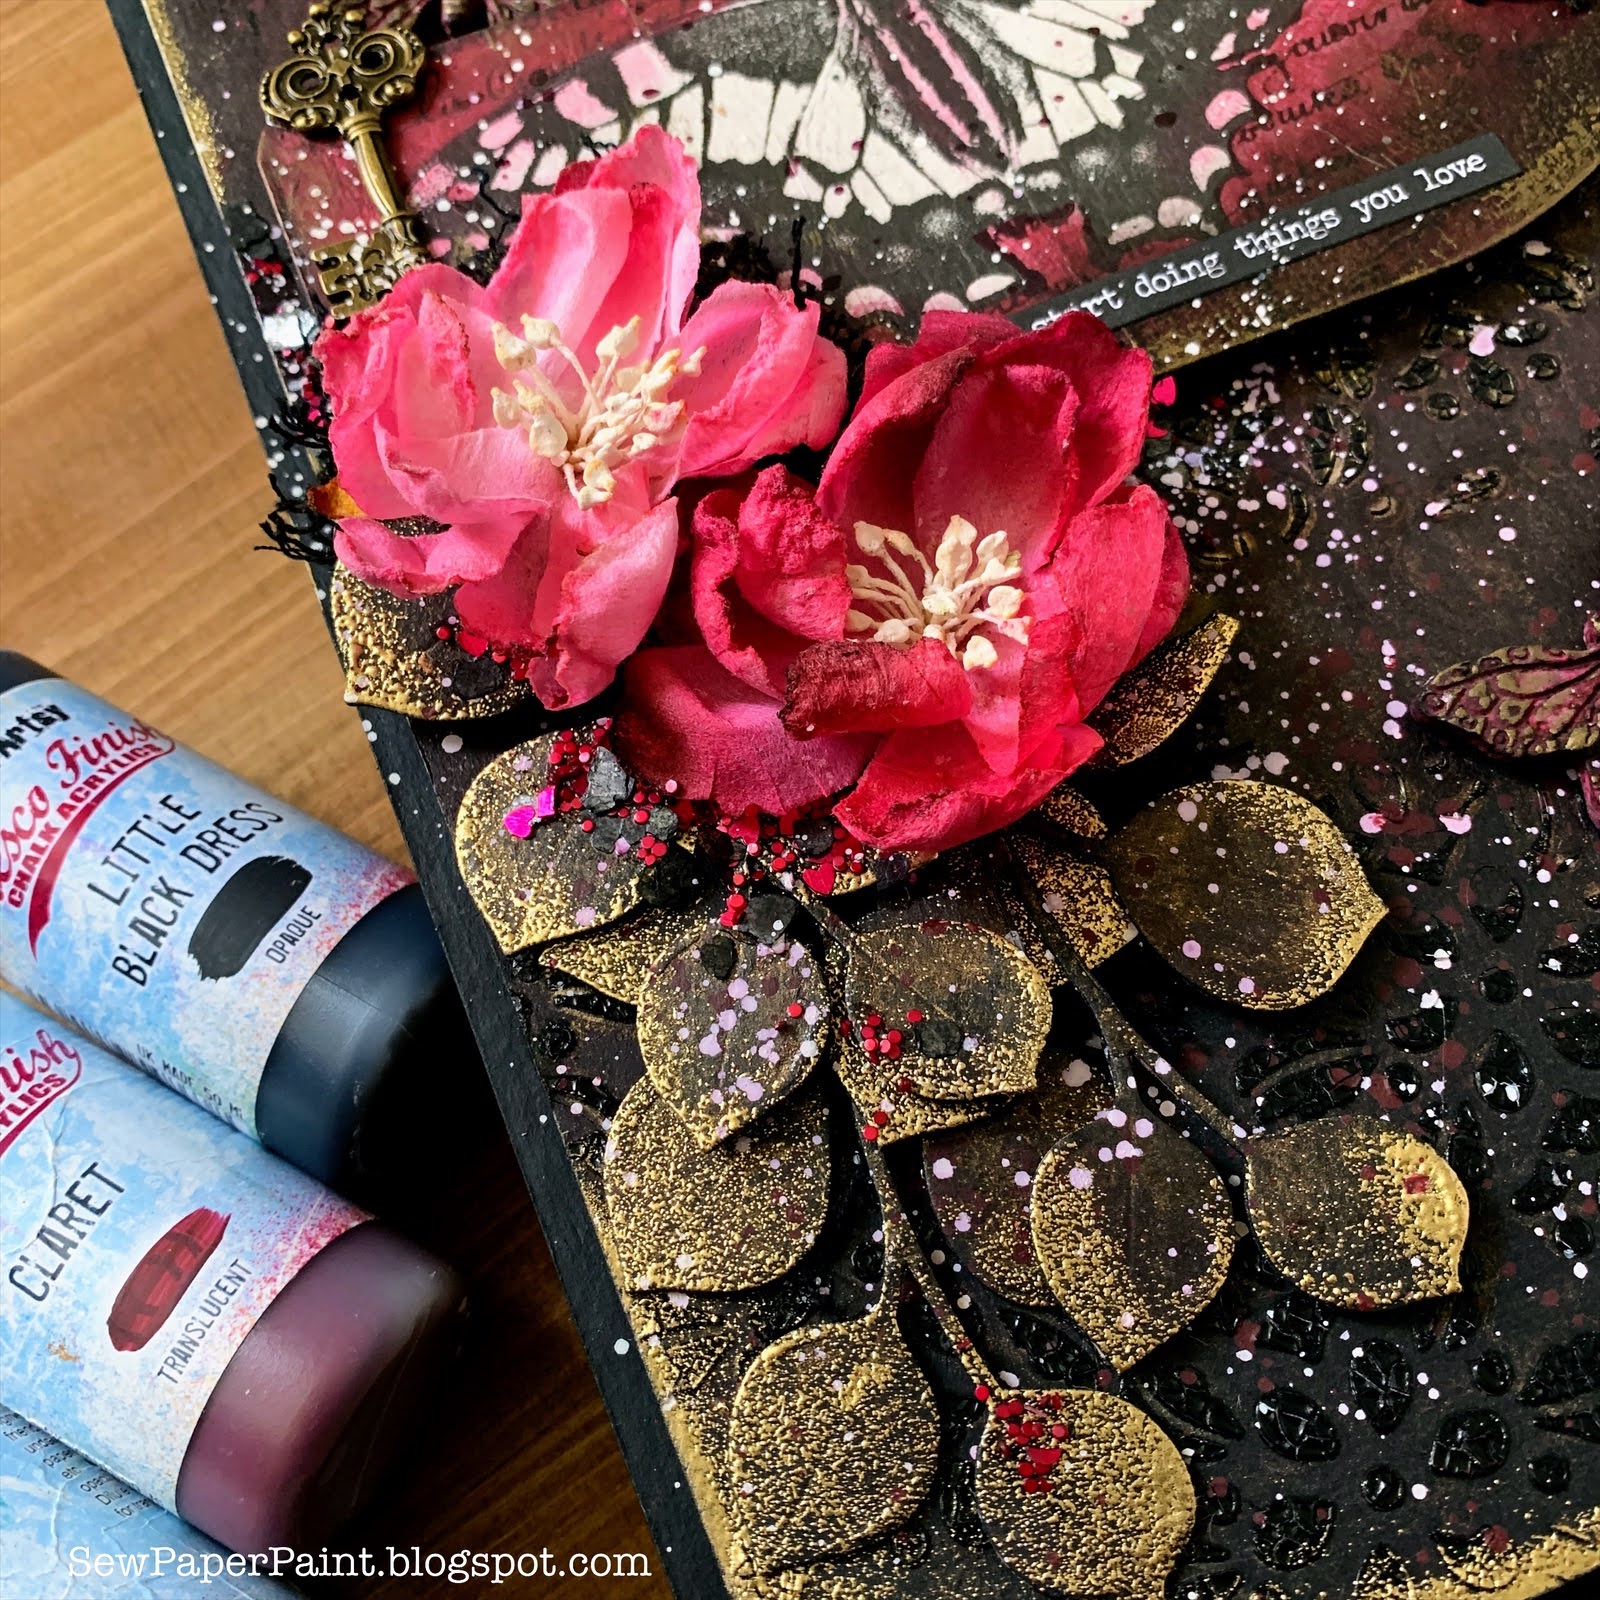
I layered the flowers and leaves together over some black croched lace and used more wax to soften the color.  I adhered a sequin mix and some Finnabair black mica flakes around the flower bundle. 

Then I had a blast pulling out ephemera.  I chose a metal key and two paper clay butterflies my friend Sara Emily shared with me.  I do believe they are from Prima molds.  I misted them with water then sprinkled Infusions pigment powder in Blackcurrant over them and spritzed again, repeating until the color was as desired.  I am so excited to discover how well Infusions work with dried paper clay!  I will definitely be using this idea again in the future. 

Later, I added some more wax to the butterflies, but I wish I had photoed them before so you could see how cool the muddled Infusions looked. 

Finally, I cut a second chipboard panel, painted with Little Black Dress and mounted the piece over it with a couple of sheets of fun foam in between.  I gave everything splashes of watered Nougat and Claret Frescos.  It was really fun to see it all come together.  It's been ages since I did this style of mixed media and now I realize just how much I've missed it.  I hope you've enjoyed this post and will check out the challenge and see if you can find some inspiration.  xx, Autumn

Mar 29, 2022

Darkroom Door Cards for Topflight Stamps 5th Birthday Blog Hop


Hi everyone!  I'm excited to be celebrating the Topflight Stamps 5th birthday and I’ve teamed up with some great designers to showcase celebratory projects using the unique products available at Topflight Stamps. Please hop along with us and see all the beautiful talent from this group of amazing designers! You should have arrived here from Melina Dahl's blog. If not, no worries, catch the details below.  I hope you will also take advantage of the 20% off sale through March 31.  

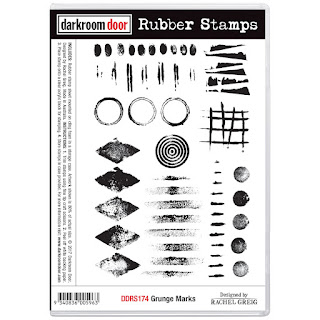
For my card I wanted to use bright and cheery colors, so I stamped the harlequin background from the Grunge Marks stamp set by Darkroom Door in an array of colors of Distress Oxide.  Next, I stamped and colored the Fine Leaves and Garden Birds and watercolored them.  I finished by stamping a sentiment from the Birthday Greetings set and layering these elements over a circle cutout. 

 
GIVEAWAY DETAILS
Of course, it wouldn’t be a birthday celebration without prizes! Topflight Stamps is giving one lucky winner a $50 Gift Certificate to the store. But wait, there is more, each stop on the hop has an additional $25 Gift Certificate up for grabs for some lucky commenter. For a chance to win, make sure to visit every stop on the hop and leave a comment by April 3rd. Winners will be announced on the Topflight Stamps blog on April 7th. Good Luck!  (Please note Topflight Stamps ships only to the United States and Canada due to new tax laws and USPS shipping limitations.)
 
 
Find these awesome products at Topflight Stamps!


Feb 17, 2022

New Darkroom Door Stamps and Stencils!


Hello everyone!  I'm delighted to be sharing a few new cards with you featuring the AMAZING new release of stamps by Darkroom Door.  I have to say I had the MOST fun I've had in ages playing with these stamps.  The first set I used for this collage style card is called Pen & Ink.  This set is really special to me because of my love for journaling, sharing my creations on IG at @letterpaperpen
 

Because I was going for a collage look, I first stamped the entire sheet of rubber (before cutting the stamps apart) to make a background.  Then I added layers with the also new Distress Diamonds abstract stamp, the Diamonds small stencil and the Lots of Labels stamp set.  Then I decided to add in a feather pen using the Feathers stamp set.  In retrospect, I wish I had stamped it in black & brown, but I still really like the vibe.  I finished this card with a label tape sentiment.  Below are all of the new stamp sets.  I can't wait to get my hands on the Library Books set!  There are loads of gorgeous samples by the talented designers on the Darkroom Door blog, so make sure to visit HERE.


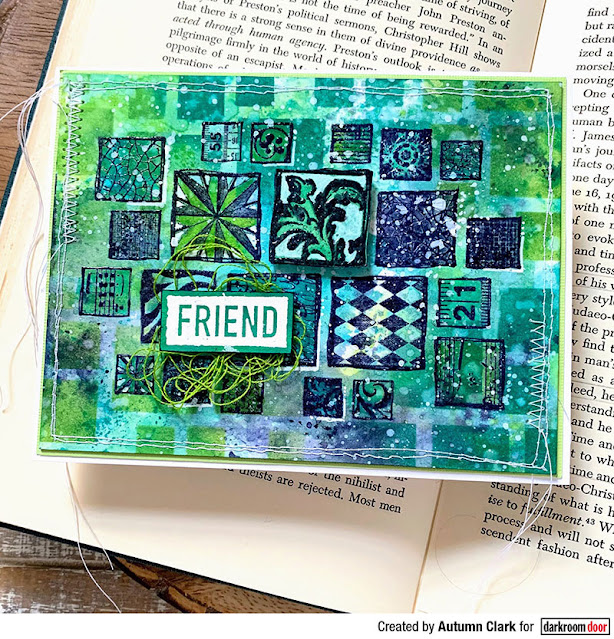
My next card features a gorgeous stamp/stencil combo and reminds me of why I fell in love with rubber stamping, over 20 years ago.  I had such a blast detailing the Arty Squares collage stamp!   This stamp comes with a coordinating stencil to help you add color directly to the individual tiles.  I decided to use the stamp in landscape and then use the Arty Squares stencil to sponge the area surrounding the stamped and embossed tiles.  This way the pattern seems to extend.  I fussy cut one tile and popped it up and added an embossed sentiment from the You Are Everything set (an all time favorite!) and layered with some messy string. 
 

Next time I'm going to try and stamp onto multicolored papers and add some embossing glaze over the tiles.  Would you check out the Arty Scales stamp & stencil?!  Oh my gosh I love it and will have to add it to my collection.  


The Layered Handwriting background stamp is the perfect accompaniment to the Pen & Ink set.  For my next collage style card, I partially stamped it to make my background, then added stamping from the Distressed Diamonds abstract stamp and the coffee "ink" stains from the Coffee Time stamp set.  I added the same sentiment from the You Are Everything set to finish it off.  For all you fountain pen lovers, these stamps are MUST HAVES!  :)
 
 
I love the size of these background stamps.  The Maple Leaves stamp will be a fall favorite and those Scales are rockin'! 


All of the new abstract stamps are really amazing and unique!  For this card I paired the Geometric Ovals with the Faded Circles abstract stamp.  I added  the Dreams quote stamp for my sentiment. 
 

These little uneven circles will be making many appearances in my future work.  I just love this subtle stamp for backgrounds.  Here I used it repeatedly to fill the card, but it will be awesome partially stamped to fill in spaces.  I hope these cards have made you want to get inky!  Make sure to stop by the Darkroom Door blog for more inspiration.  xx, Autumn
 

Jan 10, 2022

Collage Pocket File Folder Folio Video Tutorial


Hello dear friends!  I've been diving back into collage again and am excited to share a new video tutorial with you on a fun fold file folio, with loads of pockets to fill 'til your heart is content!  

Find the video HERE

I used a few digitals I had on hand, the main elements were a freebie from the JJ with Joy FB group, given by Junk With Steph.  I bought a set of background papers just to make the process quicker.  All of the background pages were from the My Porch Prints Basic Journal kit from Etsy.  I printed them as is and just cut them to the size of my finished folio.

Here I used an exacto to trace and cut a circle die to make a window, then cut the same circle with the next larger circle to make the frame, which shows the bee on the tag and then the bird on the page beneath.  :)

I embellished the finished journal with lots of stitching, washi stickers and Tim Holtz washi tape. 

I also added several of Tim's sentiment stickers, all creating motivational quotes throughout. 

I used Darkroom Door Postmarks stamps over the images on most pages.

And how about that gorgeous feather?  My daughter found it on a trail this fall.  It's at least a foot long, such a treasure!

This tag may be my favorite because of the sheep image.  I am always drawn to them. 

And the back cover...  I will share lots of closeups and details on my collage/journaling Instagram page @letterpaperpen, so make sure to follow.  And I'd love for you to become a subscriber to my YouTube page and pin this post for later reference.  If you'd like to see my other File Folder Folio tutorials click HERE.  And make sure to check out THIS one from my LPP blog.  Thanks friends and happy collaging!  xx, Autumn

You are invited to the Inlinkz link party!

Click here to enter

Dec 16, 2021

Graphic 45 12 Days of Christmas Cards


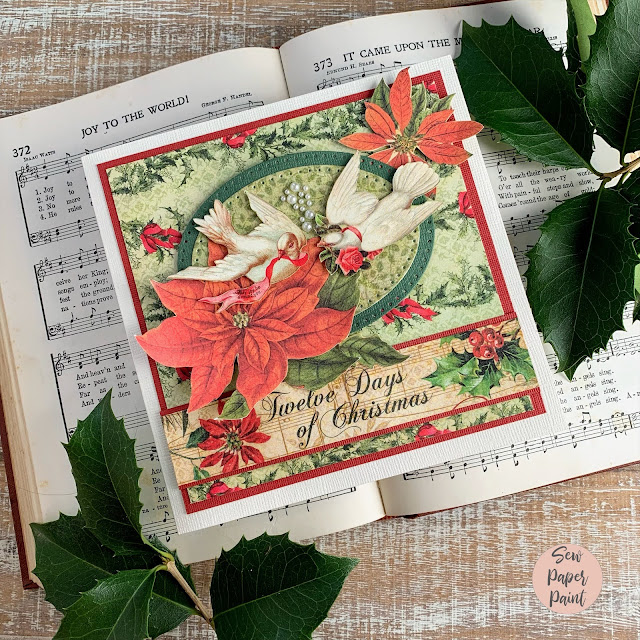
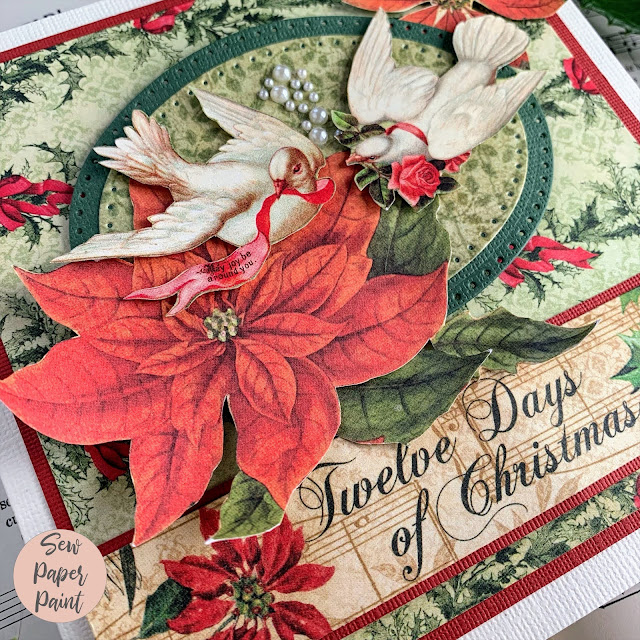
Happy Christmas friends!  I hope you are having a beautiful season of warmth and love.  Today I have some cards to share with you featuring the beloved 12 Days of Christmas paper by Graphic 45.  I try not to share too many "throwbacks" with you, but my mom and dear friend bought this paper years ago and never quite found time to make cards together.  With last year's rerelease of some Graphic 45 collections from "the vault" I thought some of you might have this paper now and appreciate these cards.  We had a delightful day of making and ended up with all of these cards from one day together! 


We did A LOT of fussy cutting to maximize the paper, as it was all we had (no chipboard, cutouts, etc.) and I think the results are really beautiful.  I also think I need to ask dear old Santa for a Scan 'N Cut for Christmas!  Whew!  LOL!


We feed off of each other's ideas.  This gorgeous maids a-milking card and the beautiful calling birds were designed by my friend, Barbara.  She has such an elegant style!


I hope you've enjoyed these and are inspired to do a little paperwork of your own.  Merry Christmas, Autumn

 Click the InLinkz to view more Graphic 45 Collections!

You are invited to the Inlinkz link party!

Click here to enter

Popular Posts