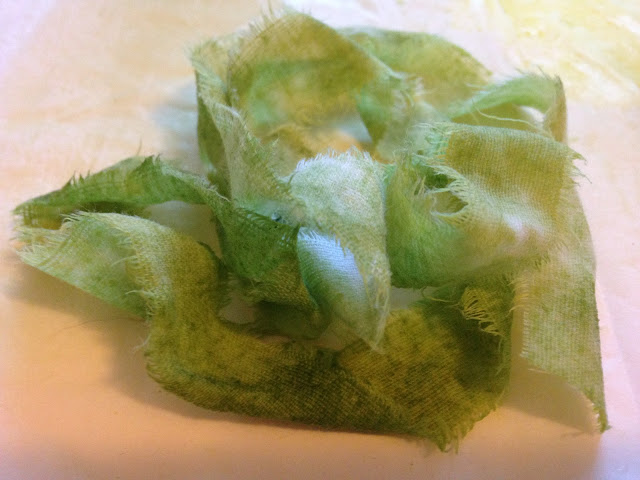
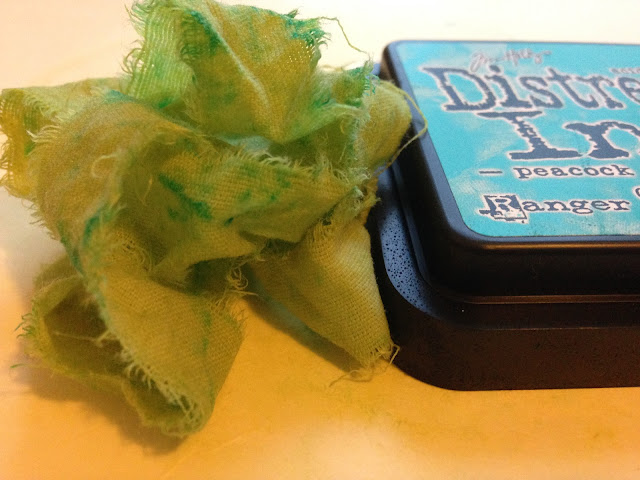
This brilliant DIY idea (if I do say so myself) popped in my head last night and I quickly experimented with making tattered & dyed ribbon, thus a tutorial for you!
I have been enjoying the ink tutorials by Tammy Tutterow so much, but she and so many others use SOOO many of Tim Holtz's products and I just can't keep up with buying all of his new stuff, I mean sheesh! I've always enjoyed a good DIY and trying to find a cheaper way of doing, well, about anything! So glad that this project turned into a success. I had a scrap of gauzy cotton that I had been tearing and using to clean my paint messes with so I could take Roben-Marie Smith's course, Ripped & Stitched. Cannot wait to take this class!!! The material was perfect for making ribbon. It is not quilter's cotton, and not linen - but somewhere in between. I picked it up at a second hand store...
Begin with a piece of cotton approximately 24" - 36" wide and however long. Snip into the fabric every half to 3/4" (not too wide) then tear off one strip at a time, removing any strings that are released as you go.
Nest brush your craft mat or wax paper with Distress Ink and spritz with water about 4-5 times and rub your ribbon strips in the ink, adding more water as necessary directly to the fabric strips.
Repeat with a second color.
You can also add color directly to the fabric with the ink pad to create darker sections.
Crinkle and let dry, then use for card making, tags, and more. Alternatively, you can iron the wadded ball while wet to set in some wrinkles.
Here's my lovely pile of experimentation:
It reminds me of a grungy version of hand dyed silk... Next I want to do some stitching over the ribbon strips. Black zig zag, white pinstripes, etc. Thanks for looking, now go DIY yourself some lovely ribbon to coordinate with your projects. :)
Subscribe to:
Post Comments (Atom)
Popular Posts
-
I am absolutely busting with joy today! I've had the great privilege to work with new die cuts by Karen Burniston and images by D...
-
I trust that you are having a lovely October day. I am full speed ahead into Christmas crafting, with inspiration from the 12 Tags of Ch...
-
Somehow I found time to play with Tim's August 2016 tag. I am trying to get in the fall mood, but still thinking summer. So I mixed...


1 comment:
Thanks for showing this!
Post a Comment