Sep 22, 2021

Tim Holtz Leaf Fragments & Mica Spray Fall Cards


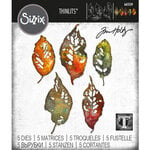
Hi friends and happy first day of autumn!  The autumnal equinox is one of my favorite days of the year and I like to have a family dinner out of doors with favorite fall foods, and a bonfire if we can manage.  Thinking about the coming fall, I've taken some time to play with the new Tim Holtz Leaf Fragments dies and am sharing a few cards with you today.  I hope you will enjoy them.
 
For my first card I paired the Tangled Twigs background die, the Postal dies and the largest leaf from Fragments.  I worked and worked at this card, trying to get just the right balance/contrast and am finally happy with it.  I used Tim's old Coredinations cardstock, sanded for the Twigs background.  I gave the finished card some splashes of Distress Mica Spray in Tarnished Brass to add a little shine. 

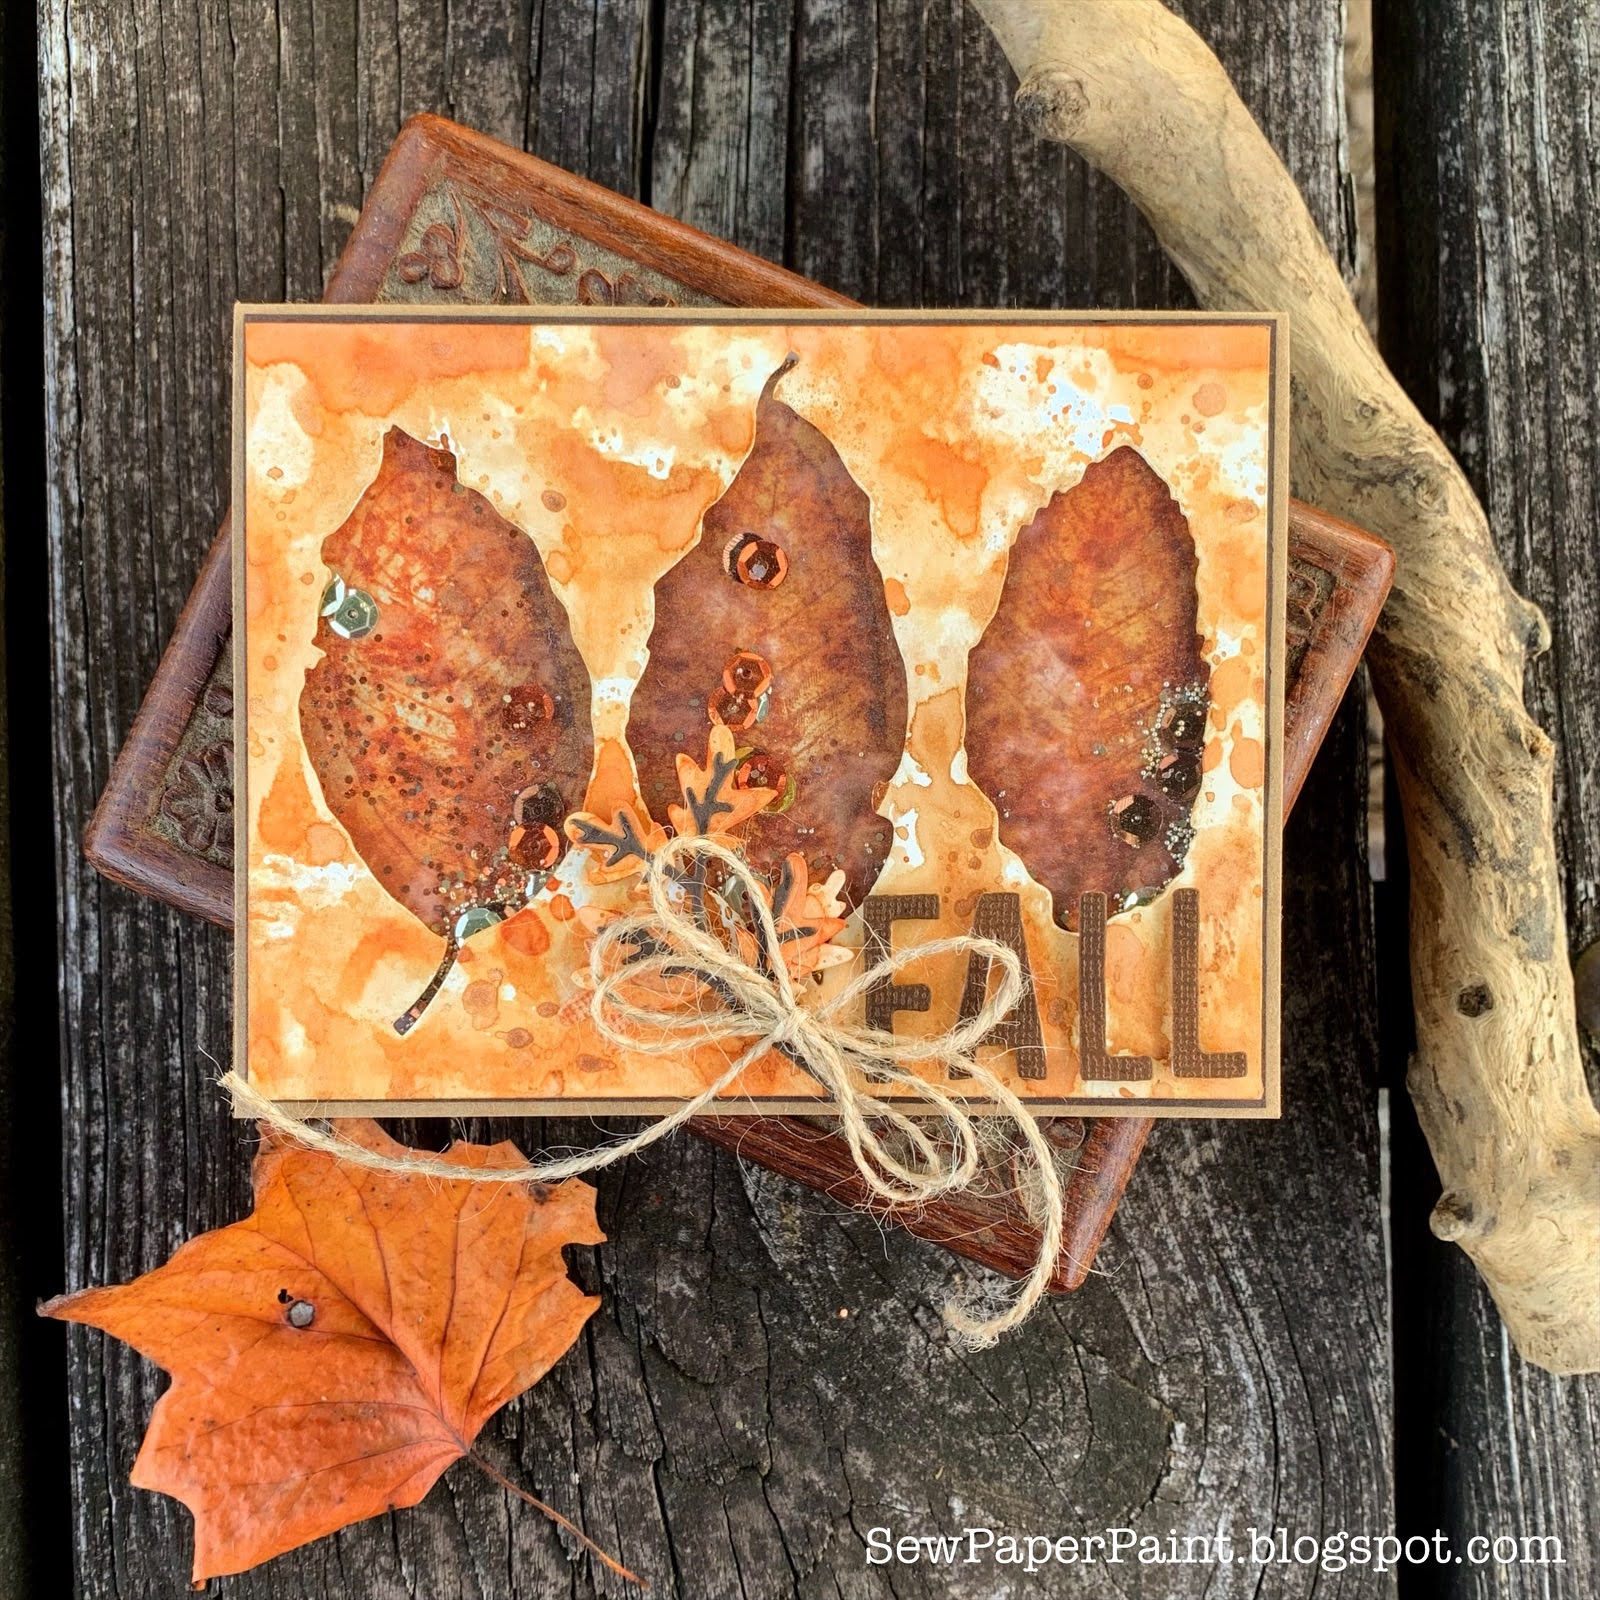
Next I decided to use reverse cut outs to make a shaker card.  I used a lot of backgrounds I made last year for these cards, something I'm trying to do more of.  Goodness knows I have enough backgrounds made to keep me going for ages.  LOL!  On this one I stamped leaves from the Nature's Wonder stamp set behind each opening and gave the panel a spritz of Distress Mica Spray in Antique Bronze.

I used the Funky Foliage dies for the little branch and the 1" Alphanumeric dies for the sentiment.  I went back and forth about adding more to the foreground, but left it simple.  I do wish I had stitched around the edge though...


The final card is probably my favorite.  Years ago I was playing with Sara Emily at the lake and sharing our supplies and used Tim's ornate stencil and Sara's spray Distress Inks to make a background panel, which I loved but never figured out how to use.  I was inspired by Bernadette Ball's embossed leaves, so I wondered if I could die cut the panel with texture paste already on it.  And it worked!  I was so happy!  I sponged the edges of each leaf with a blending brush and Walnut stain.  I layered over a crackled corrugated cardboard panel and another of the similar backgrounds I had made.  The sentiment came from the Pennants set, which I only bought for the sentiments. 

If you're looking for even more fall Tim Holtz cardmaking inspiration, I did a recap post HERE with lots of other fun ideas.  Wishing each of you a lovely season with lots of cozy times and crafty fun.  xx, Autumn

You are invited to the Inlinkz link party!

Click here to enter

Sep 14, 2021

PaperArtsy Scrapcosy and Tracy Scott Mixed Media Cards


Hi friends!  I've got a few PaperArtsy projects to share with you today.  These were blogged for Topflight Stamps and I hope they will be an inspiration to you today.  First, I shared a few mushroom collage thank you cards HERE using gorgeous stamps by Raquel Burillo Perez, AKA Scrapcozy.  Raquel has a new mushroom stamp set out now and I will be sharing more with it soon...

This bird card features another of Raquel's beautiful stamp sets, with a gel printed background and quote by Alison Bomber.  Details HERE.

This year I've really enjoyed playing with the gel plate more than ever.  Here are some bookmarks and a card I made from a print turned into masterboard with Tracy Scott stamps & stencils.  Details HERE.

As I look back, I find I've used Tracy Scott stamps more than any other this year!  Here's a grungy tag made with another of her flower sets, inspired by Claire Snowdon.  Details HERE.

And some more tags with Tracy's flowers.  Now these were extra special to me with a fun new Infusions technique, so I shared a video tutorial on my IGTF @sewpaperpaint HERE.  They are blogged HERE.

I guess I've been on a tag making kick too!  Here's a layered tag book I made with Tracy's stamps on double-sided gel prints and posted HERE

And a batch of cards using all of the stamps above.  :)  All these made from one batch of Infusions and I didn't want to waste a bit.  Details HERE

And then some fun with Tracy's bug stamps.  I love these so much because the insect stamps are so big!  I really love PaperArtsy because the images are larger than most other companies and work great for mixed media and my often 5x7" cards.  Details on this post HERE.

One last trio of cards with the bugs for now.  This was a fun background technique that I hope you'll try.  Find the process HERE.  I hope you've enjoyed these projects!  Your visits to the Topflight Stamps blog help to keep me on the design team, and able to share new content.  I truly appreciate your support my friends!  Big hugs, Autumn


Sep 8, 2021

Summertime Blues Hand Stamped Cards


Hi everyone!  Can you believe it's September already?!  Yikes!  I'm gearing up making my fall cards to share with you soon, and thought it would be a good time to do a refresher post with some cards I've made for Topflight Stamps this summer.  I hope these bright, cheery designs help summer linger in your heart for a couple more weeks.  :)  The first duo features new stamps by Kay Carley for PaperArtsy and was posted HERE.  I also made a video tutorial, so if you'd like to play along you can catch the tutorial HERE.  

My next card features the gorgeous new Tall Flowers small stencil by Darkroom Door.  I used Distress Oxides to make the background and color in the stencils.  Such fun!  Posted HERE

I was on a roll making videos, so I shared another YouTube tutorial HERE for this funky mixed media tag with Art by Marlene stamps and dies.  I would love to have you subscribe to my channel!  More details on this post HERE

I made a trio of slimlines with some funky Kate Crane stamps too.  I love Kate's whimsical illustrations!  These cards are definitely bright and cheery!  Details HERE.

And I've been playing around with the new Lavinia Elements dye ink pads on the gel plate.  I've shared the details for that process and this card with an awesome summer image by Crafty Individuals HERE

Since this post is about blue, here's a card I made to mimic delftware, the classic blue and white china.  I used gorgeous stamps by Stamperia.  Details HERE.

And one more Kay Carley stamps card made with some of her older PaperArtsy stamps.  My collection is growing!  Details HERE.  I hope these projects will kickstart your mojo today and you're enjoying these last days of summer.  Hugs, Autumn


Aug 25, 2021

New Darkroom Door Checkered & Honeycomb Stencils!


Hi everyone!  I'm back today to share a few projects I've been working on in collaboration with Darkroom Door.  This release is all about stencils and postcards.  First, I've used the AMAZING Mr. Bright Idea stamp with the new Large Checkered Stencil.  I deconstructed the stamp and used the various collage elements to recreate the design, with an embossed Cog stamp in the background. 


To make the inky background panel, I first did a good old dipping into watered Distress Inks to get down some base color.  Then I wiped the pads directly onto the stencil and spritzed with water.  I used a couple or three colors for a variegated look.   I lifted the stencil and placed it on a piece of paper, then pressed the inky paper onto it with another piece of paper and let it sit for several minutes.  This technique is called stencil monoprinting and the trick is to let the paper sit on the ink long enough.  You can use ink pads, or spray inks in the same manner.  Since this is the Large Checkered Stencil, it was big enough that I could rotate my panels and get a "diamond" look rather than a square print.  That means more bang for your buck, with more versatility!  :)

My next card features one of the Small Stencils, Honeycomb.  I love it so much and will be using this one lots so look out!  :)  It coordinates beautifully with the Buzzing Bees stamp set

I started with a watercolor panel and washes of ink, then did some stenciling with ink, then added texture paste through the stencil for dimension.  When this was dry, I went back over the paste with more lime green watercolor ink.  I stamped with the Number Medley set in green along the edges. 

I finished by dying a pair of hexagon dies, cutting one in half and mounting the focal bee image over them.  I love this bee so much and wish there was an XL version!  The sentiment is from the same set.  I finished with splashes of gesso.  

For my last card I used the Tall Flowers small stencil.  I made an inky background with Seedless Preserves and Pumice Stone Distress Inks, then used the Ranger embossing ink dauber and Ranger Mixed Media EP in Copper.  I finished by stamping a sentiment from the Christmas Bush stamp set into one of the Lots of Labels stamps.  I like the contrast of the copper/grape, do you?  I hope these cards have inspired you today and you'll check out the new Darkroom Door stencil release on the Darkroom Door blog.  Hugs, Autumn

Aug 19, 2021

Darkroom Door Enchanted Doors Postcard Altered Book Cover


Hi everyone!  I'm so excited to be sharing my finished altered address book cover with you today!  I've been working on this journal for a couple of years, just taking my time and enjoying the process, and have finally altered the book cover.  I used chipboard to make the pages, replacing the old paper.  You can see all of the pages thus far HERE.  I have one more spread left to do.  It was complete serendipity when Darkroom Door released their new line of postcards, because the Enchanted Doors were meant to be my focal point for this book and I'm so glad I waited!

These postcards make great ephemera for your journals and mixed media. I gave mine a good sanding and distressed the edges, then dipped it in Distress Inks in Vintage Photo and Weathered Wood, stitching along the edges.  I layered over torn lace and made a faux closure with some tattered ribbon and one of my Grandfather's old keys. 

I chose a pair of paper dolls to coordinate, because I had used a lot of paper dolls throughout my book and they work so well with the doors.  They were also sanded and tinted with Peacock Feathers and VP Distress Inks.  I used gesso and Lindy's Stamp Gang sprays to tint the linen cover of my book, then made faux stepping stones with crackle paste through the Arty Circles stencil.  I sanded it some once it was dry to create highlights.

I used the word blocks from the You Are Everything stamp set and added handwriting around the postcard with a white Posca.  I added a cancellation from the Global Postmarks stamp set to further grunge up the door panel.  The brass medallion was a gift all the way from India, sent along with a handmade journal by my friend Remya.  It's a treasure to me!

I really hope this project has given you some ideas for using your new Darkroom Door postcards.  I know you will love them as much as I do!  xx, Autumn

Find more inspiration on the Darkroom Door blog!


I'm sharing with:

Simon Says Stamp Wednesday: Add a Sentiment!

Let's Craft and Create: Polka Dots and/or Stripes

Country View Challenges: Monochromatic 

Popular Posts